3D Printing for Prototyping: Processes, Costs and Trade-offs
What a 3D printed prototype actually costs by process, and how geometry, material and finishing decisions change the quote.
April 18, 20165 min read

Written by Ralph Hill, Mechanical & electrical systems, 3D manufacturing
Prototyping Engineer
Published April 18, 2016Updated September 2, 2026
3D Printing Prototype Cost: What Drives the Price
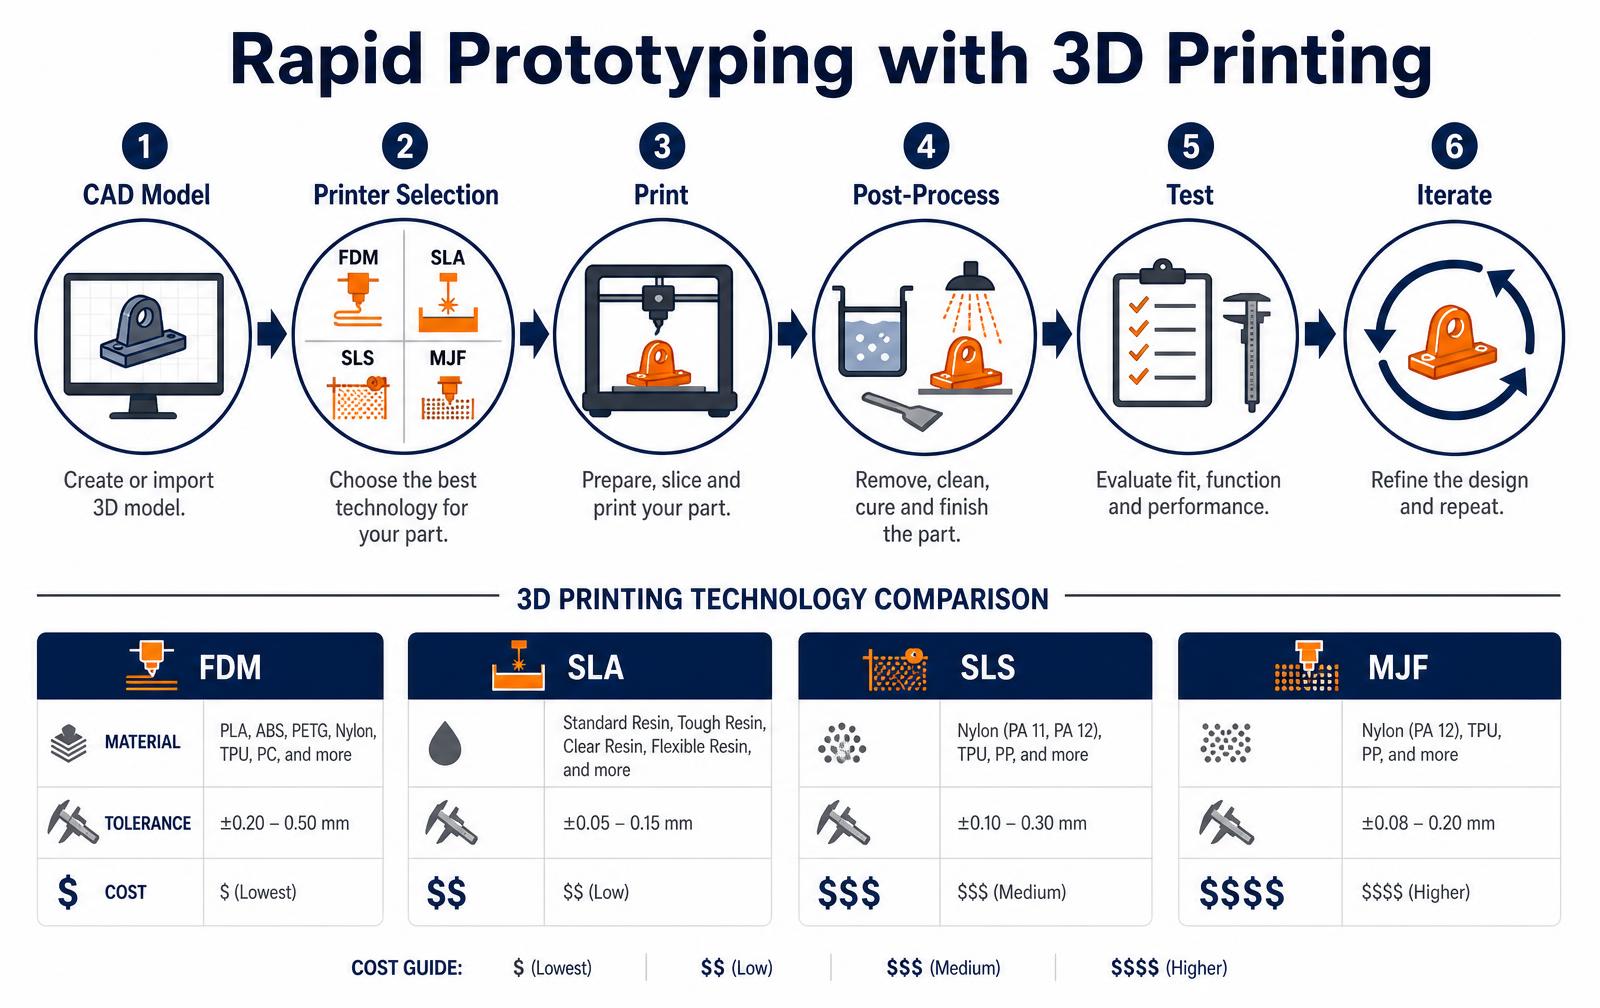
Rapid prototyping earns its name only when the loop is short. A team that prints once a month is not prototyping rapidly - it is doing slow manufacturing with a printer. The value comes from cycling CAD, print, test and revise fast enough that a bad assumption dies in a week instead of after tooling.
The six-step loop
- CAD model. Design with the process in mind - wall thickness, draft, print orientation and support access.
- Choose the process. Fit-check parts and appearance models have very different requirements.
- Print. Orientation drives strength, surface finish and cost more than any slicer setting.
- Post-process. Support removal, curing, bead blasting, dyeing or vapor smoothing.
- Test. Measure against the requirement you were trying to answer, not the whole product.
- Iterate. One question per print round keeps the learning attributable.
Technology comparison
Process | Materials | Typical tolerance | Lead time | Cost per part |
|---|---|---|---|---|
FDM | PLA, ABS, PETG, nylon, PC | ±0.2-0.5 mm | 1-3 days | $ |
SLA | Standard, tough, clear, high-temp resins | ±0.05-0.15 mm | 1-3 days | $$ |
SLS | Nylon PA11 / PA12, TPU | ±0.1-0.3 mm | 2-5 days | $$$ |
MJF | Nylon PA12, TPU | ±0.1-0.2 mm | 2-5 days | $$ |
Which process for which prototype
Prototype stage | Question it answers | Best process |
|---|---|---|
Concept model | Does the form and scale feel right? | FDM |
Appearance model | Does it look like the product? | SLA, painted |
Fit check | Do the parts assemble? | SLA or MJF |
Functional test | Does it survive use? | SLS or MJF nylon |
Pre-tooling validation | Is the design ready for molds? | MJF plus machined inserts |
Where 3D printing stops being the answer
Printed parts are anisotropic, and their surface finish and material properties do not match injection molding. Once you are testing drop performance, snap-fit fatigue or regulatory samples, move to CNC-machined or bridge-tooled parts in the real resin. Prototyping tells you what to build; it does not certify the product.
Related reading: choosing a 3D printing service, design for manufacturing and our rapid prototyping service.
Same part, five processes
Process | Typical price for a 100 mm housing | Lead time | Finish and accuracy |
|---|---|---|---|
FDM | $25-$70 | 1-2 days | Visible layers, +/- 0.3 mm |
Resin (SLA/DLP) | $60-$180 | 1-3 days | Smooth, +/- 0.1 mm, brittle over time |
SLS nylon | $90-$260 | 3-5 days | Matte, tough, +/- 0.2 mm |
MJF nylon | $110-$300 | 3-5 days | Consistent, best for functional runs |
Metal DMLS | $600-$2,500 | 7-12 days | Requires support removal and machining |
How to cut print cost without losing usefulness
- Shrink the bounding box. Split large parts and bond them; price follows volume envelope.
- Hollow and lighten. Internal lattices or shelled walls cut material on resin and metal parts.
- Design out supports. Self-supporting angles and chamfered overhangs reduce post-processing labor.
- Batch parts in one order. Shared build volume and setup lower per-part cost significantly.
- Match process to purpose. Use FDM for fit checks and save SLS or MJF for functional or customer-facing builds.
What actually drives 3D printing quotes
Print quotes are driven by machine time, material volume and post-processing labor, in that order. Part height sets layer count and therefore machine hours, which is why reorienting a part can cut cost by a third without a design change. Support structures cost twice: once in material, once in the hand labor to remove and sand them. Nesting several parts in one build spreads the setup across the batch, so ordering ten parts rarely costs ten times one part.
Process | Typical part cost | Tolerance | Best use |
|---|---|---|---|
FDM | $15-$90 | +/- 0.5 mm | Fit checks, jigs, large volumes |
SLA / DLP | $30-$180 | +/- 0.15 mm | Appearance models, fine detail |
SLS (nylon) | $45-$250 | +/- 0.3 mm | Functional parts, living hinges |
MJF | $50-$260 | +/- 0.3 mm | Low-volume end-use parts |
Metal DMLS | $400-$2,500 | +/- 0.2 mm | Brackets, manifolds, tooling inserts |
Six ways to cut print cost without losing usefulness
- Reorient the part to reduce height and support area before requesting a quote.
- Hollow non-structural volumes and add drainage holes for resin processes.
- Split large parts and bond them; two small builds often beat one tall build.
- Use a cheaper process for internal fit checks and reserve SLA for review models.
- Batch parts into a single order to share setup cost.
- Skip cosmetic finishing on parts that will never be seen by a stakeholder.
When printed parts become end-use parts
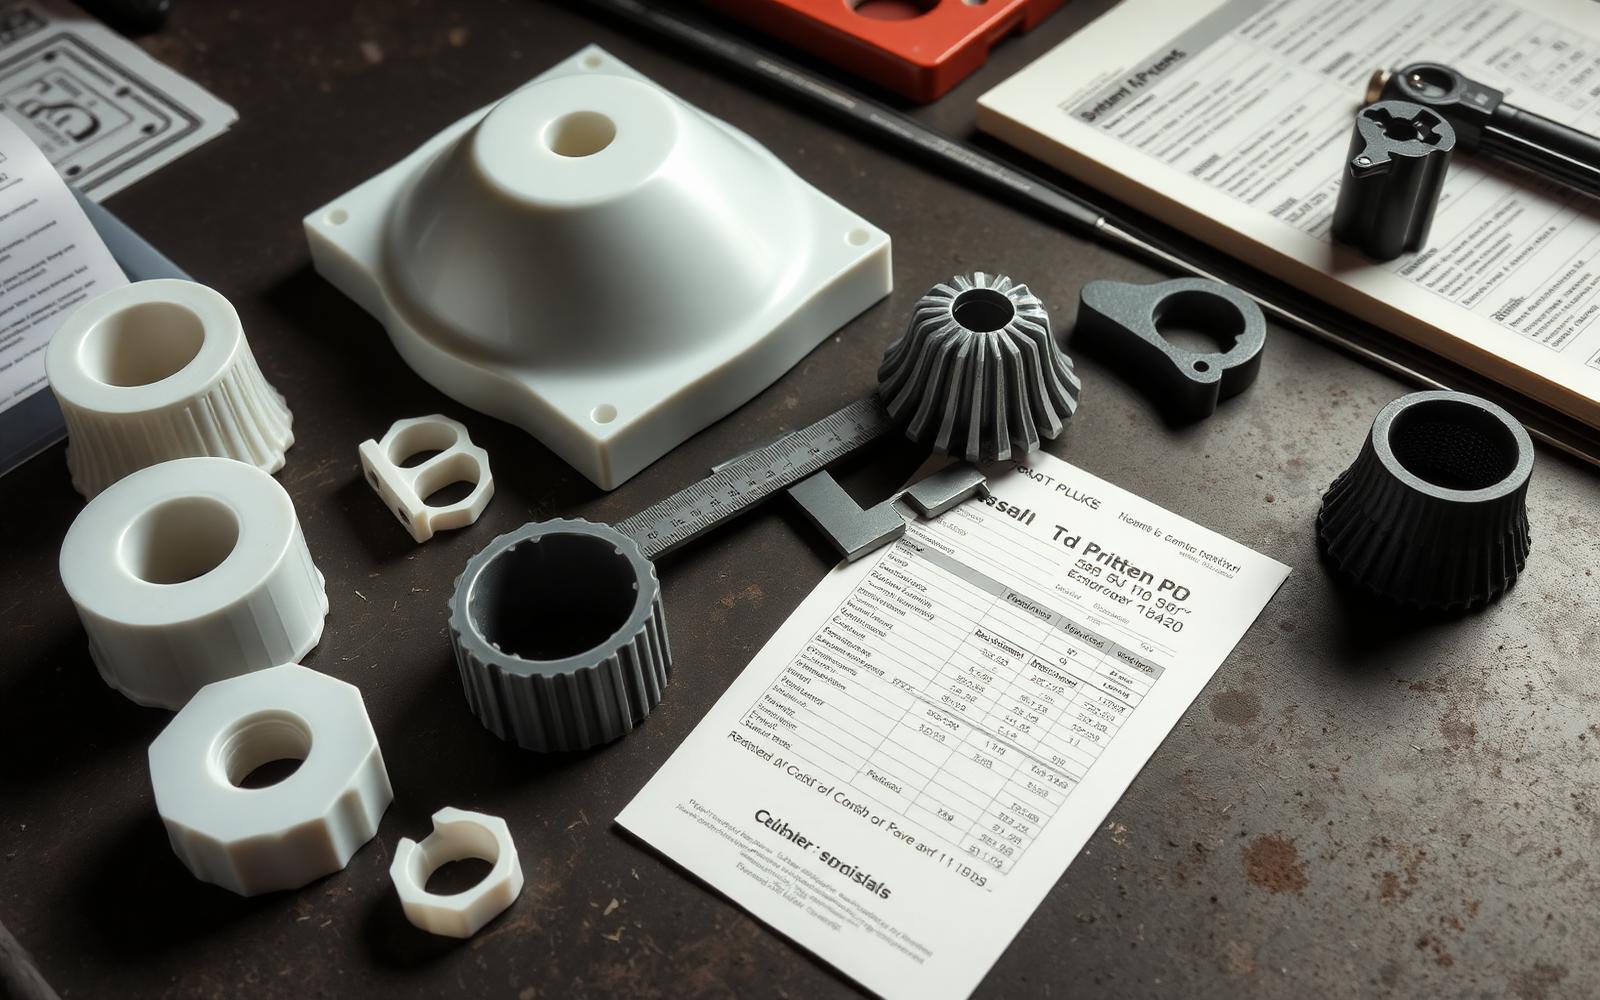
Additive manufacturing crossed from prototyping into low-volume production for a specific class of parts: complex geometry, low quantity, high value per part, and no tooling justification. Brackets, manifolds, surgical guides, jigs and fixtures, and short-run enclosures all qualify.
What still disqualifies a part is anisotropy without validation, cosmetic requirements that demand extensive finishing, or a volume where injection molding is simply cheaper per unit.
If you plan to ship printed parts, treat the process like any other manufacturing process: qualify a supplier, lock machine and material, define a first-article inspection, and test parts in the printed orientation you will actually order. Layer orientation changes strength substantially, and a part validated flat can fail when the vendor nests it upright to fill a build.
- Specify build orientation on the drawing, not just the model.
- Qualify machine, material lot and post-process as a package.
- Test in the weakest axis, then design margin against that number.
- Define acceptance criteria for surface finish and dimensional variance.
- Confirm material flammability, UV and chemical resistance for the environment.
- Keep a second qualified supplier for continuity.
Cost by process, at a glance
The same CAD file can vary tenfold in price depending on process, and the drivers differ: resin printers charge for volume and support removal, powder systems charge for the packed build, filament machines charge for time. Pick the process for what the part must prove, then optimize the file for that process's cost driver.
Process | Cost driver | Typical part cost | Lead time | Best use |
|---|---|---|---|---|
FDM | Print hours | $15–$180 | 1–3 days | Fit checks, jigs, large rough forms |
SLA / DLP | Resin volume + supports | $25–$300 | 1–3 days | Fine detail, appearance models |
SLS (nylon) | Packed build volume | $40–$500 | 3–6 days | Functional parts, living hinges, snap fits |
MJF | Packed build volume | $35–$450 | 3–6 days | Small production runs, consistent properties |
PolyJet | Material volume | $80–$900 | 2–5 days | Multi-material and overmold simulation |
Metal powder bed | Machine hours | $150–$5,000+ | 1–4 weeks | Metal functional parts, consolidation |
Seven ways to cut a print quote without changing the design intent
- Hollow solid volumes and add drain holes — resin cost falls with volume, not with surface area.
- Split a large part into two printable halves and bond them; a part that fits a smaller machine changes pricing tier.
- Reorient to reduce support contact on cosmetic faces, which cuts both material and finishing labor.
- Batch parts into one order so they nest in a single build rather than paying setup on each.
- Ask for as-printed finish where the surface does not matter; polishing and painting often exceed print cost.
- Loosen tolerances that do not matter and machine or ream only the two features that do.
- Choose a standard material — exotic resins carry a surcharge and often a minimum order.
When printing stops being the cheap option
Above roughly 100–300 identical parts, urethane casting or bridge tooling usually undercuts printing on unit cost, and the parts are made in a production material rather than a printing analog. The crossover moves earlier for small simple parts and later for large complex ones.
The other stopping point is properties: printed nylon is anisotropic and printed photopolymer degrades under UV, so parts that must live outdoors or carry cyclic load should be moved into a molded or machined material before field testing.
We use printing throughout our rapid prototyping services and switch processes the moment the economics or material properties say to.
Key takeaways
- Machine time, material volume and finishing labor set the quote.
- Reorienting a part can cut cost by a third with no design change.
- Batch parts to share setup cost across an order.
- Match the process to the question, not to the impressiveness of the output.
Need prototypes that answer real questions?
We plan the prototype rounds, pick the process and run the testing.
Work with LA NPDT: if you are moving from here to execution, start with our rapid prototyping services or talk to us about prototype design.
Frequently asked questions
What is rapid prototyping in 3D printing?
Rapid prototyping is using additive manufacturing to turn CAD into a physical part in hours or days, so the design can be tested and revised in short loops instead of waiting on tooling.
How much does a 3D printed prototype cost?
A small FDM part runs $20-$80, an SLA appearance model $60-$300, and functional SLS or MJF nylon parts $80-$500 depending on size and finish. A full prototype round for an assembled product typically costs $500-$3,000.
How accurate are 3D printed prototypes?
Roughly ±0.05-0.15 mm on SLA, ±0.1-0.3 mm on SLS and MJF, and ±0.2-0.5 mm on FDM. For tighter features, machine the critical surfaces or add press-fit inserts.
Filed under:3DInspirationTech
Tagged:3D Printing
Services related to this guide
- Best prototyping companiesDevelopment firms, instant-quote bureaus and local shops — who fits which job.
- Free prototype cost calculatorFive to eight questions, an instant cost range for a first prototype.
- Prototype development companiesWhich firms take a sketch to a working prototype — and which only fabricate parts.
- Rapid prototypingWorking prototypes in days, from 3D printing to vacuum casting.