Cutting 3D Prototype Design Costs Without Sacrificing Quality
cc
January 25, 20238 min read

Written by Konstantin Dolgan, Ph.D., NPDP
Founder & CEO, Product Development Engineer
Published January 25, 2023Updated September 2, 2026
Building one or two items of anything, in general, is pricey. If you are building something unique that did not exist before, you need to figure out how to do so, especially when there is no manual or instruction. Hence, every company needs a 3d prototype design.
3d prototype design helps to understand each aspect of the idea and rework difficult aspects. Of course, each prototype is unique and requires a custom approach. But when you build prototypes, you also need to figure out how to do so.
In addition, you will need a team of experienced professionals, expensive equipment, and materials. However, there are still ways to reduce the cost of your prototype. Find out ideas in this article to cut costs without compromising quality.
Key Points
– Building one or two items of anything, in general, is pricey.
– Only do what is required to achieve the goal of your prototype.
– Mechanical components are much easier to implement.
– Prototyping requires a lot of time and material.
– The type of material being used to fabricate a product is one of the greatest factors in its overall production cost.
Number 1: Focus on Important 3D Prototype Design Goals
Lack of focus has financial implications on the manufacturing cost. Since 3D prototyping has a simplified approach, many companies are distracted by exploring more design options and trying out new but unnecessary things.
Only do what is required to achieve the goal of your prototype. For example, do not build a Mercedes if you only need a ford for your testing.
Number 2: Only Execute Product Development for Tested 3D Prototype Design
Before spending a penny on a 3d prototype design, ensure it has been market verified. Start building another prototype after you have tested and evaluated your previous one. Therefore, you can use adjustments from the test to create new designs.
Incorporating observations from the previous test in a new modification is best maximized when your prototype is tested on the right people. Interaction Design Foundation expounds on gathering and learning from prototypes in this article.
There are open-source prototype solutions that you can use. These options allow you to conduct early testing and user research.
Number 3: Start 3D Prototype Design Implementation with Electrical Components
Try to avoid tackling both electrical and mechanical systems at a time. Doing them simultaneously can get your team exhausted quickly. Also, you might need more staff and resources to complete the implementation if not closely watched.
On the other hand, if your product has an electrical component in it, work on it first. This approach is better because mechanical components are much easier to implement. Likewise, they are less expensive to modify.
Number 4: Scale Huge 3D Prototype Design
If your product is huge, start with a scaled-down prototype. Scaled models are miniature replicas of huge products. They provide useful data about the product.
Therefore, you can use the scaled design to determine if an error in the prototype needs modification. However, modifying a huge 3d prototype design can cost significantly more than altering smaller replicas.
Number 5: Use Economical Material for 3D Prototype Design
About every material in the market works well with 3d prototyping. Therefore, you can pick the least expensive material, where possible, to save cost. However, if the least expensive material can jeopardize the quality of the product, there will still be economical options that you can consider.
The type of material being used to fabricate a product is one of the greatest factors in its overall production cost. You will find more CNC machine ideas in this article by The Future of Things.
Alternatively, you can use the less expensive material at the beginning of the prototyping. For instance, if your product is designed to be metal, start by using plastic.
There is a hand full of professional choices like PLA, ABS, PETG, Nylon, HIPS (High Impact Polystyrene), PVA (Polyvinyl alcohol), Wax (MOLDLAY), ASA (the industrial substitute for ABS flaws), Polypropylene (PP), Polycarbonate ABS, Acetal (POM), PMMA (Acrylic), FPE (Flexible polyester), and many more.
Number 6: Use Automated Equipment for 3D Prototype Design
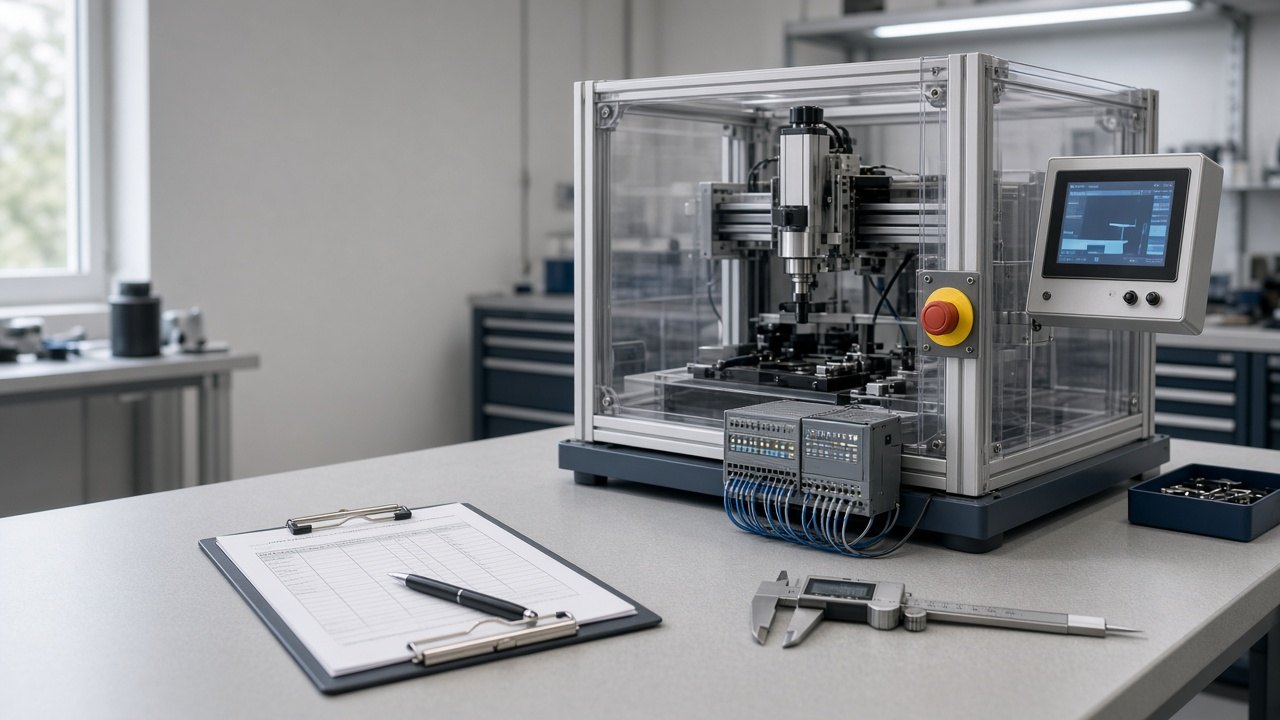
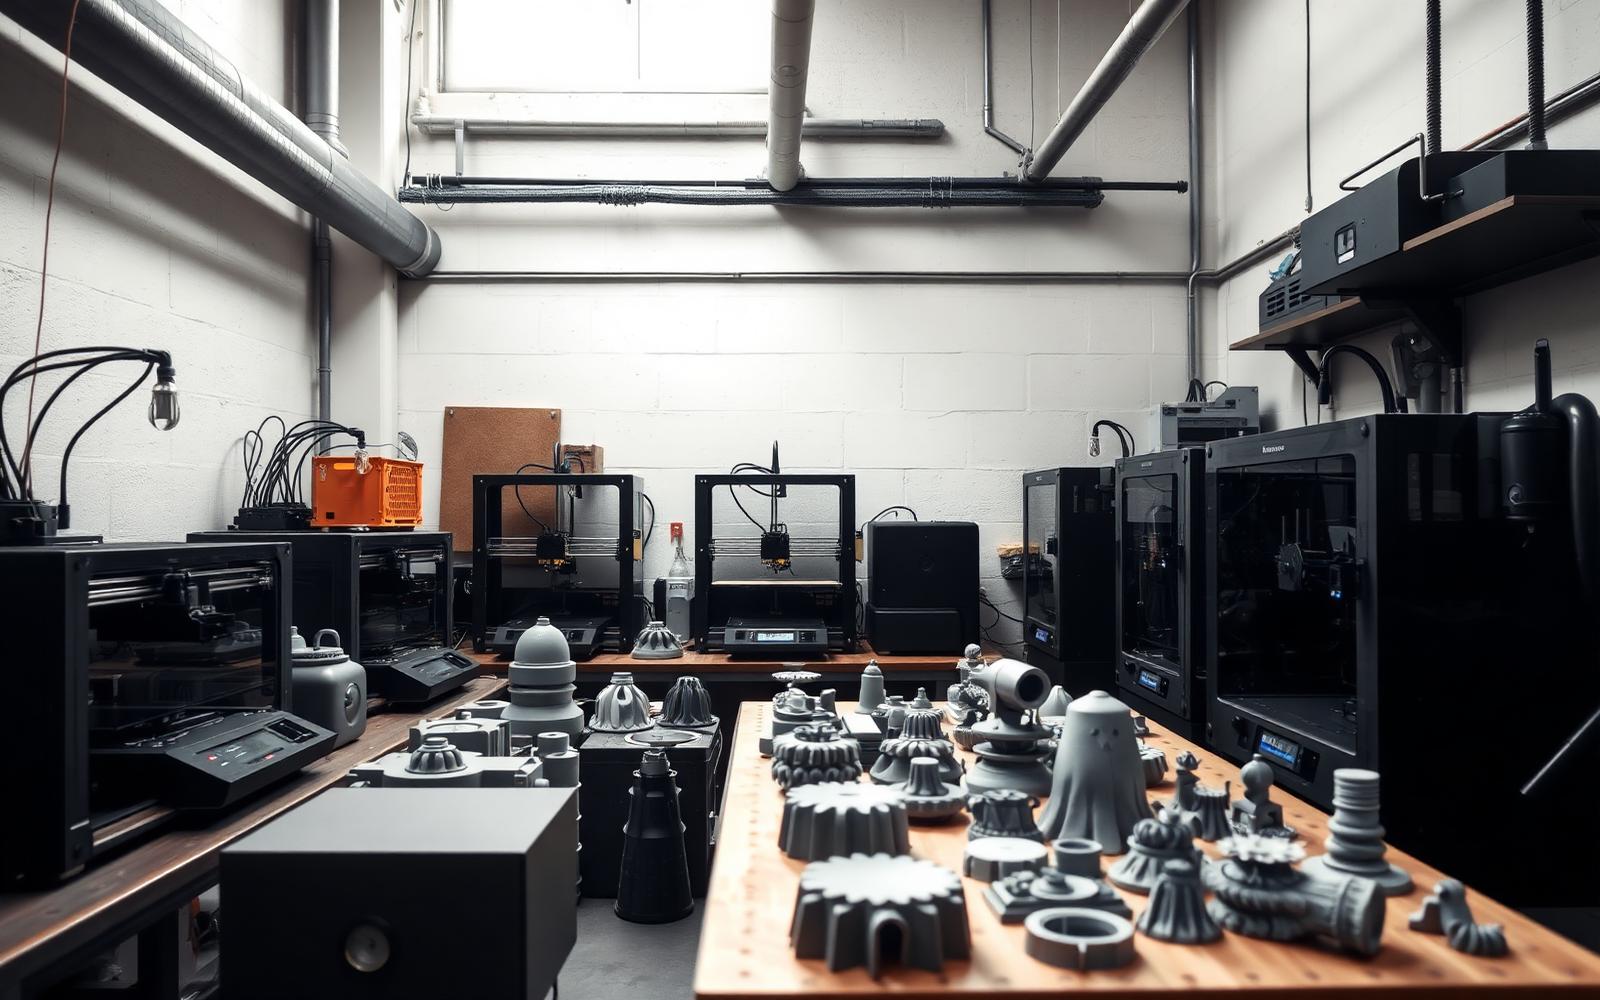
Use more automated equipment such as 3D printers and CNC machines. Primarily, these options will help you to cut the cost of the production process. Additionally, it will save you the need to hire more labor to make your prototype.
Number 7: Start 3D Prototype Design Implementation with Commercial off-the-shelf Components
Lastly, use off-the-shelf components if possible. Most companies want to start building parts from the ground up. However, that method is not cost-effective.
If there are existing disassemble parts that you can use, start with those. Add your ingenuity to those parts and create something special. Then, if there is a need, later on, you can start producing all your parts from the start.
Hottest Questions About Cutting 3D Prototype Design Costs Without Sacrificing Quality
Check the commonly asked questions about 3d prototype design costs below.
1. Is prototyping cost-effective?
Yes, prototyping is cost-effective. If you are using automated machines, you will be paying less to operate your machines. In addition, only the maintenance fee is incurred; you do not have to pay for staff work hours. Given the precision of the machines, you will spend less on modifying your product. In addition, only wrong input will require modification. Lastly, it is cost-effective because the computer-aided design reduces the amount of material waste.
2. How much does 3D printing cost?
Creating a simple product part can cost as low as $3 or $100. It depends on the size, design complexity, and material you are using. Given that the cost of these materials is fundamentally costly, recycling makes 3D printing economical. However, the general cost of a product can still total about $1,000 or $50,000. Check out our article on how much the prototype cost to properly estimate the cost of your 3d printing.
3. What can 3D printing be used for?
There is no limit to what 3d printers can produce. You can use 3d printers to create models or final products. Common examples of its usage are shoe designs, toys, furniture, office tools, tripods, gifts and novelty items, among others.
4. Why are prototypes so expensive?
Whether it is rapid, iterative, or parallel prototypes, they are usually expensive. The reason is that prototyping requires a lot of time and material. Its preventive benefit also makes it well sought-after. Hence, they are highly priced for their popular demand.
It’s a Wrap
3d prototype design is the most used type of prototyping during product development. While it is considered the cheapest prototyping option, you can still save a lot of money if you decide to use it. Hence, this article has identified cutting-edge ideas to reduce your 3d prototyping cost without compromising quality.
LA NPDT is your most reliable prototyping agency. We specialize in turning your product idea and concept into marketable and profitable products. We operate a proven service process and only give clear prices to our customers.
If you want to save some more money on your 3d prototypes without sacrificing cost, then you should contact us. Our website is Lanpdt: schedule consultation la npdt, or call us directly using 318-243-5789.
Strategies to Reduce 3D Prototype Design Costs
Strategy | Description |
|---|---|
Focus on Goals | Only do what is required to achieve the prototype's goal. |
Market Verification | Test and evaluate previous prototypes before building new ones. |
Electrical First | Implement electrical components before mechanical ones. |
Scaled Models | Start with smaller, scaled-down prototypes for huge products. |
Economical Materials | Use less expensive materials where possible, or substitute for early stages. |
Automated Equipment | Utilize 3D printers and CNC machines to cut production costs. |
Where the money actually goes in a 3D prototype
Print cost is the number people quote, and it is rarely the number that decides the budget. On a typical enclosure, the printer time might be eighty dollars and the surrounding work six hundred: CAD preparation, support removal, sanding, priming, painting, and fitting the parts together so the assembly closes properly. If you want to cut prototype cost meaningfully, cut the labour around the print, not the print.
The second lever is iteration count. Every design revision carries the whole cycle again, so a project that takes six iterations to reach a working prototype costs roughly six times a project that took one, regardless of how cheap each print was. Iterations come from unresolved questions, which is why an hour spent defining what the prototype must prove usually saves a week of printing.
Cost drivers and how much each one moves the number
Cost driver | Typical share of spend | Realistic saving | How you capture it |
|---|---|---|---|
Post-processing and finishing | 30-45% | 40-70% | Only finish surfaces the prototype must demonstrate; leave internals raw |
Design iterations | 20-35% | 30-50% | Define the prototype's single question before printing |
Material choice | 10-20% | 30-60% | PLA or PETG for fit checks; reserve SLA and nylon for functional tests |
Print orientation and supports | 5-15% | 20-40% | Orient to minimise supports even if print time rises slightly |
Machine time | 10-20% | 20-50% | Hollow non-structural volume; use 15-20% infill for form models |
Custom versus off-the-shelf parts | Varies | Large | Buy fasteners, bearings, seals and connectors rather than printing them |
A staged prototype budget that protects quality
The cheapest prototype program is not the one with the lowest per-part price. It is the one that answers questions in the right order, so expensive parts are only built once the cheap parts have removed the guesswork. A staged budget makes that explicit.
Stage one buys proportion and ergonomics with low-resolution prints. Stage two buys fit and mechanism function with dimensionally accurate parts. Stage three buys material behaviour and appearance with production-representative processes.
Skipping a stage rarely saves money; it just moves the discovery into the most expensive stage.
Stage | What it answers | Typical process | Typical cost per iteration |
|---|---|---|---|
Looks-like | Proportion, grip, visual language | Low-res FDM, foam, laser-cut | $50 - $400 |
Works-like | Fit, clearance, mechanism travel | High-res FDM or SLA | $300 - $1,500 |
Production-representative | Material, finish, durability | SLS, MJF, urethane casting | $1,500 - $6,000 |
Pilot tooling | Process capability at volume | Aluminium soft tooling | $4,000 - $20,000 |
Two habits cut cost more than any material substitution. The first is batching: collecting several design questions into a single print run instead of ordering one part at a time, which spreads setup and shipping across more learning. The second is designing the test before the part, so the prototype only carries the features the test needs. A bracket built to verify a load path does not need cosmetic surfaces, and paying for them is pure waste.
Frequently asked questions
How much does a 3D printed prototype cost?
A simple FDM part in PLA is usually five to eighty dollars in material and machine time. A hand-sized enclosure printed in SLA resin, cleaned, sanded and painted to presentation quality typically lands between three hundred and twelve hundred dollars once labour is included. Functional prototypes in nylon or metal, or anything requiring assembly of multiple printed and purchased parts, run into several thousand.
What is the cheapest way to prototype a product?
Split the prototype in two. Build a looks-like model cheaply in foam or low-resolution print to test proportion and ergonomics, and a works-like rig on a breadboard or in an oversized housing to test function. Combining both into one beautiful integrated prototype costs several times more and answers no additional question at this stage.
Does cheaper material reduce prototype quality?
Only if the prototype's purpose depends on the property you gave up. PLA is dimensionally accurate and perfectly adequate for fit and assembly checks, and it fails badly for heat resistance or repeated snap-fit cycling. Match the material to the question: a form model has no need of engineering-grade polymer, and a drop-test article should not be printed in the cheapest option available.
How many prototype iterations should I budget for?
Three to five for a product of moderate complexity, and that is a healthy number rather than a sign of poor planning. What matters is that each iteration is driven by a specific finding rather than general dissatisfaction.
Programmes that exceed eight iterations are usually still discovering requirements, which is a discovery problem rather than a prototyping problem. Our rapid prototyping service is built around this staged approach, and prototype design covers the CAD work that keeps iteration counts low.
When the design is settled, low volume manufacturing is usually cheaper per unit than continuing to print.
Filed under:EducationInspirationWords
Services related to this guide
- Free prototype cost calculatorFive to eight questions, an instant cost range for a first prototype.
- Prototype designLooks-like, works-like or pre-production: what each proves and what it costs.
- Rapid prototypingWorking prototypes in days, from 3D printing to vacuum casting.
- Best product development companiesHow the leading US firms compare, and which one fits your stage and budget.