Our work / OnTime Wildlife Feeders
Sold in Walmart
On-Time Wildlife Feeders: 3D Printed Enclosure Covers
OnTime Wildlife Feeders
Start a project

Written by Ralph Hill, Mechanical & electrical systems, 3D manufacturing
Prototyping Engineer
Published August 10, 2026
A 3D printed enclosure prototype exists to catch the mistakes that injection mold tooling makes permanent — fit, wall thickness, draft, boss placement and assembly order — for a fraction of a tool change.
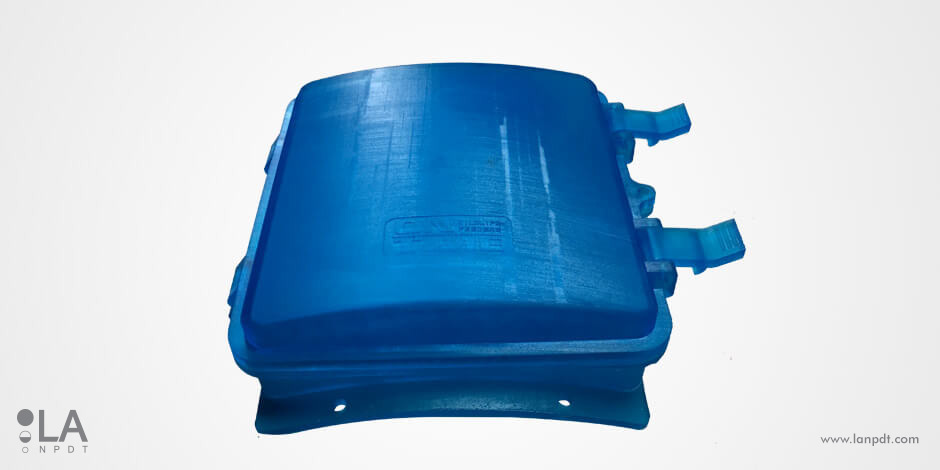
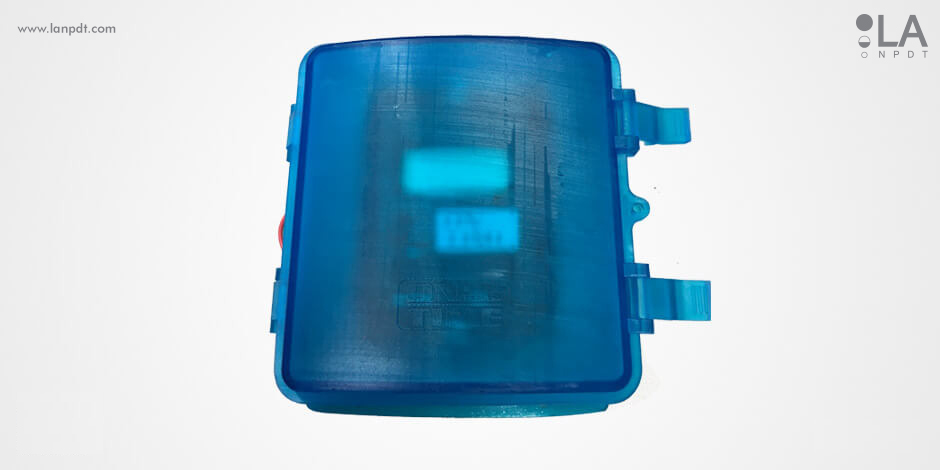
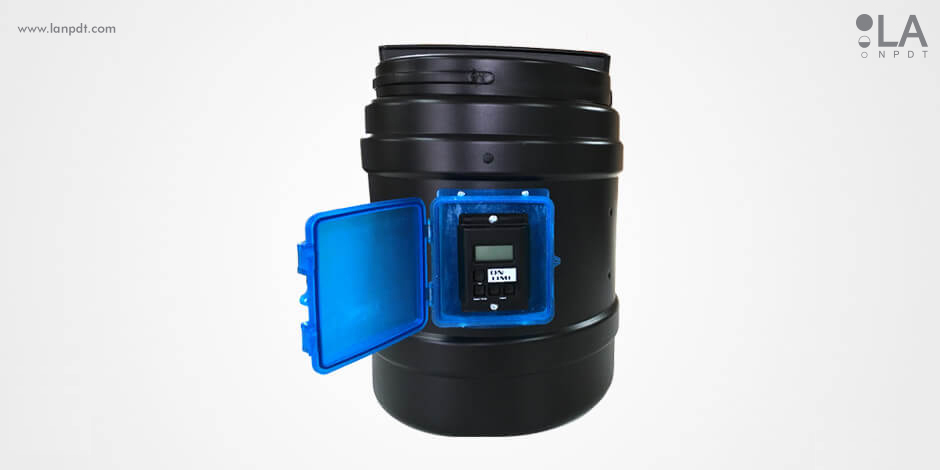
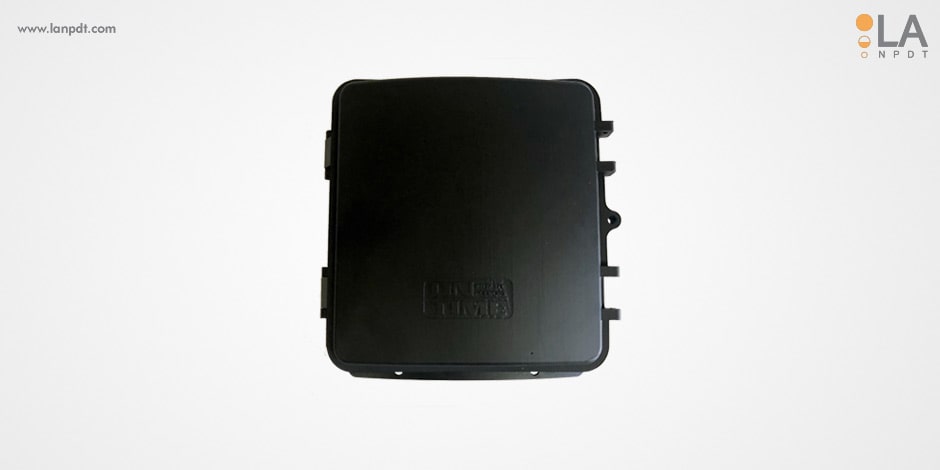
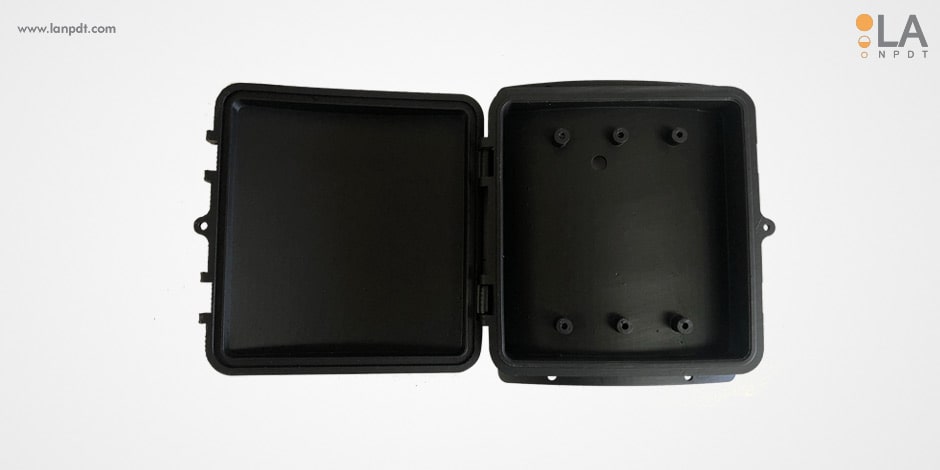
On-Time Wildlife Feeders sent us the cover of a new electronic product to print. We reviewed the model first, corrected several areas that would have caused problems in both printing and mass production, then printed it in SLA.
Project at a glance
- Client
- On-Time Wildlife Feeders — family-owned outdoor products maker
- Category
- 3D printing and prototyping service
- Starting point
- Customer-supplied CAD for an electronic product cover
- What we delivered
- Design review and model corrections, SLA 3D-printed prototype covers, guidance for smoother mass production
- Key constraints
- Print accuracy on a functional cover, surface finish, quick turnaround
- Outcome
- Corrected model and high-quality printed parts ready for evaluation and tooling
- 01
Client
On-Time Wildlife Feeders, a family owned business that creates a wide variety of deer feeder products partnered with LA NPDT, a 3D printing place and product development company. - 02
Challenge
On-Time Wildlife Feeders needed printed covers for a new electronic feeder product ahead of a trade show — before any injection mould existed. The supplied model was drawn for moulding, not for printing, so it had to be checked and corrected before a usable part could come off the machine. - 03
Solution
We reviewed the model first and found a handful of features that would either print badly or cause trouble in tooling later, and corrected them. The cover was then printed in hard resin on SLA, which holds the fine detail and flat surfaces an enclosure needs, and we assembled and fit-tested the printed parts before handing them over. - 04
Result
The design issues surfaced on a resin part instead of in steel, which is the cheap place to find them. On-Time showed the product at the trade show and took orders before the injection tooling was cut.
3D printing service at a glance
| Processes | FDM, SLA/resin, SLS, large-format printing |
|---|---|
| Materials | ABS, PETG, nylon, tough and clear resins, flexible TPU |
| Extras | Design and CAD, post-processing, painting, insert installation |
| Typical turnaround | 2-7 business days for parts from finished CAD |
Printing is the easy half
Anyone can send a file to a printer. The value is in choosing the process and material for what the part must survive, orienting it so layer lines fall where stress does not, designing tolerances that account for the process, and finishing the part so it reads as a product rather than a print.
When each process wins
- FDM - cheap, fast, good for fit checks and large parts
- SLA/resin - fine detail and smooth surfaces for appearance models
- SLS nylon - functional parts, living hinges, no support scarring
- Large-format - full-size machine panels and fixtures without splitting
Frequently asked questions
How much does 3D printing cost?
Small prototype parts commonly run $20-$200 each; large or SLS parts scale with volume and material.
Can you fix my file if it will not print?
Yes - and if the geometry itself is the problem, we revise the design rather than force a bad print.
Can 3D printed parts be used for production?
For low volumes, often yes. Above a few hundred units, moulding is usually cheaper and we will say so.
Capabilities used on this project
Rapid prototyping services
3D printing, CNC machining, urethane casting and functional prototype builds with published materials, tolerances and lead times.
How to get a useful enclosure prototype, not just a print
The value is in the review before the printer starts. A shop that only prints what you send hands back your own mistakes in plastic.
1. Review the model before printing it
We check wall thickness, draft, boss and rib geometry, snap features and clearances. On this cover we found several areas worth correcting — both to print cleanly and to make the eventual mass production more straightforward.
2. Choose the process for what you are testing
SLA was right here because the cover needed a smooth, accurate surface that shows the real finish. FDM is faster and cheaper for gross fit; SLS is better when the part must be functionally tough.
3. Orient and support deliberately
Build orientation decides where layer lines, support scars and the weakest axis land. Cosmetic faces go up-facing or are oriented so supports touch surfaces nobody sees.
4. Test the assembly, not just the part
An enclosure is only proven when the PCB, battery, fasteners and mating half all go together in the intended order — and come apart again for service.
5. Roll the fixes into the tooling model
Every correction found in print goes back into the CAD before a mold is cut. Catching them here is why On-Time avoided paying for tooling changes later, and why they could show the product at a tradeshow and take orders before production.
| Process | Best for | Watch out for |
|---|---|---|
| SLA / resin | Smooth cosmetic surfaces, fine detail, appearance models | Brittle, degrades in UV — not for long-term functional use |
| FDM | Cheap, fast fit checks and large parts | Visible layer lines, weak between layers |
| SLS nylon | Functional testing, living hinges, snap fits | Grainy matte finish, needs dyeing for cosmetics |
| CNC machined | Near-production material properties | Highest cost, limited internal geometry |
Questions about this project
Straight answers from the engineers who ran the build. Have a different question? Ask us directly.
Talk to an engineerShould I fix my CAD before 3D printing it?
Yes, and it is worth paying someone to look. A print reproduces whatever you send, including geometry that will not mold. We review first as a matter of course, which is where most of the savings on this project came from.
How long does a 3D printed prototype take?
For parts from finished CAD, two to seven business days is typical, depending on process, size and finishing. Add time if the model needs correcting first.
Can a 3D printed part be used for a tradeshow demo?
Absolutely — that is one of its best uses. An SLA part, sanded and painted, photographs and demonstrates like a production unit, which is how this client took orders before tooling existed.
Industries this project belongs to
See how we approach development in each of these categories, and the other products we have taken from sketch to production there.