Invention Prototype to Production: The Steps That Actually Matter
A working invention prototype proves the idea. It does not prove the product can be made a thousand times, at a price, without failing.
July 25, 20206 min read

Written by Konstantin Dolgan, Ph.D., NPDP
Founder & CEO, Product Development Engineer
Published July 25, 2020Updated September 2, 2026
Taking an invention prototype to production means converting a one-off build into a design that can be manufactured repeatably: redesigning for the chosen process, producing an engineering prototype in production materials, running a pilot lot, cutting tooling, and passing safety and compliance testing. The prototype is roughly 20 percent of the work. This article covers the other 80.
Step 1: Validate the prototype answers the right question
Before spending on manufacturing engineering, confirm the prototype actually proves what you need proven: it works under realistic conditions, users can operate it, and someone will pay for it. If demand is unproven, read prototype vs MVP before going further.
Step 2: Design for manufacturing
A hand-built prototype is full of decisions that cannot survive volume: glued joints, machined parts, fasteners in unreachable places, tolerances nobody can hold. DFM rewrites those decisions around a chosen process.
Prototype approach | Production approach | Why it changes |
|---|---|---|
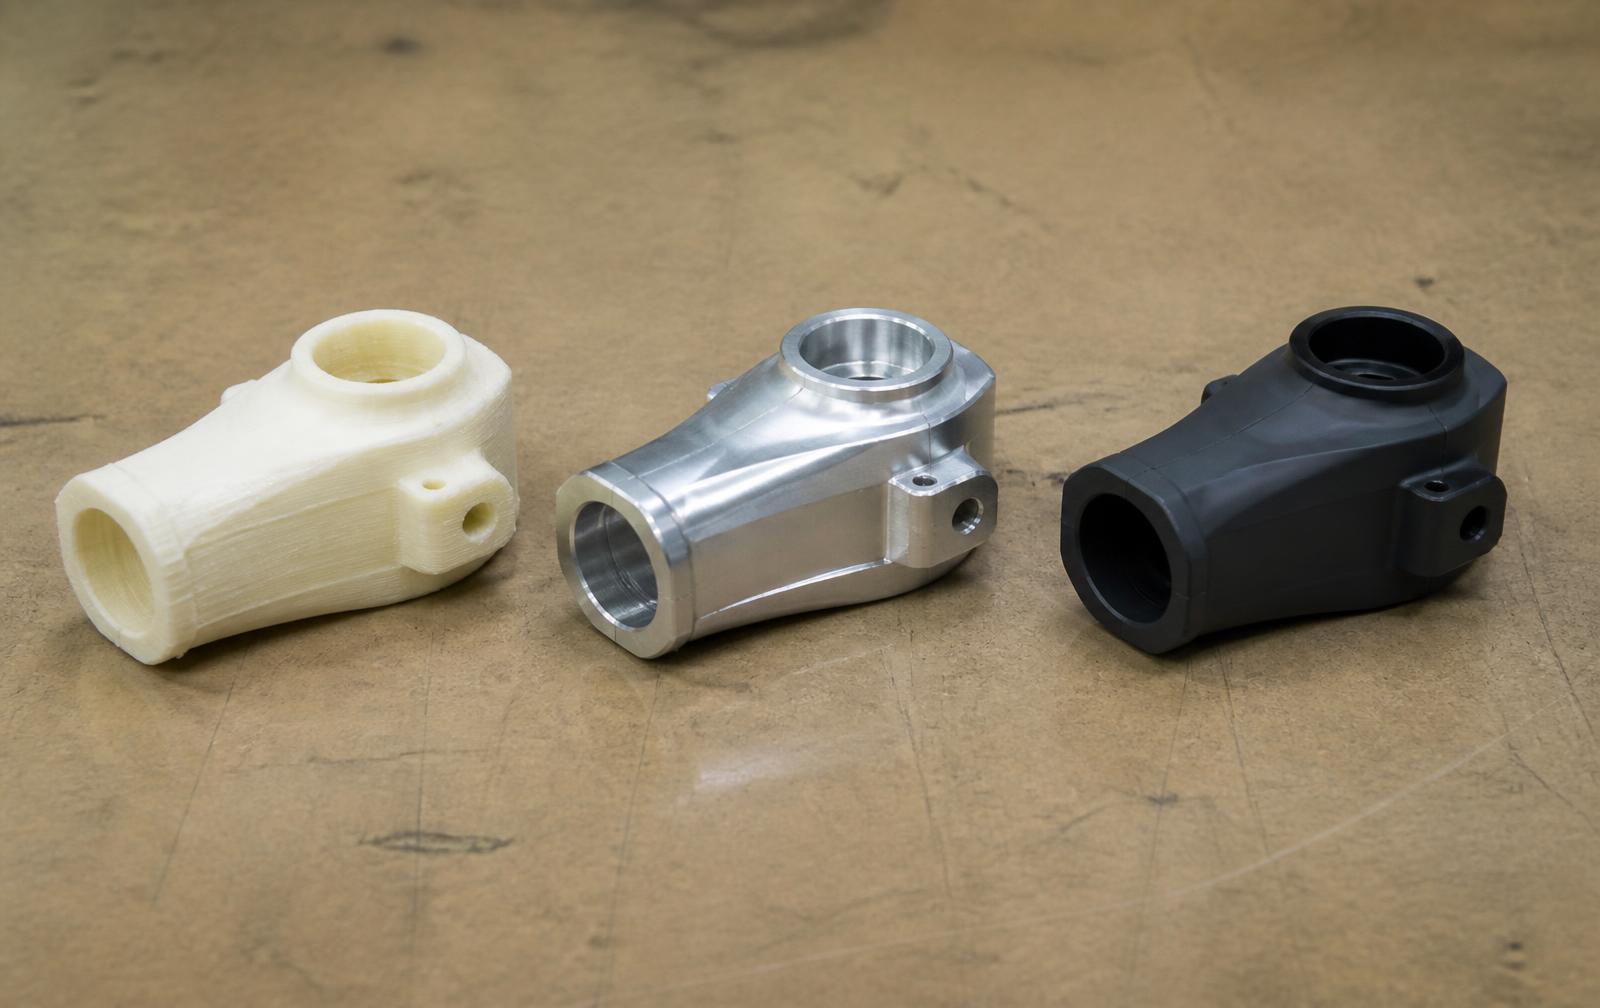
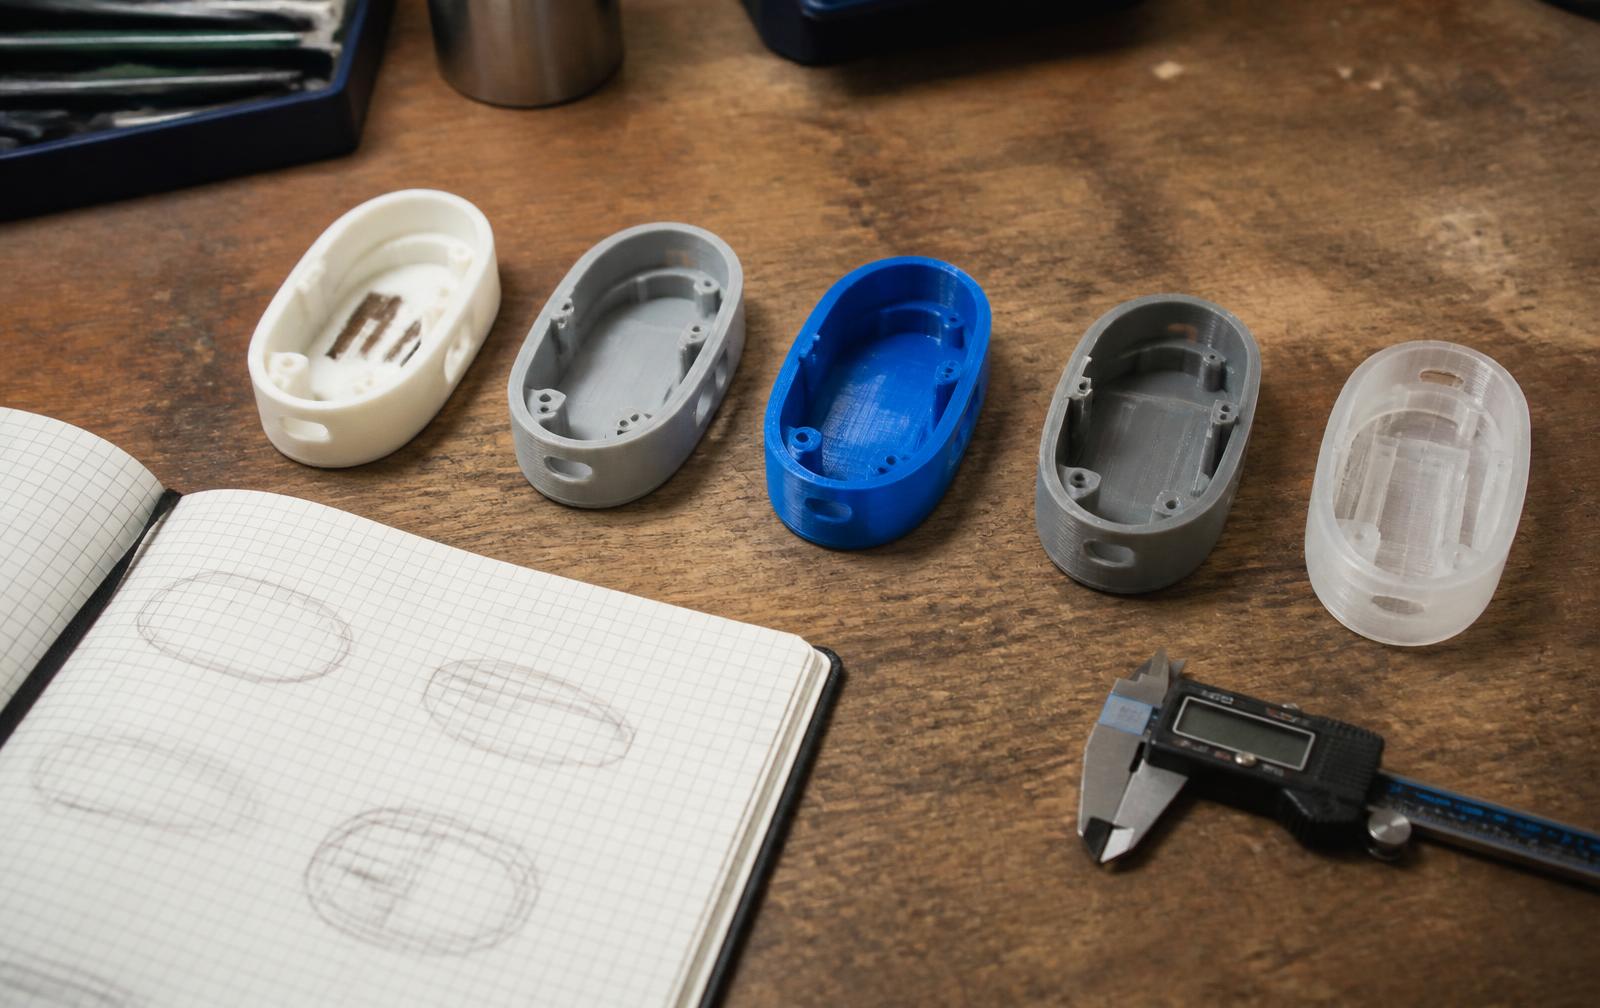
3D-printed housing | Injection molded with draft and uniform walls | Print geometry cannot be molded as-is |
Machined metal bracket | Stamped, cast or molded-in feature | Machining does not scale on cost |
Screws and glue everywhere | Snap fits, ultrasonic welds, fewer parts | Assembly labor dominates unit cost |
Dev board electronics | Custom PCBA with DFT test points | Certification and cost require a real board |
Tight tolerances everywhere | Tolerances only where function requires | Every tenth of a millimeter costs money |
Part-count reduction is the highest-leverage DFM move available: fewer parts means less tooling, less assembly labor, fewer suppliers and fewer failure modes.
Step 3: Build an engineering prototype
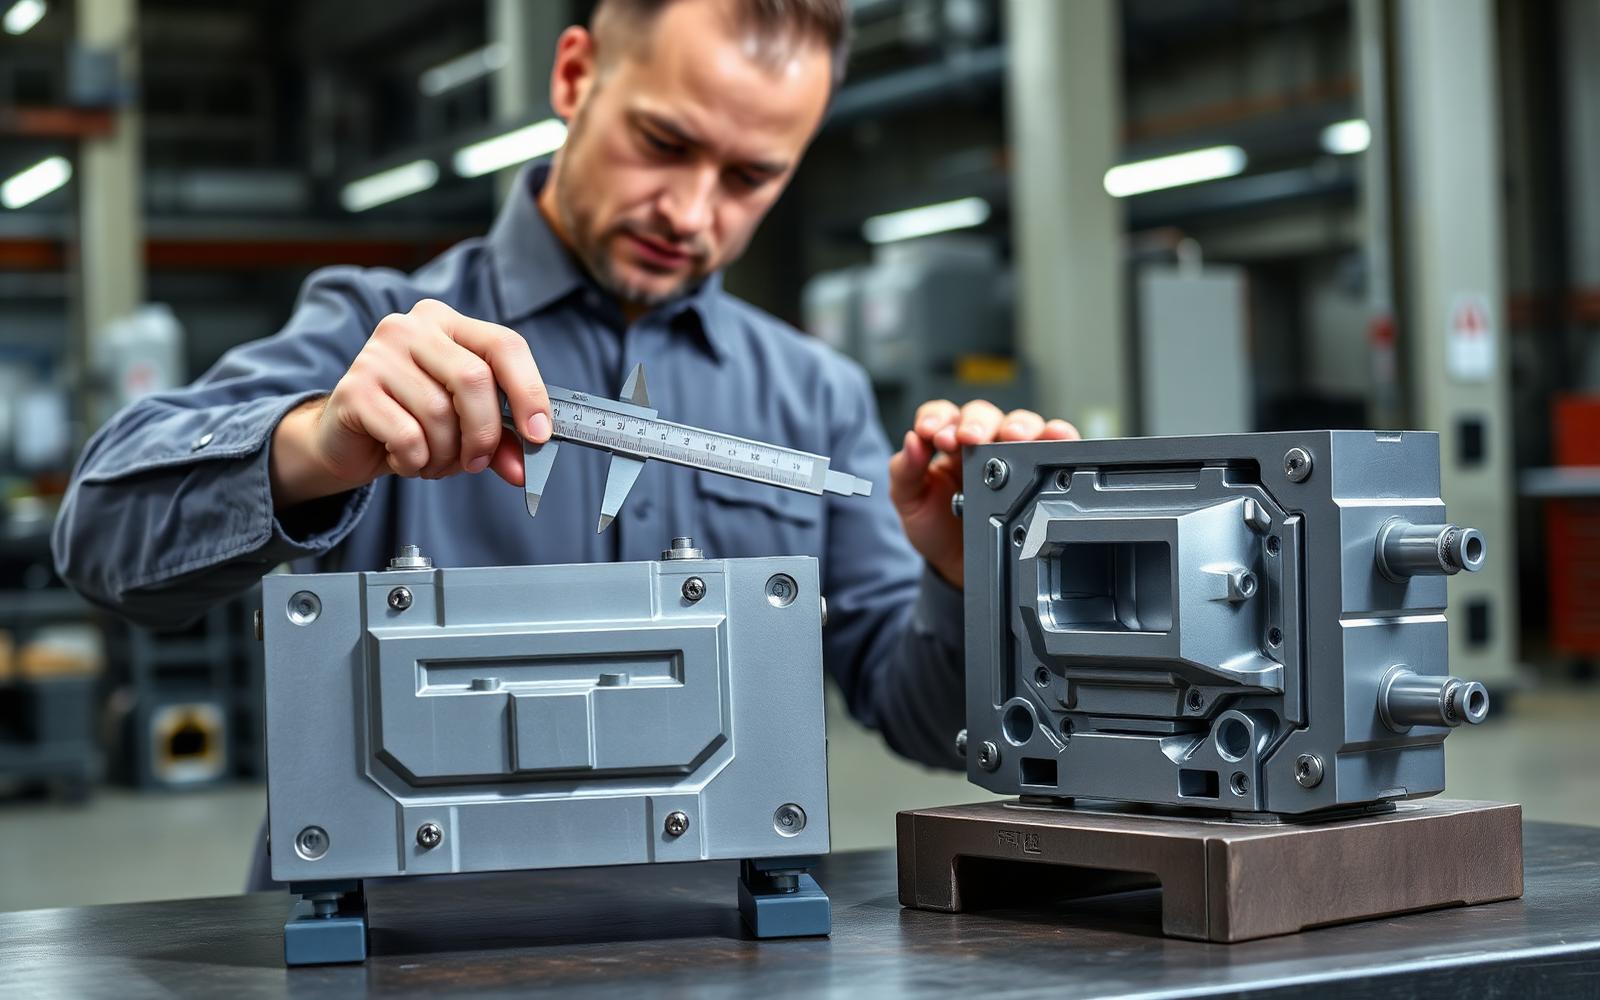
The engineering prototype uses production-intent materials and, where possible, production processes. It is the first build whose test results mean anything for the real product.
- Functional and environmental testing — drop, vibration, thermal cycling, ingress and life testing.
- Pre-compliance testing — EMC and safety scans before formal certification, when fixes are still cheap.
- Assembly trial — have someone unfamiliar with the design build it from the documentation only.
- Cost verification — quote the real BOM with real suppliers at real volumes.
Step 4: Documentation package
You cannot buy production with a prototype and a conversation. Manufacturers quote from documents.
- 3D CAD in a neutral format such as STEP, plus native files
- 2D drawings with critical dimensions, tolerances, materials and finishes
- Bill of materials with approved suppliers and part numbers
- Assembly instructions and torque or process specifications
- Test and acceptance criteria, including what constitutes a reject
- Packaging, labeling and regulatory marking requirements
Have a prototype and no idea what production costs?
We take invention prototypes through DFM, engineering builds and manufacturing transfer, with real quotes at every step.
Step 5: Pilot run before tooling
A pilot lot of 50 to 500 units using bridge tooling, soft tooling or high-quality additive processes exposes assembly and quality problems while changes still cost hundreds rather than tens of thousands.
Approach | Unit range | Tooling cost | Best for |
|---|---|---|---|
3D printing at production quality | 1 to 200 | $0 | Complex geometry, tiny volumes |
Urethane casting | 20 to 500 | $1,000 to $8,000 per pattern | Appearance and pilot parts |
Aluminum bridge tooling | 500 to 10,000 | $3,000 to $20,000 | Validating before hard steel |
Hard steel production tooling | 10,000+ | $15,000 to $150,000 | Committed volume |
Step 6: Certification and compliance
Compliance is a schedule item, not a formality, and it shapes the design. Plan it before tooling is cut.
Product type | Common requirements | Typical cost | Timeline |
|---|---|---|---|
Consumer electronics (US) | FCC Part 15, UL/ETL safety | $8,000 to $30,000 | 6 to 12 weeks |
Wireless devices | FCC certification, module or intentional radiator | $10,000 to $40,000 | 8 to 16 weeks |
Children's products | CPSIA, ASTM F963, third-party lab | $3,000 to $15,000 | 4 to 10 weeks |
Medical devices | FDA pathway, IEC 60601, biocompatibility | $50,000 to $500,000+ | 6 to 24 months |
EU market | CE marking, RoHS, REACH, EU declaration | $5,000 to $40,000 | 6 to 16 weeks |
What it costs and how long it takes
Phase | Typical cost | Typical duration |
|---|---|---|
Design for manufacturing | $8,000 to $40,000 | 4 to 10 weeks |
Engineering prototype | $10,000 to $60,000 | 4 to 12 weeks |
Pilot run | $15,000 to $80,000 | 6 to 12 weeks |
Production tooling | $15,000 to $150,000 | 8 to 16 weeks |
Certification | $5,000 to $50,000 | 6 to 16 weeks |
Where inventors get stuck
- Sending a prototype and asking for a quote. No documentation, no real quote.
- Tooling before pilot. Steel is unforgiving and modifications are expensive.
- Ignoring assembly labor. A clever mechanism that takes 20 minutes to assemble is not clever at volume.
- Discovering compliance late. Certification failures after tooling are the classic program killer.
- One supplier, no backup. A single source is a single point of failure.
- Underfunding the ramp. First production runs need cash for inventory before revenue arrives.
Ready to move from prototype to production?
We handle DFM, engineering prototypes, pilot runs, tooling and manufacturing transfer under one roof.
The pre-production checklist
Between a working prototype and a production order there is a specific list of things that must be true. Missing any one of them does not stop the order from being placed — it stops the parts from being usable when they arrive.
- Design frozen at a released revision, with a change log and one person who approves changes.
- DFM review completed with the actual manufacturing process: draft angles, wall thickness, radii, undercuts, assembly access.
- Tolerance stack-up run on every fit, seal and moving interface.
- Bill of materials sourced, with lead times, minimum order quantities and at least one alternate on long-lead parts.
- Certification path confirmed and pre-scan testing done if the product contains electronics or a radio.
- Packaging designed and drop-tested in the channel it will actually ship through.
- Inspection criteria written, including cosmetic acceptance limits and a golden sample.
- Tooling ownership and payment terms in writing before the first cutting deposit.
From prototype process to production process
Prototype process | Production equivalent | What changes in the design |
|---|---|---|
SLA / SLS printed housing | Injection molding | Add draft, uniform walls, bosses, gate and ejector locations |
CNC machined metal | Die casting or stamping | Radii, parting lines, machining allowance on critical faces |
Hand-soldered PCB | Automated SMT assembly | Component availability, panelization, test points, fiducials |
Adhesive-bonded assembly | Snap fit or ultrasonic weld | Energy directors, joint geometry, service access |
Off-the-shelf fasteners | Heat-set inserts or self-tapping bosses | Boss geometry and torque specification |
Pilot run: the last cheap place to find problems
Order a pilot run of fifty to five hundred units built on production tooling, by production operators, using the production work instructions.
Its purpose is not inventory. It is to expose everything the engineering build hid — operators interpreting a step differently, a fixture that lets a part go in backwards, a cosmetic defect that only appears at full cycle time.
Fix what the pilot finds before the first full order, when a tool change still costs hundreds rather than tens of thousands.
Frequently asked questions
How do you take an invention prototype to production?
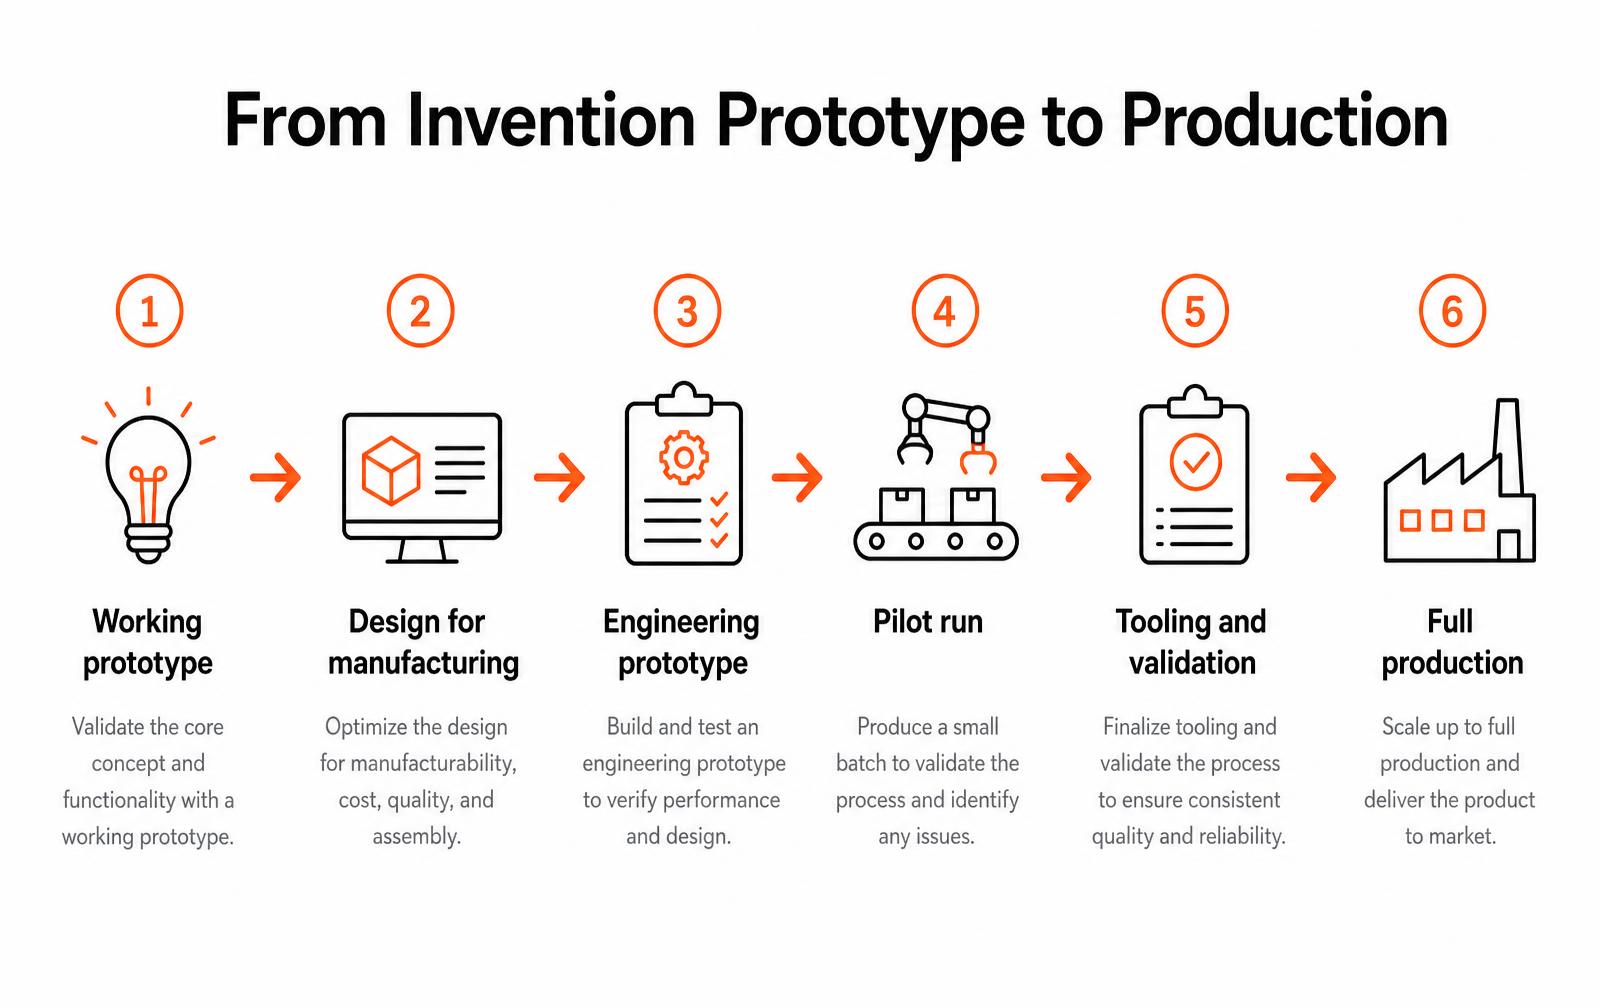
Validate that the prototype proves function, usability and demand. Redesign it for the chosen manufacturing process. Build an engineering prototype in production-intent materials and test it. Assemble a complete documentation package. Run a pilot lot with soft or bridge tooling. Then cut production tooling and complete certification.
How much does it cost to move a prototype to production?
For a typical consumer product, expect $8,000 to $40,000 for design for manufacturing, $10,000 to $60,000 for engineering prototypes, $15,000 to $80,000 for a pilot run, $15,000 to $150,000 for production tooling, and $5,000 to $50,000 for certification.
How long does it take to go from prototype to production?
Nine to eighteen months is typical for a moderately complex product. Design for manufacturing takes four to ten weeks, engineering prototypes four to twelve, pilot production six to twelve, tooling eight to sixteen, with certification running partly in parallel.
What documents does a manufacturer need to quote my invention?
A manufacturer needs 3D CAD in STEP format, dimensioned 2D drawings with tolerances and materials, a bill of materials with suppliers, assembly instructions, test and acceptance criteria, and packaging and labeling requirements. Without these, any quote you receive is a guess.
Do I need a patent before manufacturing my invention?
Not legally, but file before public disclosure or sale if you want protection outside the US, since most countries have no grace period. A provisional application secures a priority date for around $130 to $320 in USPTO fees and gives you twelve months to test the market.
What is the difference between a prototype and a production part?
A prototype is built once by hand to answer a question, often using processes and materials that do not scale. A production part is designed around a repeatable process, holds documented tolerances, uses qualified materials, and can be made thousands of times at a predictable cost and quality level.
Production readiness checklist for an invention prototype
Moving from an invention prototype to production is a documentation problem as much as an engineering one. A manufacturer cannot quote, build or guarantee anything from a working model alone. The package below is what a US or overseas factory expects before tooling starts.
Released 3D CAD (STEP + native) | Tool and fixture design | Mechanical engineer |
|---|---|---|
2D drawings with GD&T | Inspection criteria | Mechanical engineer |
Indented BOM with approved sources | Purchasing and cost | Engineering + operations |
Assembly work instructions | Line setup and training | Manufacturing engineer |
Test and inspection plan | Acceptance and yield tracking | Quality |
Packaging specification and drop plan | Transit survival | Packaging engineer |
Certification file | Legal to sell | Compliance consultant |
What tooling actually costs and how long it takes
Aluminum bridge tool | $4k – $15k | 3 – 5 weeks | 5k – 20k shots |
|---|---|---|---|
Single-cavity steel tool | $12k – $35k | 6 – 10 weeks | 250k+ shots |
Multi-cavity steel tool | $40k – $120k | 10 – 16 weeks | 1M+ shots |
Sheet metal / stamping die | $8k – $60k | 6 – 14 weeks | Volume dependent |
The three builds before mass production
- EVT — engineering validation: does the design work? 10–50 units, hand-built, expect redlines.
- DVT — design validation: does it survive testing and certification? 50–300 units from soft tooling.
- PVT — production validation: can the line build it at yield? 300–1,000 units on the real process, real operators.
- Skipping PVT is the single most common reason a first production run arrives with a 10%+ defect rate.
Budget six to twelve weeks and $15k–$60k for the build sequence on a typical consumer product. Inventors who treat that spend as optional generally pay it later in sorting, rework and returns, at a higher price and with a damaged first impression.
Choosing and qualifying a manufacturer
The factory decision shapes cost, quality and how much of your time the program consumes. Qualify at least three candidates against the same criteria and ask each to quote the same released package — a quote produced from different assumptions is not a comparison.
Relevant experience | Three products in your category and volume band | Only larger or only smaller programs |
|---|---|---|
Quality system | ISO 9001 certificate, recent audit findings | No documented corrective action process |
Tooling ownership | Written statement that you own the tools | Tool ownership held by the factory |
Engineering support | Named DFM contact and turnaround time | Sales-only communication |
Capacity | Current utilization and second shift ability | Your run is their largest ever |
Change handling | ECO process and cost of a mid-run change | Verbal change acceptance |
Landed cost, not unit price
- Unit price from the quote is typically 55–70% of landed cost for imported goods.
- Add duty, freight, insurance, inbound handling, and inventory carrying cost before setting a retail price.
- Amortize tooling across a realistic first-year volume, not the optimistic one.
- Reserve 3–5% of cost of goods for warranty and returns on a first product.
Run those numbers before the tool kickoff. Inventors who discover their true landed cost after tooling has been cut generally face the worst possible choice: raise the price above what testing showed buyers would pay, or ship at a margin that cannot fund a second run.
Ready to take your invention to production?
We run DFM, tooling and pilot builds so the first production order arrives usable.
Work with LA NPDT: if you are moving from here to execution, start with our rapid prototyping services or talk to us about prototype design.
Filed under:Uncategorized
Services related to this guide
- Low-volume manufacturingFirst production runs without full injection-mould tooling.
- Best product development companiesHow the leading US firms compare, and which one fits your stage and budget.
- Product design servicesIndustrial design and CAD taken all the way to manufacturable files.
- Order a prototypeSend a part or an idea and get a build quote back.