Prototyping in Product Development: How to Do It Right
A disciplined prototyping loop with fidelity guidance, iteration budgets, test criteria and the failure patterns that quietly cost months.
June 13, 20238 min read

Written by Konstantin Dolgan, Ph.D., NPDP
Founder & CEO, Product Development Engineer
Published June 13, 2023Updated September 2, 2026
Prototyping done right is a loop, not a phase: define one question, build the least you can to answer it, test against written criteria, then decide. Teams that skip the question end up with beautiful models that prove nothing and a schedule full of iterations nobody planned.
This guide covers the prototyping loop, how to choose fidelity, how many iterations to budget, what to measure, and the failure patterns that quietly consume months. For build mechanics and pricing, see how to make a prototype and prototype costs.
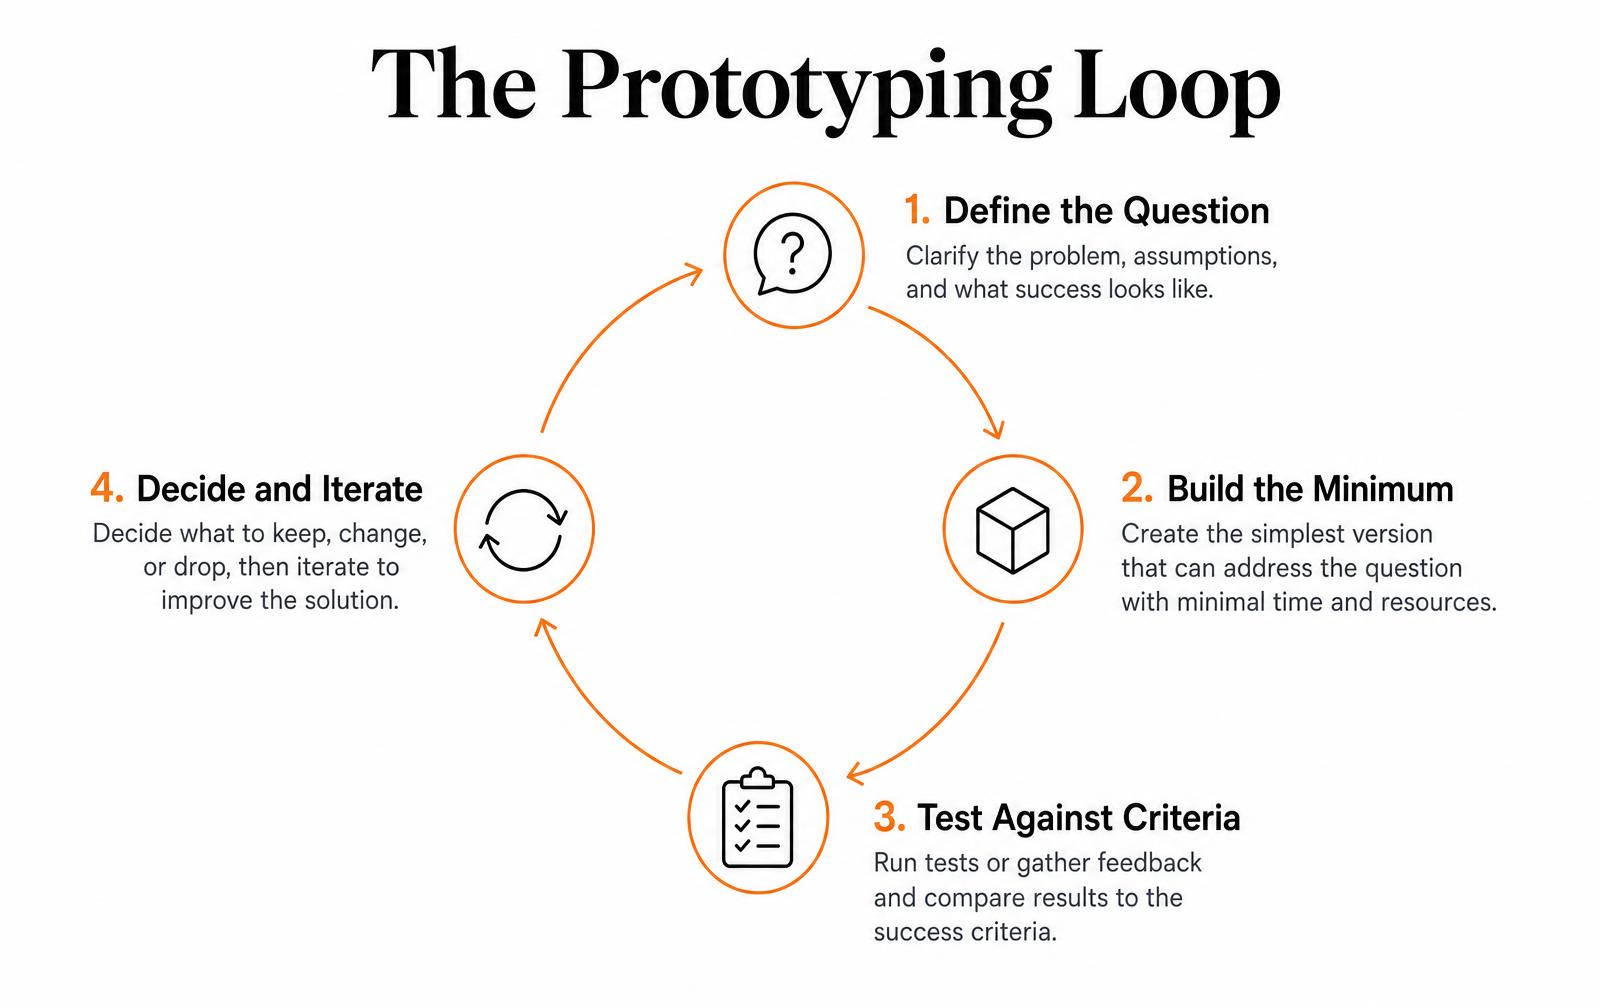
Step 1: Write the question before you build anything
A prototype is an experiment with a physical body. Experiments need a hypothesis. Before any file is sent out, write the question in a form that has a testable answer: not "does this work," but "does the latch survive 5,000 open-close cycles without permanent deformation." The moment the question is written, the right fidelity and the right budget usually become obvious.
Risk you are carrying | Question to write | Prototype that answers it |
|---|---|---|
Nobody wants this | Will target users choose this over what they use today? | Appearance model or clickable mockup in front of real users |
It may not physically work | Does the mechanism meet the performance spec? | Ugly functional rig, no enclosure |
It may cost too much | Can this be built for the target unit cost at volume? | Design-for-manufacturing study plus supplier quotes |
It may not survive use | Does it pass drop, cycle and environmental testing? | Production-material unit |
It may not certify | Does it pass EMC, safety or biocompatibility? | Pre-production unit built by the real process |
Step 2: Match fidelity to the question, not to your pride
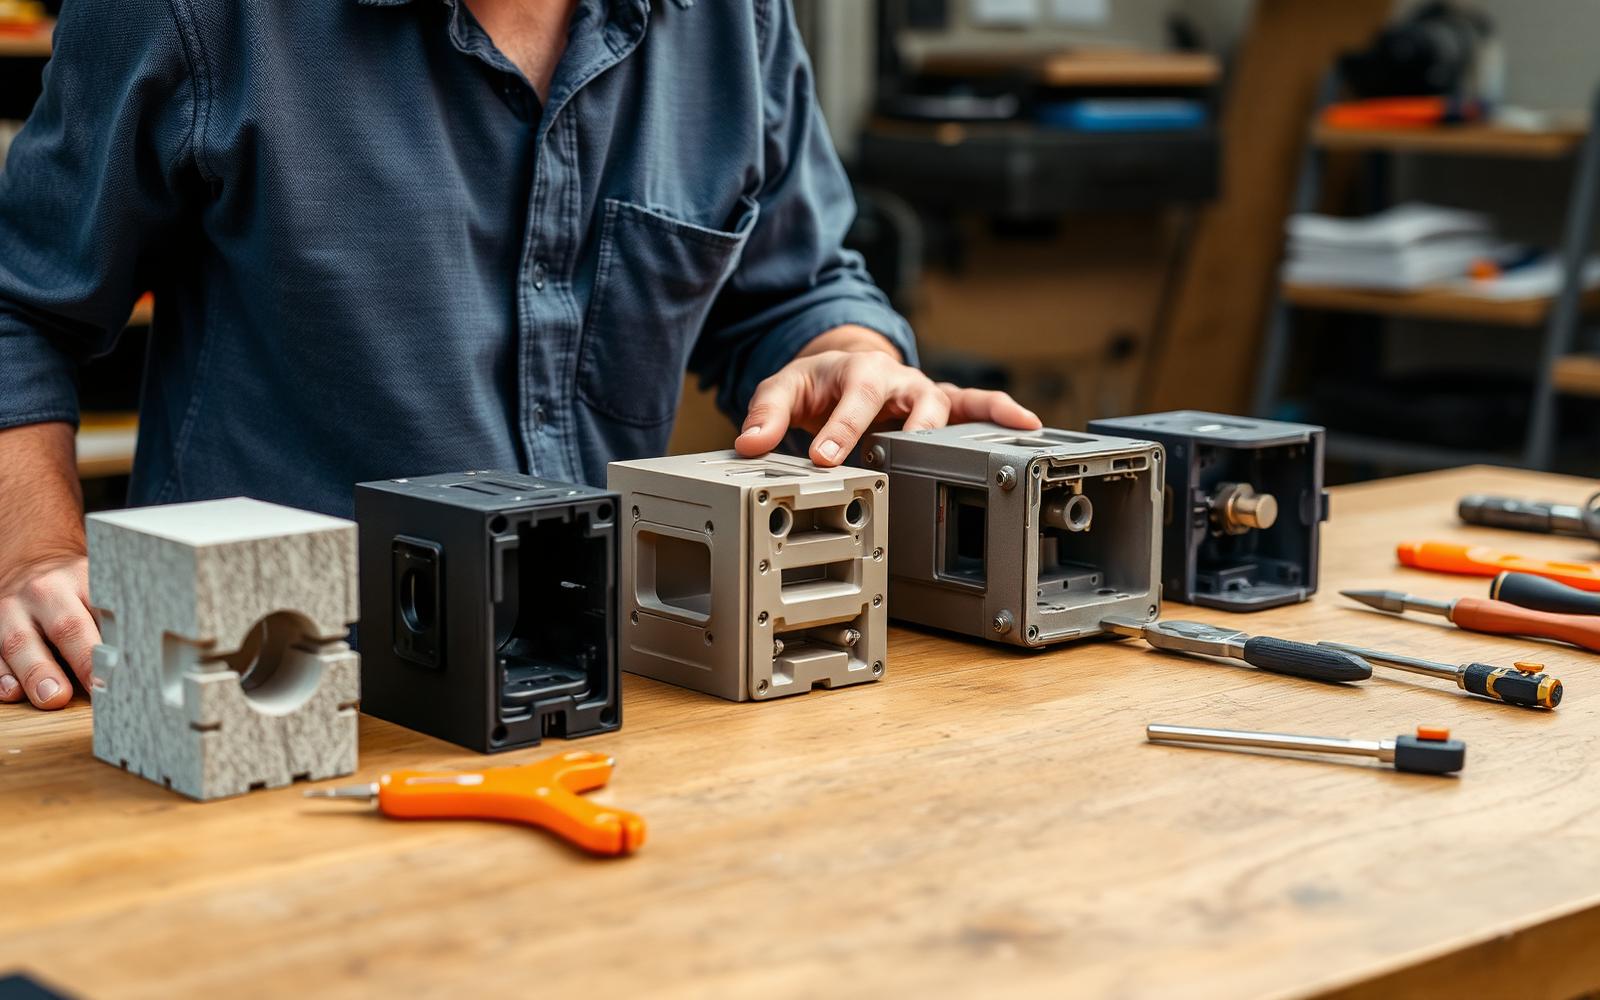
Fidelity costs money exponentially and information linearly. A cardboard mockup answers layout questions as well as a machined aluminum one. Raise fidelity only when the cheaper version can no longer answer the question honestly.
Fidelity | Typical cost | Build time | Answers | Does not answer |
|---|---|---|---|---|
Sketch or foam model | Under $500 | Hours | Proportion, layout, basic ergonomics | Function, durability, cost |
Printed form model | $200 to $2,000 | 1 to 5 days | Fit, size, hand feel | Strength, thermal, finish quality |
Functional rig | $2,000 to $15,000 | 2 to 6 weeks | Whether the mechanism or circuit works | Consumer appeal, aesthetics |
Looks-like works-like | $8,000 to $50,000 | 6 to 14 weeks | Whether form and function coexist at cost | Mass production variation |
Pre-production unit | $15,000 to $100,000+ | 10 to 20 weeks | Process capability, certification readiness | Long-term field reliability |
If a cheaper prototype could have answered the same question, the expensive one was a purchase, not an experiment.
Step 3: Test against criteria written in advance
Criteria decided after the results arrive are not criteria, they are rationalizations. Write pass conditions with numbers before the prototype exists: cycle counts, force thresholds, temperature limits, task completion rates, time-on-task. For user testing, define what counts as success — five of eight participants completing setup unaided in under three minutes, for example — and record where people hesitate rather than what they say afterwards.
- Functional tests: cycle life, load, force, leak, thermal rise, battery runtime.
- Environmental tests: drop, vibration, humidity, UV exposure, temperature cycling.
- Usability tests: unaided setup, error rate, time on task, points of hesitation.
- Manufacturing tests: assembly time, part fit variation, tooling feasibility, unit cost at volume.
- Compliance pre-checks: EMC scans, safety clearances, material declarations before formal certification.
Step 4: Decide, and record why
Each loop ends in one of four outcomes: proceed, revise, pivot, or stop. Write down which one and the evidence behind it. A short decision log prevents the most expensive pattern in product development — relitigating a settled question three months later because nobody remembers why the second concept was dropped.
How many iterations to budget
Product type | Typical prototype rounds | Rough prototyping budget | Elapsed time |
|---|---|---|---|
Simple mechanical consumer product | 3 to 5 | $10,000 to $40,000 | 2 to 5 months |
Consumer product with electronics | 5 to 8 | $40,000 to $150,000 | 5 to 10 months |
Connected or app-paired device | 6 to 10 | $80,000 to $300,000 | 8 to 14 months |
Regulated device (medical, industrial) | 8 to 12+ | $150,000 to $750,000+ | 12 to 24 months |
Programs that plan for three rounds and need seven do not fail because prototyping is unpredictable. They fail because the first three rounds each tried to answer several questions at once, so no round produced a clean decision.
Failure patterns worth recognizing early
Pattern | What it looks like | Correction |
|---|---|---|
The showpiece | A polished model built before function is proven | Split appearance and function into separate builds |
Question creep | One prototype loaded with five unrelated goals | One prototype, one primary question |
Perpetual polish | Endless refinement without a pass or fail decision | Written criteria and a scheduled decision date |
Skipping to tooling | Tooling ordered before a working unit exists | Gate tooling behind a passing looks-like works-like unit |
Testing the wrong material | Structural conclusions drawn from printed parts | Test structure in the production material and process |
No documentation | Results in someone's head, decisions relitigated | One-page test report and decision log per round |
Prototyping for software and connected products
The loop is identical, the artifacts differ. Paper sketches and clickable prototypes answer flow and comprehension questions in days. A thin vertical slice — one feature working end to end against real data — answers whether the architecture holds. For connected hardware, prototype the pairing and onboarding flow early with a hardware stand-in, because setup friction, not the device itself, is what generates returns.
Frequently asked questions
What is prototyping in product development?
Prototyping is the practice of building a partial or preliminary version of a product to answer a specific question before committing to production. It runs as a loop: define the question, build the minimum needed to answer it, test against criteria written in advance, then decide whether to proceed, revise, pivot or stop. Each loop removes one category of risk from the program.
How many prototypes does a product need?
A simple mechanical product typically needs three to five rounds. Products with electronics usually need five to eight, connected devices six to ten, and regulated products such as medical devices eight to twelve or more. The count depends less on complexity than on discipline: prototypes that each answer one clearly stated question resolve risk in fewer rounds than prototypes that try to prove everything at once.
When should you stop prototyping and start production?
Stop when the remaining open questions can only be answered by production itself. Practically, that means a looks-like works-like unit has passed its functional and environmental criteria, the unit cost is confirmed by supplier quotes at real volume, the design has passed a design-for-manufacturing review, and certification pre-checks are clean. If a prototype round would only refine preferences rather than resolve risk, it is time to tool.
What is the difference between a prototype and an MVP?
A prototype is built to answer an internal question and is usually not sold. A minimum viable product is a shippable version with the smallest feature set that real customers will pay for, and its purpose is to test demand in the market rather than technical feasibility. Hardware programs generally need several prototypes before an MVP is even possible, because manufacturing cannot be faked.
How much should I budget for prototyping?
Budget $10,000 to $40,000 for a simple mechanical consumer product, $40,000 to $150,000 when electronics are involved, and $150,000 or more for regulated products. A useful planning rule is that prototyping consumes 20% to 35% of total development spend before tooling, and that the largest single variable is the number of iteration rounds, which good question discipline reduces.
Run the loop with a team that has done it before
LA NPDT scopes each prototype round against the risk it retires, then builds it through rapid prototyping, engineering and design in one team. Tell us what you are unsure about and we will tell you the cheapest build that settles it.
Choosing a prototyping process by question and quantity
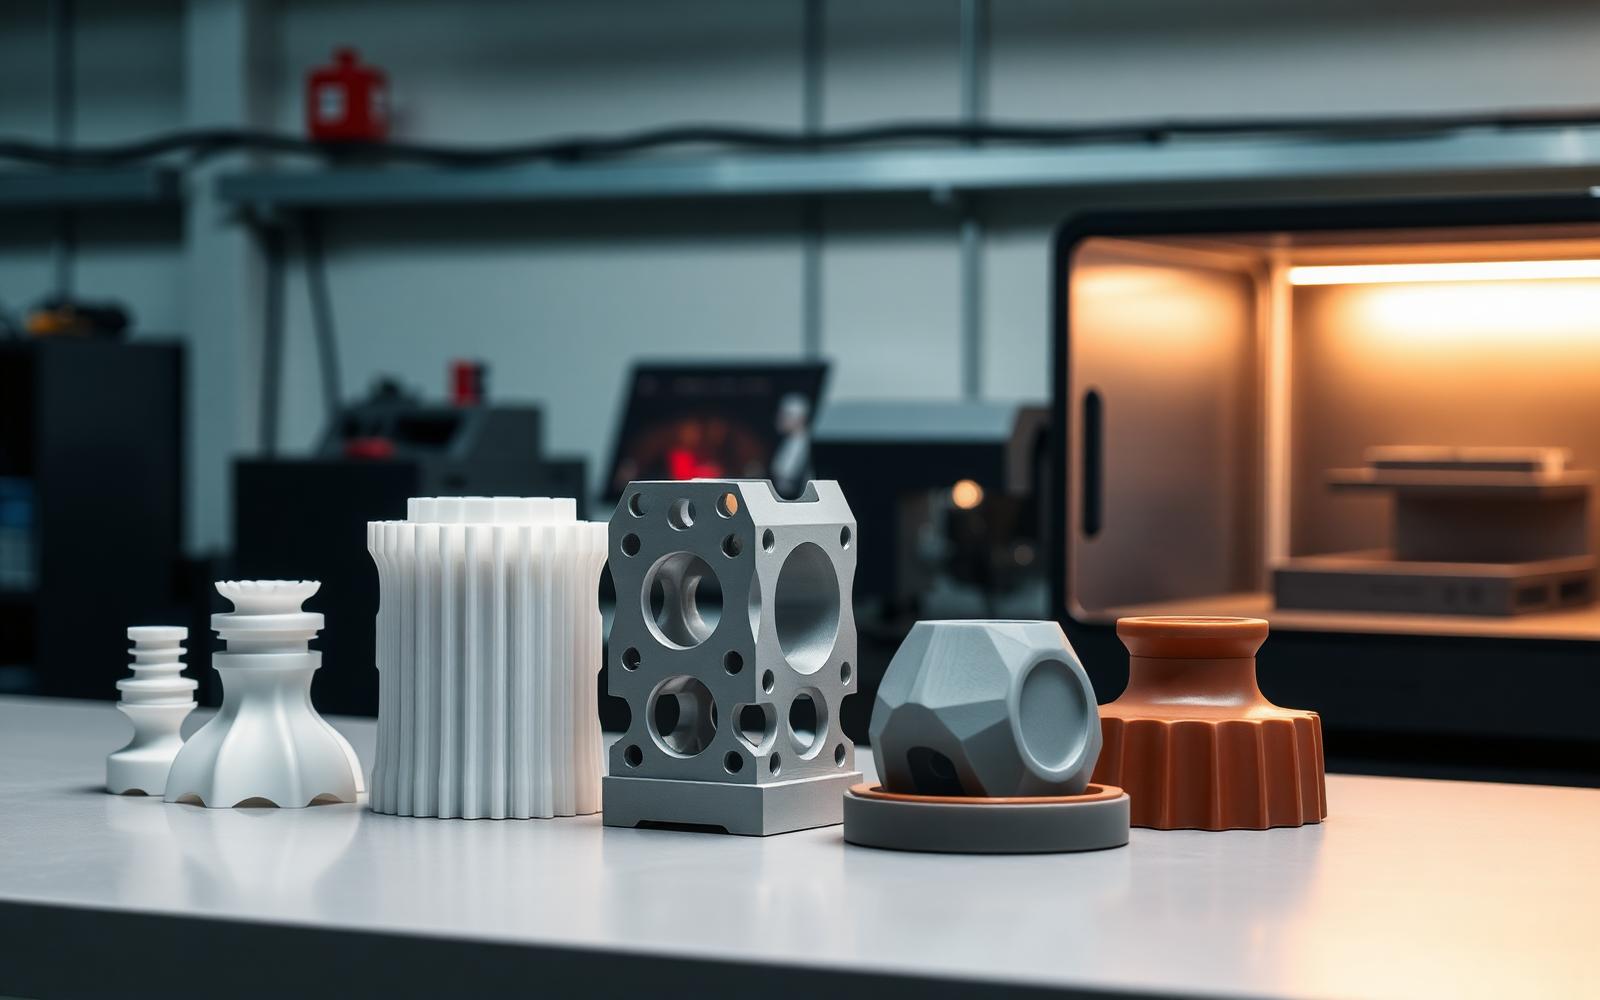
Every prototyping process answers some questions well and misleads on others. A resin print looks beautiful and tells you nothing about living hinges; a machined part tells you about fit and strength but not about molded wall behavior. Match process to the question and to the number of units you actually need.
Process selection guide
Process | Answers well | Misleads on | Typical lead time | Sensible quantity |
|---|---|---|---|---|
FDM printing | Size, layout, basic fit | Surface finish, strength | 1-3 days | 1-5 |
SLA / DLP resin | Appearance, fine detail | Toughness, UV stability | 2-5 days | 1-10 |
SLS nylon | Functional fit, snap features | Cosmetic finish | 3-7 days | 1-50 |
CNC machining | Strength, tight tolerance fit | Molded-part behavior | 1-2 weeks | 1-50 |
Urethane casting | Look and feel of molded parts | Long-term material properties | 2-3 weeks | 10-100 |
Bridge / soft tooling | True molded behavior | Nothing much - it is representative | 4-8 weeks | 100-5,000 |
The costly mistake is skipping straight from printed parts to production tooling. Where the design has snap fits, seals or living hinges, one soft-tool round almost always pays for itself by catching the geometry problems that only appear in a molded part.
Before ordering a prototype round
- Write the question the round must answer, and the pass criterion.
- Choose the cheapest process that answers it honestly.
- Order enough units for destructive testing plus spares.
- Note which properties the process will not represent, so results are read correctly.
- Record the outcome and the decision before starting the next round.
Key takeaways
- Pick a prototyping process by the question it answers, not by convenience.
- Printed parts mislead on strength, seals and living hinges.
- One soft-tool round before production tooling usually pays for itself.
What to record after every prototype round
Prototyping in product development produces two outputs: parts and knowledge. Teams routinely keep the parts and lose the knowledge, which is why the same question gets re-tested at month nine that was already answered at month three. A one-page record per round fixes it, and it takes fifteen minutes to write while the results are fresh.
Field | What goes in it | Why it matters later |
|---|---|---|
Question | The single thing this round had to answer | Prevents scope creep into a showpiece build |
Build configuration | Process, material, finish, firmware version, revision ID | Makes a result reproducible six months on |
Pass criteria | Numbers written before the test | Stops results being reinterpreted after the fact |
Result | Measured values, not adjectives | Feeds directly into the specification |
Decision | Proceed, revise, pivot or stop, with the reason | Creates an auditable design history for regulated products |
Carry-forward | What the next round must change | Turns one loop into a program |
Keep the records in one place with sequential round numbers. For medical, aerospace or any product likely to face a liability claim, this file is also the beginning of a design history file — and it is far cheaper to accumulate it as you go than to reconstruct it under audit.
Writing a test protocol a prototype can actually fail
A test that a prototype cannot fail is a demonstration. Useful protocols name the sample size, the environment, the load, the number of cycles and the exact threshold that constitutes a failure. Three drops onto carpet by whoever is in the room is not a drop test.
- Sample size: three units minimum for anything that will be quoted as a claim; one unit tells you a part can pass, not that the design does.
- Conditioning: state temperature and humidity, and let parts sit at condition for at least four hours before testing.
- Load and rate: a 200 N push applied slowly and applied as an impact are different tests with different results.
- Cycles: derive them from expected life — two uses a day over three years is roughly 2,200 cycles, so testing 50 proves nothing.
- Failure definition: visible crack, permanent set beyond a stated value, loss of function, or a measured drop below spec. Write it down before you start.
Who should be in the room at a prototype review
Prototype reviews go wrong when they become status updates. Keep them to the people who can change something: the engineer who owns the design, whoever will manufacture it, someone who represents the user, and the person holding the budget. Twenty minutes with those four beats an hour with twelve spectators. Ask three questions in order — what did we learn, what does it change, and what is the next question — and end with the next round scoped and dated.
Prototype round checklist
- The question and the pass criteria are written before parts are ordered.
- The cheapest process that can answer the question has been selected.
- Sample size and test conditions are defined, not improvised.
- A review is scheduled for the week the parts land, with decision-makers in the room.
- The round record is filed and the carry-forward list feeds the next build.
Budget discipline between rounds
Prototyping budgets rarely fail on a single expensive build; they leak across many unplanned small ones. A round that was scoped as four parts becomes eleven because someone wanted to see a colour option, and the schedule absorbs a week nobody assigned. Two habits keep this contained.
- Cap each round in advance with a number and a date, and treat an overrun as a decision that needs the same approval as a new round.
- Batch the curiosity items. Keep a running list of nice-to-know builds and order them together with the next planned round instead of one at a time.
- Reserve twenty to thirty percent of the prototyping budget for the round you did not predict, because there is always one.
- Stop paying for fidelity nobody will look at. Painted parts for an internal fit check are a purchase, not an experiment.
Programs that hold to this typically retire the same risks for thirty to forty percent less than programs that improvise each build, and they arrive at design freeze with a documented reason behind every decision rather than a folder of parts nobody can date.
Need prototypes that answer the right questions?
Work with LA NPDT: if you are moving from here to execution, start with our rapid prototyping services or talk to us about prototype design.
Filed under:EducationInspirationWords
Services related to this guide
- Best prototyping companiesDevelopment firms, instant-quote bureaus and local shops — who fits which job.
- Free prototype cost calculatorFive to eight questions, an instant cost range for a first prototype.
- Prototype development companiesWhich firms take a sketch to a working prototype — and which only fabricate parts.
- Rapid prototypingWorking prototypes in days, from 3D printing to vacuum casting.