Before you prototype your AI generated invention, read this
AI can draw your invention in seconds. Here is what to verify on materials, tolerances and tooling before you spend money to prototype an invention.
July 9, 202610 min read

Written by Konstantin Dolgan, Ph.D., NPDP
Founder & CEO, Product Development Engineer
Published July 9, 2026Updated October 8, 2026
← Back to blog LA NPDT / Editorial
In this piece
Start here
Talk to a human
Not sure where to begin? Tell us what you are building and a senior engineer will reply within one business day.
Explore more
Browse all articles on AI product development, manufacturability, and design for manufacturing.
Blog · Design for Manufacturing · 10 min read
A senior product engineer's checklist for turning an AI generated invention into a real part that can actually be built, sold, and shipped. Skip design for manufacturing at this stage and you will pay for it in tooling.
By LA NPDT Published June 12, 2026 Senior engineering team
Where every AI generated invention has to land before it ships: a real part, a real measurement, a real factory plan.
If you used an AI tool to generate an invention, you are holding a render. A render is a hypothesis about form. It is not a part. It does not have a wall thickness, a draft angle, a material, a supplier, a tolerance budget, or a price at 1,000 units. Skipping straight to a prototype before you do real design for manufacturing work is the most common, and most expensive, way founders lose six months on an AI generated product.
The good news is the fix is not a deck. It is a one week sprint with a senior engineer who has shipped this kind of part before. At LA NPDT we run that sprint as a one page Concept to Build Plan, and the same team that writes it carries the work through product discovery, rapid prototyping, DFM, tooling, and pilot production. No handoff. No re-education tax at each vendor. No vision lost in translation.
Here is what should happen before your AI generated invention ever hits a print bed.
Step 1. Read the render as a hypothesis, not a spec
An AI image model does not know about polymer shrinkage, undercuts, or the cost of a side action in an injection mold. It does not know that the radius it drew on the corner will splinter on a cooling part. Before any prototype, an engineer should mark up the render with three things: what is structurally load bearing, what is purely cosmetic, and what is geometry the AI invented because it looked nice.
That markup is your starting brief. Everything cosmetic stays flexible. Everything structural becomes a constraint for the next step.
Step 2. Run a one week product feasibility study, in this order
A useful product feasibility study tests the assumptions that will kill the project, in the order they will kill it. Most teams test in the wrong order, validate market first, and then discover in month five that the part costs $42 to make. Do it this way instead.
- Function. Does the core mechanism do the thing? One focused mockup, even crude, proves or kills this in two days.
- Manufacturability. Can this geometry be molded, machined, or printed at production volume in a real material? A senior engineer answers this on a whiteboard in an hour.
- Regulation. What standards apply (FCC, CE, RoHS, UL, FDA) given where it ships and who uses it? The answer changes the BOM.
- Unit cost. A defensible cost at 100, 1,000, and 10,000 units, with tooling amortization included. Not BOM math. Real quotes from real suppliers we already work with.
- Market. Only worth testing seriously once 1 through 4 do not disqualify the part.
For public reference on disciplined feasibility thinking, the NIST Baldrige performance framework covers the operational side and the USPTO patent basics covers the IP side. Both are worth reading before you cut a check for tooling.
The reason teams flip this order is emotional. Market validation is the fun part. You get to talk to humans, post a landing page, count signups, and feel momentum.
Manufacturability is the unglamorous part. You get to argue with a senior engineer about a 0.8 mm wall and a side action that adds eleven thousand dollars to the tool. So teams chase the dopamine and skip the math, and the math eventually wins.
It always does. The part either comes out of the mold at your target cost or it does not, and no amount of demand will rescue a part that costs three times what the market will pay.
Here is the same logic in a single table. Run each risk against the cost to test it now versus the cost to discover it after tooling. The ratio is what should set your order.
Function | 2 days, crude mockup, ~$500 | Recut tool, new geometry, 8 to 12 weeks, $40k+ | ~80x |
|---|---|---|---|
Manufacturability | 1 hour senior engineer review, ~$300 | Steel safe rework or full tool recut, $20k to $80k | ~100x |
Regulation | 1 day standards scoping, ~$800 | Failed cert, redesigned BOM, 3 to 6 month delay | ~50x |
Unit cost | Real supplier quotes, 1 week, ~$1,500 | Repriced product, lost margin, lost retail slot | Project-killing |
Market | Landing page, ad spend, 2 weeks, ~$2,000 | Pivot positioning, keep the part | ~3x |
Read that table twice. The cheapest risk to leave for last is the one most teams test first. The most expensive risk to leave for last is the one most teams test never. Reverse the order and you compress your timeline by months.
Step 3. Choose materials before you choose form
This is the single most common mistake on an ai generated product. Founders fall in love with a finish the render shows (brushed aluminum, soft touch rubber, frosted polycarbonate) and only later discover that finish drives the cost, the tooling, or the assembly route. Pick the material family first, then refine the form to suit it. The render adapts cheaply. The mold does not.
Step 4. Decide what the prototype is supposed to prove
A prototype that tries to prove everything proves nothing. Before you print, write down the one assumption this prototype exists to test. Form factor, fit, a specific user moment, a thermal question, a sealing question. Build only that. Print the rest in the cheapest material that will survive the test.
This is the discipline that makes rapid prototyping useful instead of theatrical. Three focused prototype passes beat one beautiful one every time.
Most AI generated inventions do not die because the idea was wrong. They die because someone prototyped the render literally, then discovered in week ten that the production part needs different geometry, different material, and a different supplier. LA NPDT team
Step 5. Do real DFM analysis on day one, not month four
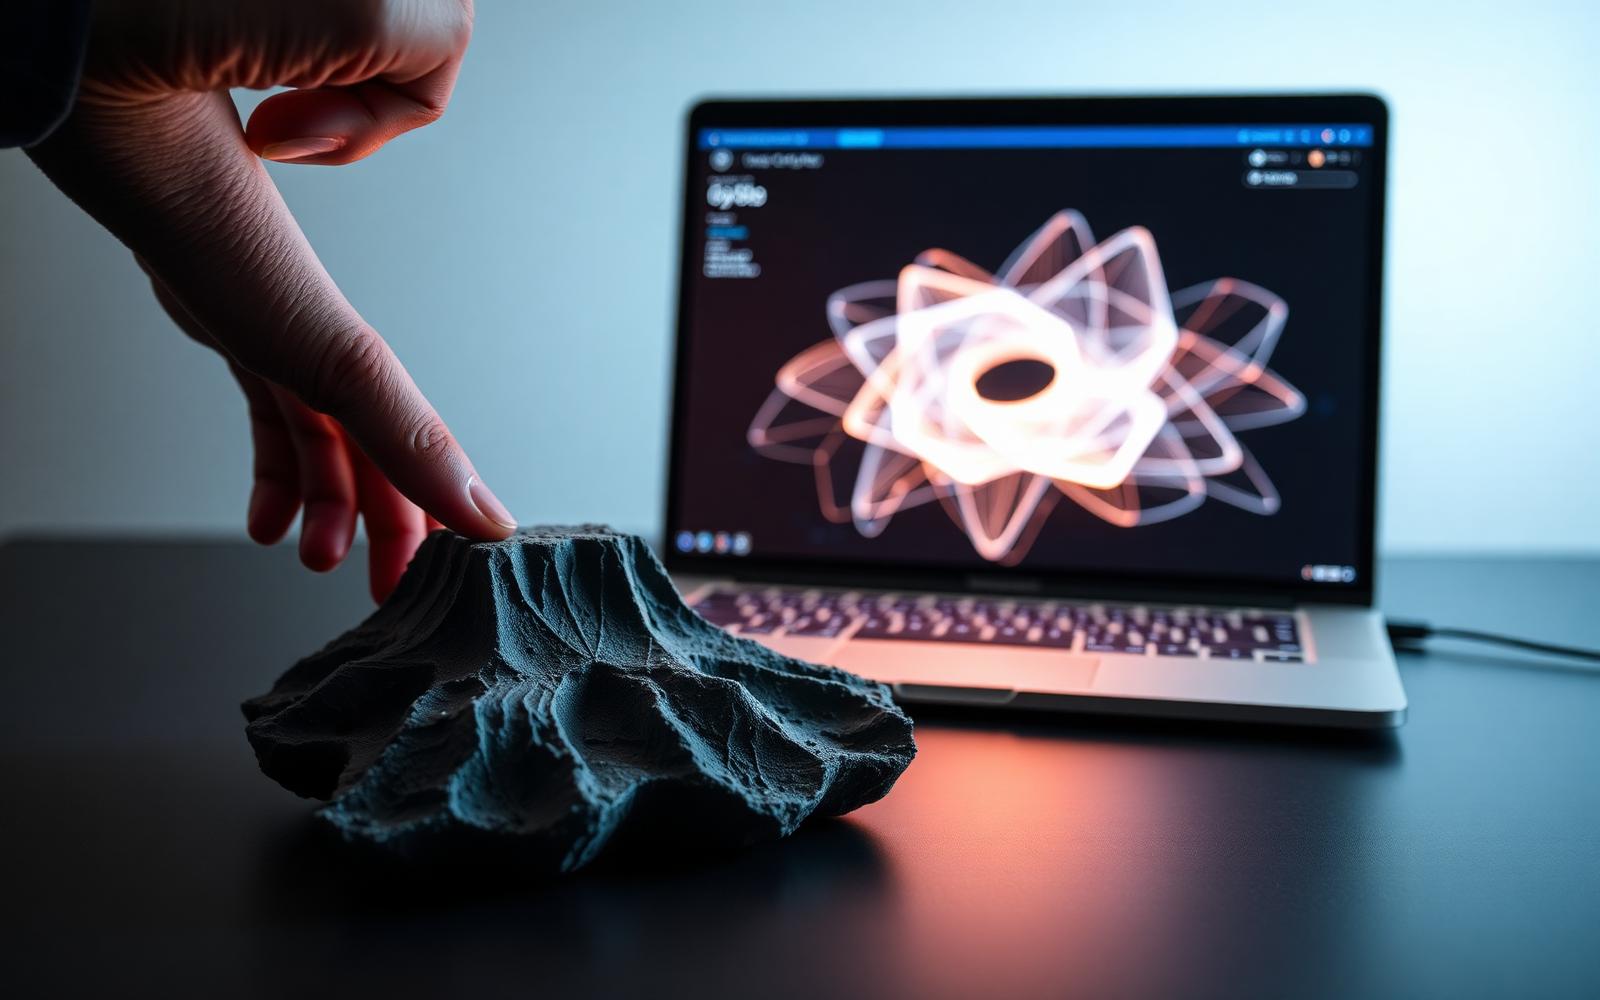
DFM analysis is not a polish phase at the end. It is the lens you use from the first sketch. Wall thickness, parting lines, draft, ejector access, gate location, secondary operations, assembly sequence, repair access, end of life.
When the same senior team owns CAD and DFM, those questions get asked while the geometry is still cheap to move. When they live in different vendors, the questions get asked after the tool is cut, which is the worst possible time.
This is the LA NPDT advantage in one line. The engineer who flags the DFM risk on Monday is the same engineer redesigning around it on Friday. No requote. No restart of the learning curve.
A sink mark on an over-thick boss. Easy to fix in CAD. Expensive to fix in steel. DFM analysis catches this on day one, not month four.
The defect above is the kind of thing a render will never show you. The AI tool drew a thick decorative boss because thick reads as solid and premium. In reality, a boss thicker than 60 percent of the nominal wall cools unevenly, pulls material from the show surface, and leaves the dimple in the photo.
The fix is trivial in CAD (core out the boss, add ribs) and brutal in a finished tool (weld, polish, requalify). Same defect, two completely different costs depending on when it was caught.
That is the entire economic argument for front-loading DFM. The cost of changing a design grows roughly an order of magnitude at each stage: cheap in concept, ten times more in CAD, a hundred times more in tooling, a thousand times more in production, ten thousand times more in a recall. Every hour spent on DFM at the front saves a week somewhere on the right side of that curve.
DFM analysis on the same screen as the CAD. The cheapest place to fix a manufacturability problem is before the tool is cut.
Step 6. Plan the path from prototype to production before you start
Treating prototype to production as one continuous arc, not two separate projects, is what keeps the cost curve sane. The pilot run is just another iteration of the prototype, with different tools and different tolerances. If the prototype was designed without the production part in mind, the bridge will cost you months and a redesign.
The fastest path is a single team that owns industrial design, mechanical and electrical engineering, prototyping, DFM, tooling, and short run manufacturing. For broader context on integrated engineering thinking, the NASA Systems Engineering Handbook is the canonical reference.
Step 7. Hold the part. Watch a stranger use it.
The most underrated step. Hand the prototype to five people who match your buyer. Do not explain anything. Watch where their fingers go, what they try to twist, where they expect a port, what they assume the button does. That signal is worth more than a 60 page market report and it shapes the next iteration directly.
Send us your AI generated render. We will read it today.
Mutual NDA first. Then a senior engineer reads your render, transcript, or CAD and replies with a one page Concept to Build Plan and a real DFM markup the same week.
What this saves you
Running these seven steps before you prototype your AI generated invention is, in practice, the difference between a 30 day path to a part you can hold and an 18 month path to a tool that needs to be recut. The cost of an hour of senior engineering at the front end is roughly one tenth of one percent of the cost of fixing the same problem in steel.
Frequently asked
What does design for manufacturing actually mean for an AI generated product?
Design for manufacturing is the engineering work that turns an AI generated concept into geometry a factory can repeatedly produce at your unit cost. It covers material choice, wall thickness, draft angles, tolerance budgets, fastener and assembly strategy, and supplier reality. ChatGPT or Midjourney will not check any of that. A senior engineer will, in the first week, and that is where most invention budgets are actually saved.
How early should I do a product feasibility study?
Before any tooling money. The point of a product feasibility study is to test the riskiest assumptions cheaply, in the order they will kill the project: function, manufacturability, regulation, unit cost, then market. Most AI generated inventions fail on manufacturability or unit cost, not on the user wanting it.
Is a 3D printed prototype enough to validate an AI generated invention?
It validates form, fit, and some of the user moment. It does not validate the production part. The hand printed prototype and the molded part live in different worlds (different materials, tolerances, surface finish, draft). That is why prototype to production work needs the same team thinking about both stages from day one.
How does LA NPDT compare to a generalist product design agency for this?
A generalist agency hands you a deck. LA NPDT runs design for manufacturing, prototyping, and pilot production under one roof, with one accountable senior team. No requote, no re-education tax at each handoff, no vision lost in translation between vendors. Our DFM analysis happens on the same screen as the CAD, not in a separate firm.
What should I send LA NPDT to get started?
Anything you have: the ChatGPT transcript, a Midjourney or Nano Banana render, a sketch, a rough CAD, a competitor part. Mutual NDA first. A senior engineer reads it the same day and replies with a build direction and a one page Concept to Build Plan that week.
You have the AI generated invention. We are the team that engineers it into a real product.
One accountable senior team. From design for manufacturing through pilot production. No handoffs, no requotes, no education tax.
About the author
LA NPDT
LA New Product Development Team is an award-winning, full-service product design and development company founded in 2015. With experience across more than 1,000 new product development projects, LA NPDT helps inventors, startups, and established companies turn ideas into functional products through research, design, engineering, prototyping, and commercialization support.
Get Started on your Project
A senior engineer reads your AI outputs and replies with a build direction the same week.
What to verify before you prototype an invention
An AI render hides the four variables that decide whether a part can be built. Check each one before you release a file to a shop.
| Variable | What the render assumes | What manufacturing needs | Typical fix cost if caught late |
|---|---|---|---|
| Wall thickness | Uniform, arbitrarily thin | 1.5-3.0 mm for ABS/PC, uniform within 10% | $4,000-$12,000 tool rework |
| Draft angle | Vertical walls | 0.5-2 deg per side on molded faces | $3,000-$8,000 |
| Tolerance stack | Perfect mating | 0.10-0.25 mm per feature, budgeted end to end | $2,000-$15,000 |
| Material grade | Generic plastic | Named resin with UL, flame and impact data | Full requalification |
Pre-prototype checklist
- Write the ten requirements the invention must satisfy, with numbers and units.
- Rebuild the AI geometry as parametric CAD; do not print a mesh you cannot edit.
- Run a DFM review with the process you actually plan to use in production.
- Print one function-only prototype and one appearance-only prototype instead of one that tries to be both.
- File a provisional patent before any non-NDA disclosure of the design.
Work with LA NPDT: if you are moving from here to execution, start with our rapid prototyping services or talk to us about prototype design.
Filed under:Uncategorized
Services related to this guide
- Best prototyping companiesDevelopment firms, instant-quote bureaus and local shops — who fits which job.
- Free prototype cost calculatorFive to eight questions, an instant cost range for a first prototype.
- Prototype development companiesWhich firms take a sketch to a working prototype — and which only fabricate parts.
- Rapid prototypingWorking prototypes in days, from 3D printing to vacuum casting.