3D Printing in Prototype Development
Five 3D printing processes, genuinely different strengths. Here is how to match process to the question your prototype has to answer, what parts cost and how to design so the print works first time.
March 2, 20258 min read

Written by Ralph Hill, Mechanical & electrical systems, 3D manufacturing
Prototyping Engineer
Published March 2, 2025Updated September 2, 2026
3D Printing in Prototype Development: Choosing the Right Process
3D printing does not have one price, one finish or one set of material properties. It has five common processes with genuinely different strengths, and picking the wrong one is the most common reason a prototype arrives late, fragile or unusable for the test it was built for.
This guide covers what each process is good for, what parts realistically cost and take, when printing beats machining or moulding, and how to prepare files so a shop can quote without a round of questions.

The five processes that matter for prototypes
Process | Typical materials | Strengths | Weaknesses | Best used for |
|---|---|---|---|---|
FDM | PLA, ABS, PETG, PC, nylon | Cheapest, fast, large build volumes | Visible layers, weak across layers, loose tolerances | Concept models, fixtures, size and ergonomics checks |
SLA / DLP | Photopolymer resins | Fine detail, smooth surfaces, crisp features | Brittle, UV-sensitive over time | Appearance models, snap-fit trials, master patterns |
SLS | Nylon 11, nylon 12, glass-filled nylon | Strong isotropic parts, no support structures | Grainy finish, powder witness marks | Functional mechanical prototypes, living hinges, ducts |
MJF | Nylon 12, TPU | Consistent properties, good throughput, fine features | Grey/black parts only without dyeing | Short-run functional parts and bridge production |
DMLS / SLM | Aluminium, stainless, titanium, Inconel | Real metal properties, complex internal geometry | Expensive, slow, needs post-machining | Metal brackets, manifolds, high-temperature parts |
If a prototype has to be tested rather than shown, default to SLS or MJF. If it has to be photographed or handled by a customer, default to SLA. FDM is for the earliest, cheapest loops where dimensional accuracy is not the point.
What printed parts actually cost and take
Process | Typical tolerance | Lead time for a small part | Indicative 2026 cost, handheld-size part |
|---|---|---|---|
FDM | ±0.5 mm | 1–2 days | $25–$120 |
SLA | ±0.15 mm | 1–3 days | $60–$300 |
SLS | ±0.3 mm | 2–4 days | $90–$400 |
MJF | ±0.3 mm | 2–4 days | $90–$450 |
DMLS | ±0.2 mm plus machining | 5–12 days | $600–$4,000+ |
Costs scale with part volume and bounding box more than with complexity, which is the reverse of machining. Hollowing a solid part, splitting an oversized one and nesting several parts in a single order are the three fastest ways to lower a quote.
Complexity is free in 3D printing; volume is not. Machining prices the opposite way. That single difference decides most process choices.
When printing is the wrong answer
- You need production materials and behaviour. A printed nylon part does not behave like an injection-moulded one; for a real moulding trial, use a soft tool or urethane casting.
- You need optical clarity. Printed clear resin needs heavy polishing or coating; machined acrylic or polycarbonate is usually faster.
- You need tight, repeatable tolerances on mating features. CNC machining will beat every printing process for fit-critical interfaces.
- You need more than a few hundred parts. At that point bridge tooling or urethane casting is usually cheaper per unit.
- You need certified materials. Regulated applications often require material traceability the shop's printer cannot provide.
Designing so the print succeeds the first time
- Keep walls at or above 1.0 mm for SLS/MJF and 1.5 mm for FDM; thin walls warp or fail in cleaning.
- Add 0.3–0.5 mm clearance between parts intended to assemble; printed parts grow slightly.
- Orient the part so load runs along layers, not across them, in FDM and SLA.
- Avoid unsupported spans and knife edges; add fillets at every internal corner.
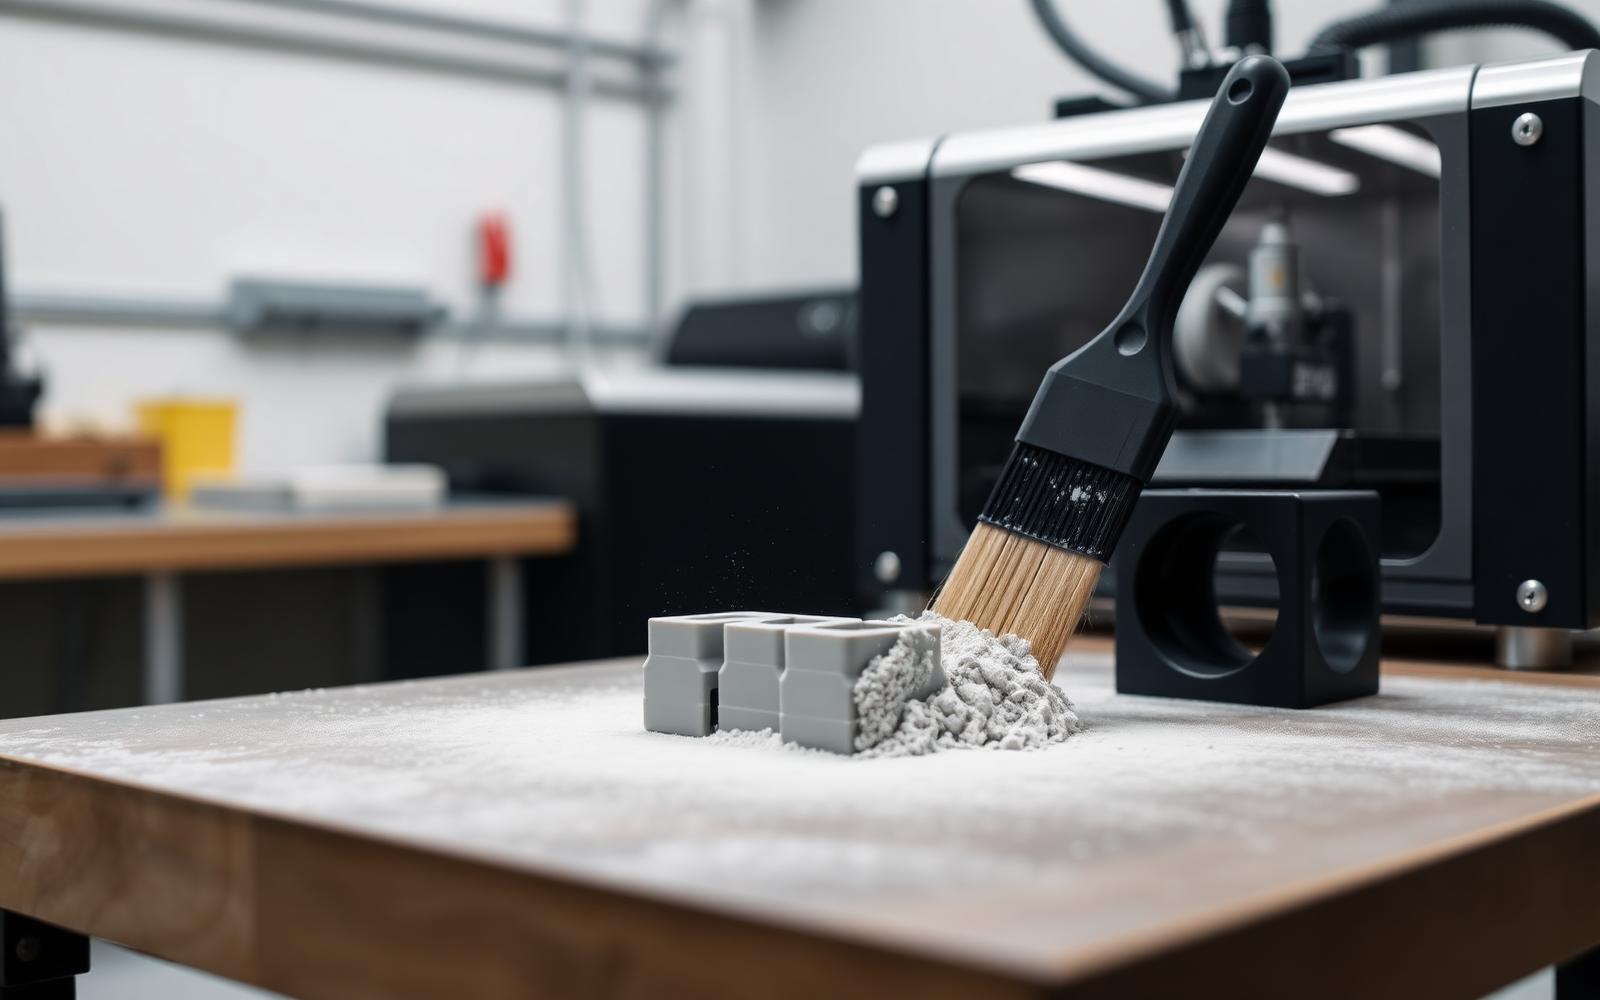
- For SLS/MJF, add escape holes so trapped powder can be removed.
- Model the features you will actually measure — a datum face is worth more than a cosmetic chamfer.
What to send a print shop
Item | Why it matters |
|---|---|
STEP file (plus STL) | STEP preserves geometry for repair and scaling; STL alone limits their help |
Quantity and target date | Drives nesting, machine choice and price |
Process and material preference | Prevents a re-quote loop; say “or advise” if unsure |
Critical dimensions callout | Tells them how to orient and where to inspect |
Finish requirement | Raw, bead blasted, dyed, vapour smoothed or painted |
Intended use | A shop that knows it is a drop-test part will orient it differently |
Our rapid prototyping guide covers matching prototype fidelity to the question being asked, and vetting a prototype shop covers what a serious quote response looks like.
Where 3D printing fits in a development program
Stage | Question being asked | Sensible process |
|---|---|---|
Concept | Is the size and layout right? | FDM |
Industrial design review | Does it look and feel right? | SLA, painted |
Engineering validation | Does the mechanism work under load? | SLS or MJF |
Design validation | Does it survive drop, heat and use? | MJF, or urethane cast from an SLA master |
Pre-production | Do the assembly steps work at a bench? | MJF plus machined fit-critical parts |
Print to answer a defined question, then move on. Programs stall when teams keep printing revisions instead of deciding.
Post-processing decides how the part is judged
A raw printed part is rarely the part you should show. Post-processing takes 20 to 60 percent of the elapsed time on a presentation prototype and almost none on a functional one, so decide up front which you are building. The finish you request also changes tolerance: bead blasting removes little material, but vapor smoothing and hand sanding can take 0.1 to 0.3 mm off a surface, which matters on a press fit.
Finish | Process | Added lead time | Added cost | What it is for |
|---|---|---|---|---|
As printed | None | 0 | $0 | Fit checks, internal reviews, tooling mockups |
Depowdered / bead blast | SLS, MJF | Same day | $0 – $15/part | Functional testing, uniform matte surface |
Support removal + sanding | SLA, FDM | 1 day | $20 – $80/part | Anything a customer will touch |
Vapor smooth | FDM ABS/ASA | 1 day | $25 – $60/part | Sealed, semi-gloss surfaces and fluid enclosures |
Prime and paint to a color standard | Any | 2 – 4 days | $60 – $250/part | Photography, trade shows, investor demos |
Dyed black | SLS, MJF nylon | 1 day | $5 – $20/part | Consistent cosmetic housings on a budget |
Machined critical features | Any | 2 – 3 days | $100 – $400/part | Bearing bores, sealing faces, threaded interfaces |
Two rules save the most money here. First, only finish the faces that will be seen or measured — specify them on the drawing instead of asking for the whole part to be perfect. Second, print critical bores undersized and machine or ream them afterwards; that is faster and cheaper than reprinting the part three times chasing a fit.
Materials worth knowing by name
Material | Process | Why you would pick it | Watch out for |
|---|---|---|---|
Nylon 12 (PA12) | SLS, MJF | Tough, near-isotropic, living hinges and snap fits survive | Absorbs moisture; dimensions drift slightly over weeks |
Glass-filled nylon (PA12 GF) | SLS, MJF | Stiffer brackets and mounts, better heat resistance | Brittle in thin walls; abrasive on threads |
Tough / ABS-like resin | SLA | Sharp detail with some impact strength | Creeps under sustained load; UV yellowing |
Clear resin | SLA | Light pipes, fluid paths, lens mockups | Needs polishing or clear coat to stay optical |
Elastomeric TPU | SLS, MJF, FDM | Gaskets, bumpers, over-mold stand-ins (Shore 60A – 95A) | Compression set is worse than molded silicone |
ASA / polycarbonate | FDM | Outdoor and elevated-temperature test parts | Warping on large flat geometry |
17-4 PH stainless, AlSi10Mg | DMLS | Load-bearing metal prototypes and short-run brackets | Needs stress relief and machining of datums |
A pre-print checklist that prevents reprints
- State the question the part answers — fit, function, appearance or tooling simulation. It picks the process for you.
- Check wall thickness against the process minimum — 1.0 mm SLS/MJF, 1.5 mm FDM, 0.8 mm SLA structural.
- Mark critical dimensions on a PDF drawing, even when you send STEP. A print shop cannot infer which of 40 features matters.
- Add 0.1 – 0.2 mm clearance to every mating feature before the first print, then tighten on the second.
- Orient deliberately — call out the face that must be cosmetic and the axis that must carry load.
- Reinforce threads with heat-set inserts rather than printed threads on anything that will be assembled more than twice.
- Order a second copy of any part you intend to test to failure. The re-order costs a week; the extra part costs $40.
- Record the machine, material and build date with the test results, so a later batch difference is traceable.
Key takeaways
- Choose the process from the decision you need to make, not from the price list.
- SLS and MJF nylon are the default for parts that get tested; SLA is the default for parts that get photographed.
- Finishing can double the cost of a printed part — specify it only where it is seen or measured.
- Design clearance and inserts in from the first print and you will typically need two iterations instead of five.
Frequently asked questions
Which 3D printing process is best for functional prototypes?
SLS or MJF in nylon 12. Both produce parts with near-isotropic strength, tolerate snap fits and living hinges, and need no support structures, which means designers are not constrained by print orientation. SLA parts look better but are brittle, and FDM parts are weak across layers.
How accurate are 3D printed prototype parts?
Expect roughly ±0.15 mm on SLA, ±0.3 mm on SLS and MJF, and ±0.5 mm on FDM for handheld-size parts, with larger parts drifting more. If a mating interface must hold a tighter tolerance than that, machine that feature or design the fit to be adjustable.
How much does a 3D printed prototype cost in 2026?
A handheld-size part typically runs $25–$120 in FDM, $60–$300 in SLA, $90–$450 in SLS or MJF, and $600 or more in metal. Cost tracks part volume and bounding box rather than geometric complexity, so hollowing and splitting parts lowers price faster than simplifying shape.
Can you 3D print production parts?
Yes, for low volumes and the right geometry — MJF and SLS are used routinely for hundreds to low thousands of end-use parts, particularly in medical devices and industrial equipment. Above that, injection moulding usually wins on unit cost once tooling is amortised.
What files does a 3D printing service need?
Send a STEP file for geometry plus an STL for quick quoting, along with quantity, material or process preference, finish requirement, critical dimensions and the intended use of the part. That package usually gets a firm quote in one pass instead of three.
Post-processing: the cost nobody quotes
Finish | Process | Added lead time | Added cost per part |
|---|---|---|---|
As printed | None | 0 | $0 |
Support removal and light sanding | Manual | 0.5-1 day | $10-$30 |
Vapour smoothing | Chemical, MJF/SLS | 1-2 days | $15-$45 |
Dyed black | Bulk dye, nylon | 1 day | $5-$15 |
Primed and painted to a colour standard | Manual, multi-coat | 3-5 days | $60-$250 |
Threaded inserts installed | Heat-set | 0.5 day | $2-$5 per insert |
Machined critical features | Post-machining | 2-4 days | $80-$300 |
Print quotes usually cover the printed part and nothing else. A presentation-grade housing that quotes at $90 routinely lands near $300 once priming, painting to a colour standard and insert installation are included. Decide the finish level at the point you order, and only pay for cosmetic work on the parts that will be seen or handled by someone whose opinion changes a decision.
Tolerances and what to do about them
- Do not print precision bores to size; print undersize and ream or machine the ones that matter.
- Expect anisotropy - FDM and, to a lesser degree, SLS parts are weaker across layers, so orient loads accordingly.
- Nylon powders absorb moisture and grow slightly; measure the day you receive the parts if fit is critical.
- Large flat faces warp; add ribs or break the face with a slight crown.
- Snap fits printed in SLA resin are brittle - prototype them in SLS nylon or machined PC if they must be cycled.
- Ask the shop for build orientation on cosmetic parts; layer direction changes how the finish reads under light.
Printing versus bridge tooling
Quantity | Cheapest route, handheld part | Why |
|---|---|---|
1-10 | 3D printing | No setup cost dominates |
10-100 | Printing or urethane casting | Casting wins on repeatability and finish |
100-1,000 | Urethane casting or aluminium bridge tool | Tooling amortises across the run |
1,000+ | Steel or aluminium injection tooling | Per-part cost falls below every alternative |
The crossover moves with part size and geometry, but the shape of the curve is stable: printing wins on speed and low volume, tooling wins on unit cost and material fidelity, and casting occupies the awkward middle where you need dozens of parts that look and behave close to moulded ones. Choosing correctly here is usually worth more than optimising the print itself.
Ordering checklist
- Name the question the part must answer - fit, function, appearance or durability - and let it pick the process.
- Send STEP plus a drawing marking the three to five dimensions that actually matter.
- State the finish level explicitly; silence gets you as-printed.
- Ask for the material datasheet and the print orientation on load-bearing parts.
- Order a spare of anything you intend to destructively test.
- Log the cost, lead time and shop for every order; after ten orders you will know who to call for what.
Material choices that change test results
Material | Process | Behaviour to expect | Use it for |
|---|---|---|---|
PLA | FDM | Stiff, brittle, poor heat resistance | Form and layout checks only |
ABS/ASA | FDM | Tougher, warps on large parts | Rough functional parts |
PA12 nylon | SLS/MJF | Tough, slightly flexible, absorbs moisture | Functional prototypes, living hinges |
Glass-filled nylon | SLS/MJF | Stiffer, more brittle, abrasive | Brackets and load paths |
Standard resin | SLA | Brittle, degrades in UV | Appearance models |
Tough or ABS-like resin | SLA | Better impact, still not moulded-equivalent | Snap-fit trials, short-term testing |
Metal, DMLS | Powder bed fusion | Near-production properties, expensive | Structural or high-temperature parts |
The most common testing error is treating a printed part as a stand-in for a moulded one. Printed nylon is tougher than moulded nylon in some directions and weaker in others; printed resin fails suddenly where moulded polycarbonate would deform. If the test is meant to predict field behaviour, either print in a material with characterised anisotropy and derate your results, or move to a bridge tool and test real material.
Getting more out of each print cycle
- Batch variants: printing three versions of a bracket in one build costs little more than one and settles the argument in a single cycle.
- Print sacrificial test coupons alongside cosmetic parts so you can destroy something without losing the good unit.
- Use split parts and dowel alignment to fit oversized geometry into a cheaper machine envelope.
- Keep a dimensional log for each shop and material; over time you learn their real shrink and can compensate up front.
- Reuse a proven build orientation for repeat parts rather than letting each quote re-decide it.
- Consolidate weekly orders into one purchase order to cut setup fees and shipping.
Prototyping speed is rarely limited by printer time; it is limited by how many questions each build answers. Teams that plan a build around a list of decisions - fit here, force there, appearance for that review - move through development noticeably faster than teams that print whatever the CAD looks like on Friday.
Frequently asked questions about 3D printed prototypes
How much does a 3D printed prototype cost? A handheld-size part runs roughly $25 to $120 in FDM, $60 to $250 in SLA or SLS, and considerably more in metal. Finishing, inserts and painting can double or triple the printed price, so quote the finished part rather than the raw print when you budget a build.
How accurate are printed parts? Expect around plus or minus 0.5 mm from FDM, 0.2 to 0.3 mm from SLS and MJF, and 0.1 to 0.2 mm from a well-run SLA machine on small features. Anything tighter should be machined after printing rather than trusted straight off the build plate.
Can a printed part be used as a production part? Sometimes - low-volume brackets, jigs, fixtures and internal components in short-run equipment ship as printed every day. For consumer products in the thousands, printing rarely competes on unit cost or on the material properties customers experience, and a bridge tool usually pays for itself quickly.
Which process should a first-time buyer choose? Start with SLS or MJF nylon if the part will be handled or tested, and SLA if it will be photographed or shown to customers. Both are forgiving of imperfect design files, and the parts behave closely enough to moulded plastic that early testing produces trustworthy answers.
Work with LA NPDT: if you are moving from here to execution, start with our rapid prototyping services or talk to us about prototype design.
Filed under:EducationUncategorized
Tagged:2025
Services related to this guide
- Best prototyping companiesDevelopment firms, instant-quote bureaus and local shops — who fits which job.
- Free prototype cost calculatorFive to eight questions, an instant cost range for a first prototype.
- Prototype development companiesWhich firms take a sketch to a working prototype — and which only fabricate parts.
- Rapid prototypingWorking prototypes in days, from 3D printing to vacuum casting.