
Toy Manufacturing Process: From Prototype to Safe Production
A practical guide to prototyping toys: the four build stages, what each costs, when safety testing starts, and the mistakes that force an extra round.
September 27, 20176 min read

Written by Konstantin Dolgan, Ph.D., NPDP
Founder & CEO, Product Development Engineer
Published September 27, 2017Updated August 19, 2026
The toy manufacturing process is judged twice: by children in seconds and by regulators in millimetres. Play value can only be discovered by putting a physical sample in a child's hand, while small-parts, sharp-edge and material rules under ASTM F963 decide whether the product can ship at all. That is why prototyping, safety review and tooling have to run in a specific order.

The four prototype stages
- Sketch and foam model. Scale, proportion and grip. A foam or clay block answers whether a four-year-old can actually hold it, which no render will tell you.
- 3D printed appearance model. Form, details and colour direction, used for internal approval, licensor review and early buyer meetings.
- Functional play-test sample. Working mechanisms, sound or electronics, in materials tough enough for real play sessions with real children.
- Safety and pre-production sample. Built from production-intent materials and processes so it can go into ASTM F963 and CPSIA testing and represent what the factory will actually make.
Toy prototype costs and lead times
Stage | Typical cost | Lead time | What it proves |
|---|---|---|---|
Sketch and foam model | $500-$3,000 | 1-2 weeks | Scale, proportion, grip |
3D printed appearance model | $1,500-$8,000 | 2-4 weeks | Form, detail, colour direction |
Functional play-test sample | $5,000-$25,000 | 4-8 weeks | Mechanism, durability, play value |
Pre-production sample | $10,000-$45,000 | 6-10 weeks | Manufacturability and safety readiness |
Third-party safety testing | $1,500-$6,000 | 2-4 weeks | ASTM F963 and CPSIA compliance |
Mistakes that force an extra round
- Testing with adults. Adults evaluate concepts, children evaluate toys. Watch play, do not ask opinions.
- Leaving safety to the end. Small parts, cords, magnets and battery access are design decisions, not test outcomes. Check the rules at concept stage.
- Printing what will be moulded. A printed part hides draft, wall thickness and shrink problems that surface only when the tool is cut.
- Ignoring drop and abuse testing. Toys are thrown. Include drop, torque and tension abuse in the play-test round.
- Forgetting packaging. Packaging affects perceived value, shelf presence and shipping cost, and it needs prototyping too.
See our rapid prototyping services and the wider prototype manufacturing guide for method selection.
Toy safety testing and certification costs
Test or requirement | Applies to | Typical cost | Lead time |
|---|---|---|---|
ASTM F963 mechanical and physical | All US toys | $400-$1,200 per SKU | 1-2 weeks |
CPSIA lead and phthalates | Painted or plastic parts | $150-$500 per material | 1-2 weeks |
Small parts and choking | Ages under 3 | Included in F963 | - |
EN 71-1/2/3 (EU) | EU sales | $600-$1,800 per SKU | 2-3 weeks |
Battery and electrical (UL / EN 62115) | Powered toys | $1,500-$5,000 | 3-5 weeks |
Tracking label and CPC paperwork | All US toys | Internal time | - |
Vetting a toy factory
- Ask for recent third-party test reports for products in your category, not a generic certificate.
- Confirm an ICTI or equivalent social audit if you plan to sell through major retailers.
- Review their paint and material sourcing controls. Lead failures almost always trace to an uncontrolled sub-supplier.
- Get a sample of their tracking label implementation. Missing labels trigger recalls independent of product safety.
- Agree AQL levels and who pays for reinspection before the first PO, not after a failed lot.
Safety testing is the schedule, not a formality
Toy programs fail on compliance far more often than on aesthetics. ASTM F963 and, for the EU, EN 71 govern mechanical hazards, flammability and chemical content, while CPSIA sets lead and phthalate limits plus tracking-label requirements in the US.
Third-party testing must be done by a CPSC-accepted laboratory, and any design change that affects materials or small-parts behavior restarts the relevant tests. Build the test calendar backwards from your on-shelf date and treat sample submission as a hard milestone.
Requirement | Standard | Typical lab cost | Lead time |
|---|---|---|---|
Mechanical and physical | ASTM F963 / EN 71-1 | $400-$1,200 per SKU | 1-2 weeks |
Flammability | ASTM F963 / EN 71-2 | $250-$600 | 1 week |
Heavy metals and phthalates | CPSIA / EN 71-3 | $300-$900 | 1-2 weeks |
Battery and electrical safety | ASTM F963-8 / EN 62115 | $800-$2,500 | 2-3 weeks |
Packaging and labeling review | CPSIA tracking label | $200-$500 | 1 week |
Prototype-to-production checklist for toys
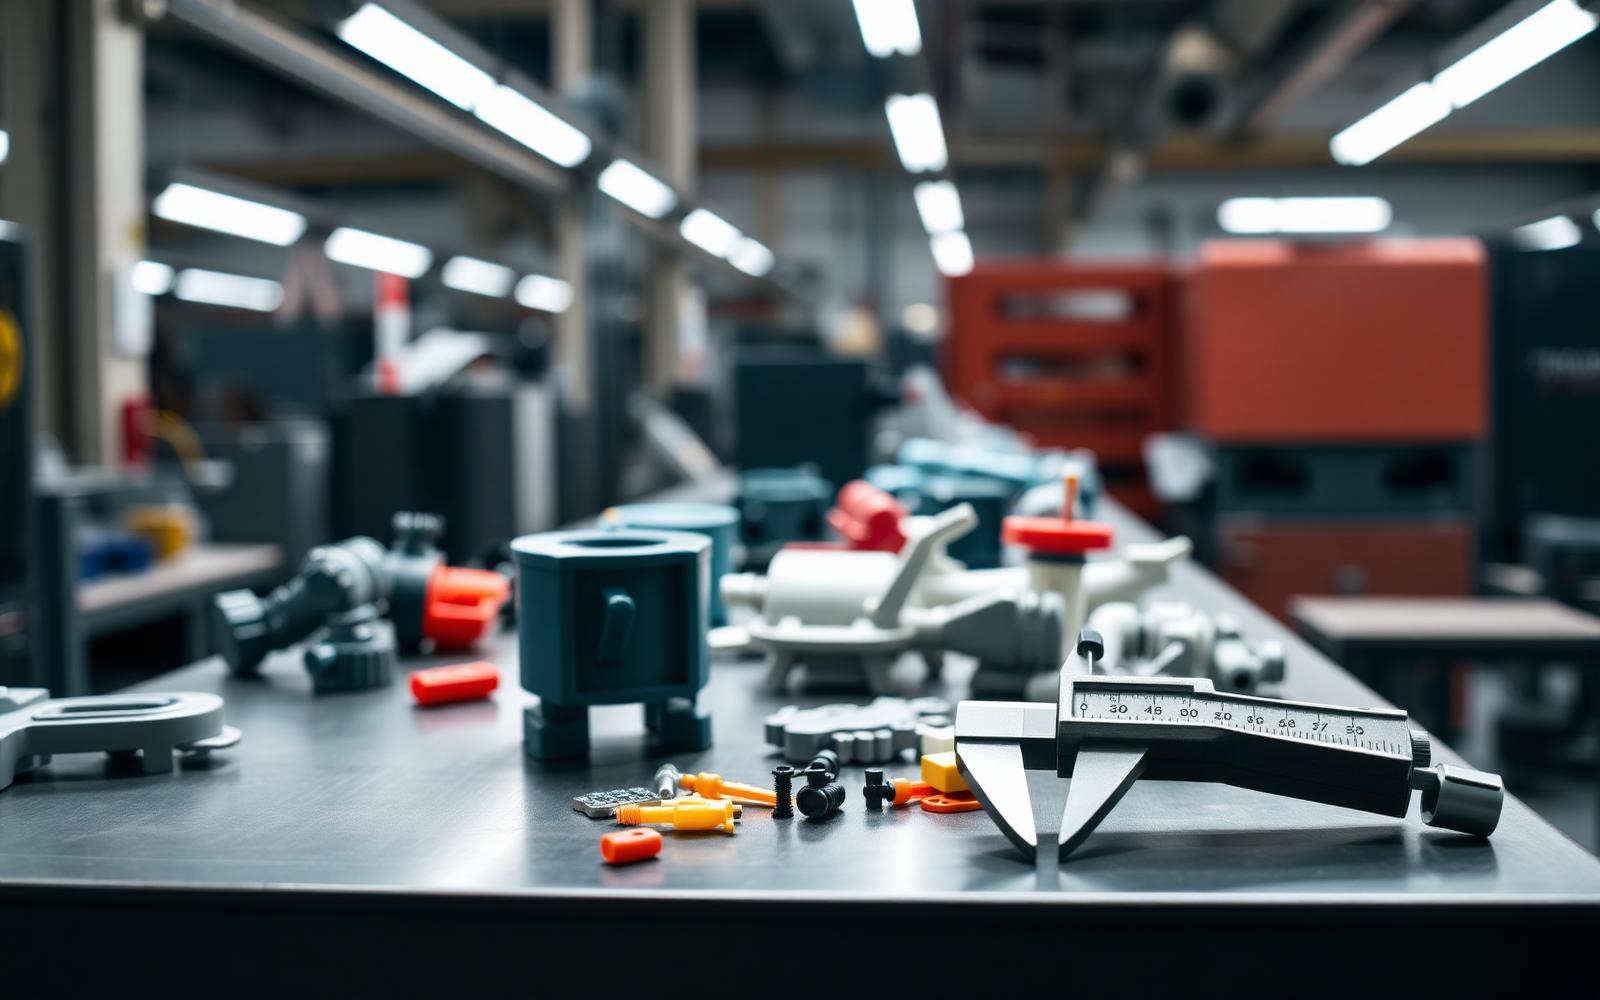
- Test small-parts and use-and-abuse behavior on production-material samples, not printed prototypes.
- Specify pigments and masterbatch by supplier part number; color changes can change chemical test results.
- Confirm the age grade before final design; it changes the applicable hazard tests.
- Lock the battery compartment design early: screw-secured doors are mandatory for many age grades.
- Plan a golden sample and retain it for production comparison.
- Book laboratory slots in advance during Q3 peak season.
Costing a toy program end to end
Toy economics are unforgiving because retail price points are fixed by category convention. Work backwards: a $19.99 shelf price typically implies a landed cost near $4.00 to $5.00 after retailer margin, distribution and duty. That number, not the design concept, determines part count, material choice and decoration method. Every added color, insert or fastener has to be earned against that ceiling.
The other half of the program is packaging and compliance artwork. Packaging often costs more than people expect, and it carries its own testing (drop, compression) and its own artwork approval cycle in each market. Budget both the physical packaging and the artwork localization from the start rather than treating them as launch tasks.
Cost element | Share of landed cost | Notes |
|---|---|---|
Molded parts | 35-50% | Driven by resin, cavitation and cycle time |
Decoration and assembly | 10-20% | Pad printing, labels, hand assembly |
Electronics (if any) | 10-30% | Sound, light, motion modules |
Packaging | 8-15% | Window boxes cost more than blisters |
Testing and compliance amortized | 2-6% | Per SKU, per market |
Freight and duty | 8-15% | Volumetric weight matters |
Toy safety testing: what gets tested and when
Toys carry more mandatory testing than almost any consumer category, and the testing is not something to price at the end. In the US, ASTM F963 and the CPSIA govern; in the EU, EN 71. A design that fails small-parts or tension testing usually needs a tooling change, so the cheap time to find out is at the prototype stage using representative materials.
Test | Standard | What it checks | Typical cost |
|---|---|---|---|
Small parts / choking | 16 CFR 1501, ASTM F963 | Fits the small-parts cylinder after abuse | $150–$400 |
Use and abuse (drop, torque, tension) | ASTM F963-23 | Parts liberated after simulated play | $600–$1,800 |
Total lead and phthalates | CPSIA, CPSC-CH methods | Substrate and surface coating content | $100–$300 per material |
Heavy elements in coatings | ASTM F963 4.3.5 | Soluble migration limits | $200–$500 |
Flammability | 16 CFR 1500.44 | Solids and fabrics | $150–$400 |
Battery / electrical toys | ASTM F963 clause 4.25, UL 696 | Access, heat, battery compartment | $800–$3,000 |
Design decisions that decide pass or fail
- Battery compartments on toys for under-14 users need a captive screw and a lid that survives abuse testing.
- Any cord or strap over 12 inches on a crib or playpen toy is a hazard by rule, not by judgment.
- Magnets must either be fully captive after abuse testing or fall under the flux-index limit.
- Paint and ink on the play surface is a chemistry problem; molded-in color removes an entire test path.
- Living hinges and thin ribs are the parts that liberate small pieces during drop testing.
- Sharp point and sharp edge testing catches trimmed gate vestiges — specify gate location in DFM review.
Prototype to production, by volume
Volume | Process | Tooling cost | Per-unit |
|---|---|---|---|
1–25 | SLA / FDM printed, hand painted | $0 | $40–$250 |
25–500 | Urethane cast from silicone tools | $500–$3,000 | $25–$90 |
500–5,000 | Aluminum bridge tooling | $4,000–$15,000 | $3–$18 |
5,000+ | Steel family tool, multi-cavity | $18,000–$90,000 | $0.80–$6 |
Timeline reality for a toy program
A realistic first-run schedule is nine to fourteen months: two to three months of concept and play testing, two to three months of engineering and DFM, eight to twelve weeks for steel tooling, three to five weeks for T1 samples and revisions, two to four weeks for third-party testing, then production and freight.
Retail programs work backward from a shelf date, and the compressible parts of that schedule are engineering and testing — which is exactly where compression causes recalls.
Our rapid prototyping and development services cover this path from playable prototype to tooled production.
Key takeaways
- Toy programs are governed by test calendars: plan backwards from on-shelf date.
- Compliance testing must run on production materials and colors.
- Age grade determines which hazard tests apply.
- Keep a golden sample for production comparison.
We build play-test and safety-ready samples, then take the design into tooling.
Request a quoteChoosing a prototype building partner for toys
The toy manufacturing process punishes partners who can build a beautiful model but cannot carry it into tooling. Ask a shortlist to quote the same part and compare more than price: who flags the undercut, who asks about ASTM F963 and small-parts geometry, who names the resin and the draft angle they intend to use. A shop that answers with questions is usually the one that saves a tooling round later.
- Do they own the finishing? Paint, pad print and assembly in-house shorten iteration loops.
- Can they hand off to tooling? Ask for the last three parts they took from model to steel.
- Safety literacy. Small parts, cords, magnets and battery access must be raised unprompted.
- Material honesty. A printed part in a play test is not the production resin; they should say so.
- Documented revisions. Each round should ship with what changed and why.
Work with LA NPDT: if you are moving from here to execution, start with our rapid prototyping services or talk to us about prototype design.
Frequently asked questions
How do you prototype a toy?
Start with a sketch and a foam or clay model to confirm scale and grip, then build a 3D printed appearance model for form and colour. Next comes a functional play-test sample with working mechanisms in durable materials, and finally a pre-production sample in production-intent materials that can be submitted for safety testing.
How much does a toy prototype cost?
A simple foam model costs $500 to $3,000 and a 3D printed appearance model $1,500 to $8,000. Functional play-test samples with mechanisms or electronics typically run $5,000 to $25,000, and pre-production samples $10,000 to $45,000. Third-party safety testing adds roughly $1,500 to $6,000.
When should toy safety testing start?
Safety requirements should shape the design from the first concept, since small parts, cord length, magnet strength and battery access are design choices. Formal ASTM F963 and CPSIA testing happens on the pre-production sample built from production-intent materials, usually two to four weeks before tooling is released.
Filed under:Media
Related articles
All articles
Prototype Manufacturing Process: Steps, Methods and Lead Times
How a prototype actually gets made: the six steps from CAD release to tested unit, how to pick a process, and what each route costs in time and money.
The Transition From Prototype to Pilot Production: What Breaks and Why
“Creating a successful prototype is a major milestone…” – but it’s only one step in the broader product development journey. A prototype that performs flawlessly in a l
Additive Manufacturing Technologies: How to Choose the Right Process
The seven additive process families compared on strength, tolerance, finish and cost, with a selection method and the point where tooling becomes cheaper.
Services related to this guide
- Rapid prototypingWorking prototypes in days, from 3D printing to vacuum casting.
- Prototype designLooks-like, works-like or pre-production: what each proves and what it costs.
- 3D modeling servicesParametric CAD, renders and print-ready files built for manufacturing.
- Order a prototypeSend a part or an idea and get a build quote back.