
Free AI tool
AI Prototype Engineer | Free Digital Prototyping Guidance
Describe what you want to prototype — and attach your AI renderings or sketches if you have them — and get a structured build plan back: the kind of prototype that actually fits your goal, the processes and materials for each part, the equipment and vendors involved, a rough bill of materials, a cost and time band, and what usually goes wrong. Free, no sign-up for your first plan.
Free tool
AI prototype engineer — a build plan for your product, free
Describe what you want to build and this free AI prototype engineer returns a structured build plan: the right kind of prototype for your goal, an ordered build sequence, process and material picks per part, a rough bill of materials, and a cost and time band. It is built and maintained by the product development team at LA NPDT, who design, engineer and build physical and connected products for a living.
- 4
- Prototype types planned — looks-like, works-like, connected, software
- 2–24
- Weeks, the usual window from brief to a first unit in hand
- 20+
- Fabrication processes the planner picks from, per part
- 10 yrs
- Of our own completed builds behind the cost bands
- Attach renderings or sketches and the plan is written against what you drew
- An ordered build sequence with a 'done when' test for every step
- A cost and time band from our own completed project history
How the plan is assembled
From a paragraph to a build sequence
Every plan follows the same route our engineers take at the start of a build, in the same order — cheap de-risking first, expensive commitments last.
- Step 1
Your brief
What it is, what it has to prove, where you are today — plus any renderings you attach.
- Step 2
Prototype type
One strategy chosen to fit the goal. A pitch model is not a functional test unit.
- Step 3
Process and material
Per part: SLA, MJF, CNC, urethane casting, sheet metal, PCBA — with the reason shown.
- Step 4
Bill of materials
Parts, subassemblies and services, each with a spec note and a short cost band.
- Step 5
Cost and time band
From the same deterministic model behind our prototype cost calculator.
What it looks like in the shop
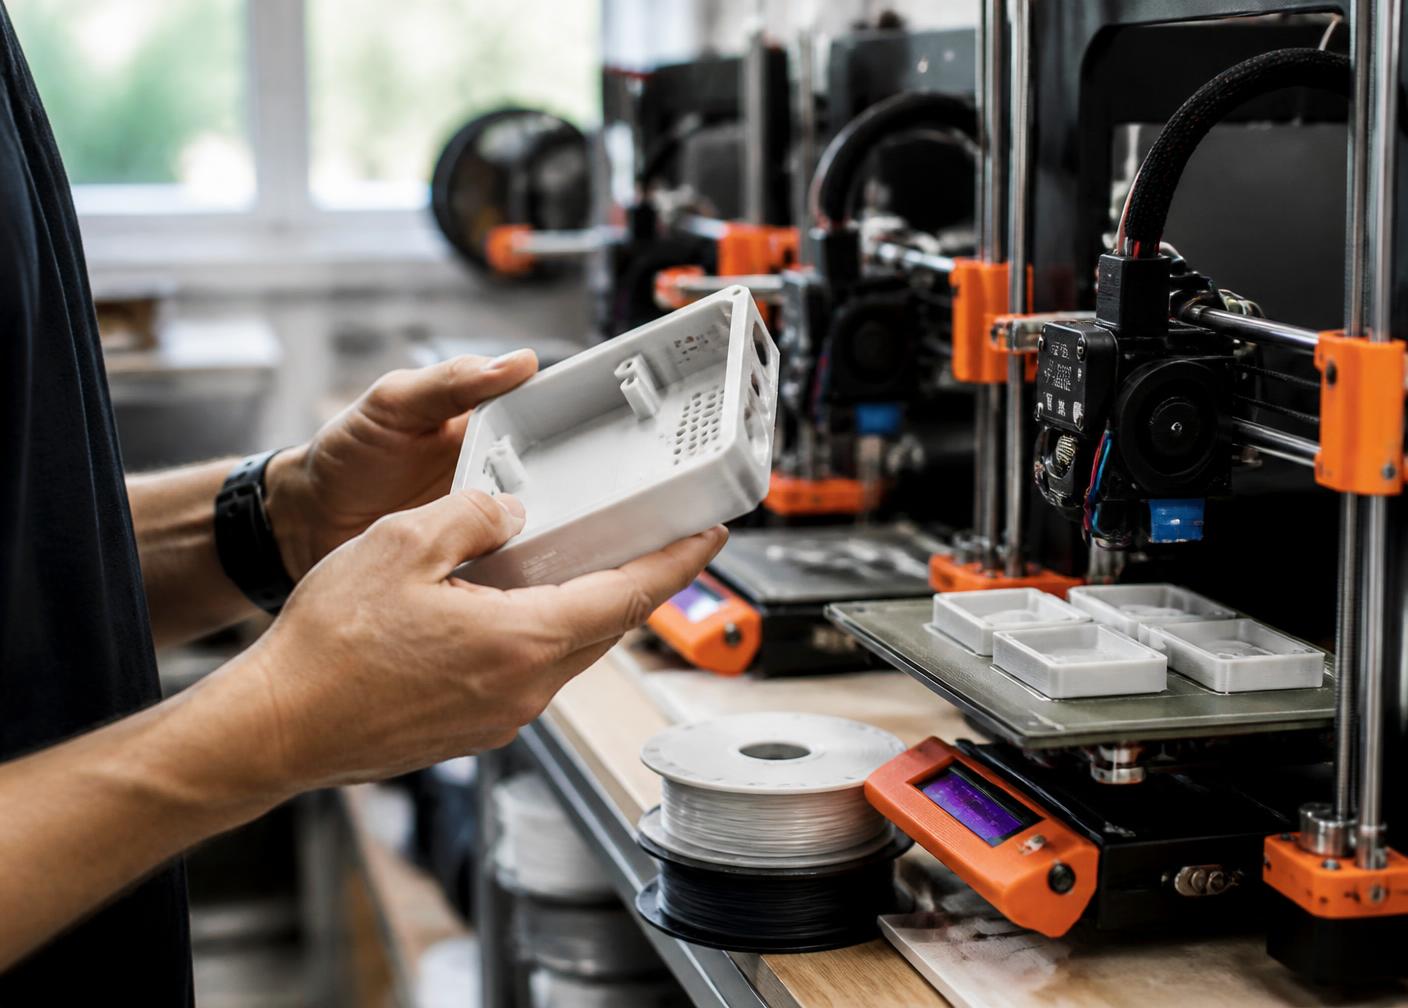
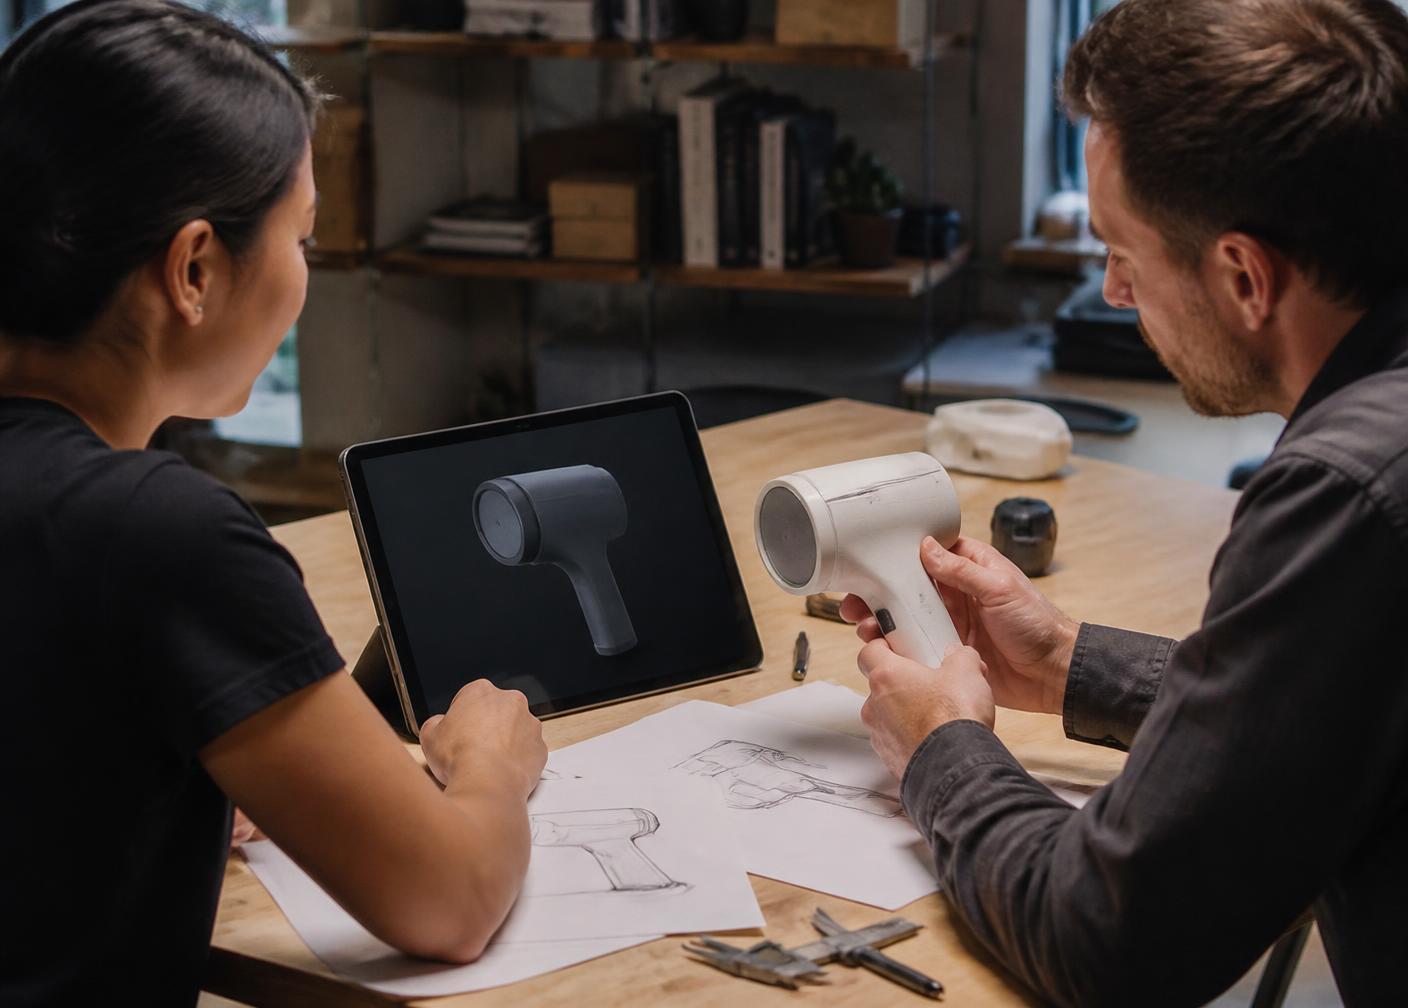
The plan is written for a real bench, not a slide
Next level of detail
When you need the full requirements and BOM
Go deeper
Take this plan further on InventDraft
This page gives you the shape of the build in about thirty seconds. InventDraft is where that becomes a working document: full requirements, a phased development plan, a detailed bill of materials and proper cost modelling you can revise as the design changes.
How it works
How to get a build plan you can actually work from
Step 1
Describe the thing, not the vision
Geometry, rough size, how it works, and anything it has to fit or interface with. "A belt-clipped dog water bottle with a fold-out silicone bowl and a one-hand trigger valve, about 250mm tall" produces a usable plan. "A better water bottle" does not.
Step 2
Say what the prototype has to prove
Showing investors how it looks, testing whether a mechanism works, and validating a seal for certification are three different builds at three different budgets. The goal drives every downstream choice.
Step 3
Be honest about where you are
If there is no CAD yet, design and engineering are part of the build — routinely 40–60% of a first prototype. Saying so widens the estimate but makes the plan real.
Step 4
Work the steps in order
Each step has a 'done when' condition. Do not start the next one until the previous one passes it; skipping ahead is what turns a four-week prototype into a twelve-week one.
FAQ
Product naming questions we get asked
What does the AI prototype engineer actually do?
It takes a plain description of your product and returns a prototyping plan: which kind of prototype fits your goal, an ordered build sequence, process and material choices per part, the equipment and vendors involved, a rough bill of materials, a cost and time band, and the failure modes that usually bite on that type of build.
Is it free?
Your first plan is free with no sign-up. After that we ask for an email address so you can keep generating plans. We never charge for the tool.
How accurate are the cost and time bands?
The dollar range comes from the same deterministic model behind our prototype cost calculator, built on our completed project history, so the two tools never contradict each other. It is order-of-magnitude planning, not a quote — the tool cannot see your geometry, tolerances or finish requirements.
Can I use this instead of hiring an engineer?
For deciding how to approach a build, yes — that is the point. For releasing parts you cannot: there are no drawings, tolerances, DFM review or regulatory analysis here. Treat it as the plan an engineer would sketch on a whiteboard in the first meeting.
Does it work for electronics and connected products?
Yes. Choose the product type and the plan branches accordingly, covering schematic and PCB work, firmware, enclosure integration and bench validation as separate steps, because they run on different timelines than mechanical parts.
What happened to the old widget on this page?
The original chat widget was retired with our WordPress site. This is its replacement, built in-house and anchored to our real cost model rather than a generic chatbot.
Disclaimer: LA NPDT is a product development firm, not a law firm. The information and automated search results on this page are provided for general guidance only and are not legal advice, a trademark clearance opinion, or a substitute for advice from a licensed attorney.
Free tools
The rest of our free inventor tools
- Prototype cost calculator
Five to eight questions for an order-of-magnitude budget range.
- Invention idea analyzer
Score novelty, market and feasibility before you build anything.
- Free US patent search
Check granted patents and published applications for prior art.
- Product name generator
Six name directions, screened for domains and active marks.
See all free tools — every calculator, search and AI tool we publish, in one place.
Need the product built, not just documented?
We are a cross-functional product development team in Ruston, Louisiana — concept design, engineering, prototyping and short-run manufacturing under one roof.
Where to go next
- Rapid prototypingWorking prototypes in days, from 3D printing to vacuum casting.
- Sketches vs CAD vs prototypeWhich deliverable you actually need at your stage, and what each one costs.
- Order a prototypeSend a part or an idea and get a build quote back.
- Low-volume manufacturingFirst production runs without full injection-mould tooling.