
Bridge Tooling: Methods, Quantities and Real Costs
Bridge tooling options between prototype and production - aluminum molds, urethane casting and low-volume machining - compared on cost, lead time and quantity.
August 18, 20256 min read

Written by Ralph Hill, Mechanical & electrical systems, 3D manufacturing
Prototyping Engineer
Published August 18, 2025Updated August 19, 2026
Prototype manufacturing is a sequencing problem, not a technology preference. The same part can cost $40 or $4,000 depending on which process you pick and when.
Most teams overspend by jumping straight to the highest-fidelity method, or underspend by printing a part that cannot answer the question the prototype was built to answer. This guide covers the four processes that carry almost all prototype work, what each one really costs, and how to combine them across a program.

Start from the question, not the process
- Does it fit and look right? A printed appearance model answers this in two days for a few hundred dollars.
- Does it survive use? Functional testing needs production-representative material, which usually means machining or cast urethane, not FDM.
- Can it be made repeatably? Only soft tooling or bridge tooling answers this, because it exposes draft, gate and shrink problems a printer hides.
- Will people buy it? Market-test units need finish and packaging, so budget for cosmetics and small-run assembly, not just parts.
What prototype manufacturing costs
Method | Typical quantity | Lead time | Cost per part | Best for |
|---|---|---|---|---|
FDM / SLA printing | 1-5 | Hours to 2 days | $20-$300 | Fit, ergonomics, early form |
SLS / MJF printing | 1-50 | 3-7 days | $50-$500 | Durable functional parts, living hinges |
CNC machining | 1-10 | 3-10 days | $150-$2,000 | Production material, tight tolerance, metal |
Urethane casting | 5-50 | 10-15 days | $80-$600 | Small runs with molded appearance |
Soft / bridge tooling | 20-500+ | 3-5 weeks | $8-$60 plus $4k-$25k tool | Pilot builds and manufacturability validation |
Combining methods in one build
The cheapest prototype builds are mixed. Machine the structural bracket that carries load, print the enclosure that only needs to fit, buy the fastener and bearing off the shelf, and cast the soft gasket.
Splitting a build this way routinely cuts cost by 40 to 60 percent against machining everything, and it shortens the critical path because only one long-lead item drives the schedule. The rule of thumb: spend fidelity where failure would be expensive, and spend nothing where it would not.
Where prototype manufacturing budgets leak
- Rebuilding the whole prototype to change one part. Design the assembly so subsystems can be swapped independently.
- Expedite fees. Rush charges of 30 to 100 percent are almost always a planning failure, not a supplier problem.
- Cosmetic finishing too early. Paint and texture on a part that will change twice more is money burned.
- Material substitution nobody recorded. If the test part was printed nylon and production is glass-filled PP, the test result does not transfer.
- No measurement plan. Parts arrive, get assembled, and nobody records dimensions, so the next iteration repeats the same error.
For the transition beyond prototypes, see prototype to pilot production and our rapid prototyping services.
When bridge tooling beats waiting for steel
Bridge tooling exists to solve a scheduling problem, not a cost problem.
Production steel takes twelve to twenty weeks and locks a design that may still move. An aluminium bridge tool arrives in two to four weeks, runs a few thousand parts in the production resin, and buys the team a real market launch while the hard tool is cut.
The parts come out of the same material with nearly the same shrink behaviour, which means the data you gather about fit, assembly and field performance actually transfers.
The trade is tool life and cycle time: aluminium tools wear, run without full hot-runner conditioning, and rarely survive past ten to fifty thousand shots.
Comparing the options
Approach | Lead time | Tool cost | Realistic volume | Best use |
|---|---|---|---|---|
3D printed parts | 1-5 days | None | 1-50 | Form and fit checks, early user testing |
Urethane casting | 1-2 weeks | $1,500-$6,000 per master | 25-200 | Cosmetic samples, trade shows, pilot users |
Aluminium bridge tool | 2-4 weeks | $4,000-$15,000 | 1,000-50,000 | Launch quantities while steel is cut |
Production steel tool | 12-20 weeks | $20,000-$100,000+ | 100,000+ | Sustained production with tight cycle costs |
Getting the most out of a bridge tool
- Run the production resin, including colourant and any regrind policy you plan to use.
- Design for the transfer: keep draft, wall thickness and gate location valid for the steel tool too.
- Leave steel-safe stock where dimensions are still in question, so the tool can be adjusted rather than recut.
- Capture the process window: fill, pack, cool and cycle data all inform the production tool.
- Inspect a full first-article, not a handful of parts; bridge tools drift as they wear.
- Track shot count and plan the changeover before the tool starts flashing.
Managing the handoff to production tooling
The value of a bridge tool is realised at the handoff, and that is where teams lose it. Ship parts, gather field data, then feed every observation into a single consolidated design change rather than a stream of small ones, because the steel tool should be cut once against a stable revision.
Keep the bridge tool running until the production tool has passed first-article inspection, since a gap between the two is what forces air freight and expedite fees.
Document the process settings, the shrink measured on real parts and the dimensions that drifted; a toolmaker with that data quotes tighter and cuts closer on the first attempt.
- Consolidate field learnings into one revision before releasing steel.
- Overlap the tools; do not retire the bridge tool until first articles pass.
- Hand over measured shrink and process data, not just the CAD model.
- Re-check cosmetics on the new tool: texture and gloss rarely transfer exactly.
- Plan the inventory bridge so the changeover does not create a stockout.
Key takeaways
Bridge tooling converts a four-month wait into a four-week one at a fraction of the tooling cost, in exchange for tool life. Use it when the design is close but the market clock is running, run production material so the data transfers, and design the part once so the same geometry moves cleanly into steel.
Choosing a bridge process by quantity and geometry
Bridge tooling exists to cover the gap between prototype quantities and the point where a hardened production tool pays for itself. The choice is not only about volume — resin, wall thickness and surface requirements narrow the field just as quickly.
Method | Quantities | Tool cost | Per-part | Lead time | Best for |
|---|---|---|---|---|---|
3D-printed molds | 10–100 | $300–$2,000 | $2–$15 | 3–7 days | Small, low-temperature resin parts |
Urethane casting | 20–500 | $1,000–$5,000 | $25–$180 | 1–3 weeks | Cosmetic parts, overmolds |
Aluminum bridge tool | 500–25,000 | $4,000–$20,000 | $1.50–$12 | 2–4 weeks | Most plastic housings |
MUD insert tooling | 250–10,000 | $2,500–$9,000 | $1–$8 | 2–3 weeks | Small parts in a standard frame |
Soft steel tool | 10,000–100,000 | $12,000–$45,000 | $0.60–$6 | 5–9 weeks | Parts near a production release |
Where bridge tooling costs more than it saves
- The design is already frozen and forecast is clearly above 50,000 units — go straight to production steel.
- The resin is glass-filled or abrasive; aluminum tools wear quickly and the cost per part climbs mid-run.
- The part needs SPI A-2 polish or a fine texture that aluminum will not hold across the run.
- Cycle time matters: aluminum cools fast, but single-cavity bridge tools cannot meet high weekly volumes.
- You will need the same geometry in a steel tool anyway and the bridge tool teaches you nothing new.
Making the bridge run earn its keep
The point of a bridge run is information, not only parts. Instrument it: pull a dimensional report on the first 30 shots, run the assembly on the real fixture, ship units to real users, and log every fit issue against a part number.
Bridge tools are cheap to modify, so treat the run as the last chance to change geometry before a change costs $8,000 and four weeks. Keep the tool steel-safe — start with material left on — so adjustments remove metal rather than requiring welding.
Handing off to production tooling
- Freeze the CAD only after bridge parts have been assembled and tested, not before.
- Carry gate and ejector locations forward where possible so the process window is familiar.
- Re-quote cavity count against updated forecast; multi-cavity changes shrinkage behavior.
- Budget 4–8 weeks for T1 samples, dimensional review and one revision on the production tool.
- Keep the bridge tool until production parts pass first-article inspection — it is your only supply hedge.
We scope bridge tooling as part of the wider development program, so the tool you pay for now feeds the production release rather than being thrown away.
Frequently asked questions
What is prototype manufacturing?
Prototype manufacturing is the production of small quantities of parts and assemblies to verify form, fit, function and manufacturability before committing to production tooling. It typically uses 3D printing, CNC machining, urethane casting or soft tooling, chosen according to the quantity, material and fidelity a particular test requires.
How much does prototype manufacturing cost?
Individual printed parts typically run $20 to $500, machined parts $150 to $2,000, and cast urethane parts $80 to $600 each. Soft tooling adds a $4,000 to $25,000 tool cost but drops per-part cost to $8 to $60. A complete functional prototype of a consumer electromechanical product usually lands between $5,000 and $40,000 per build iteration.
How many prototype iterations should I plan for?
Three is a realistic baseline: a low-fidelity build for form and layout, a functional build in production-representative materials, and a pre-production build from soft tooling. Regulated or safety-critical products usually need a fourth to support verification testing. Work with LA NPDT: if you are moving from here to execution, start with our rapid prototyping services or talk to us about prototype design .
Filed under:Uncategorized
Related articles
All articles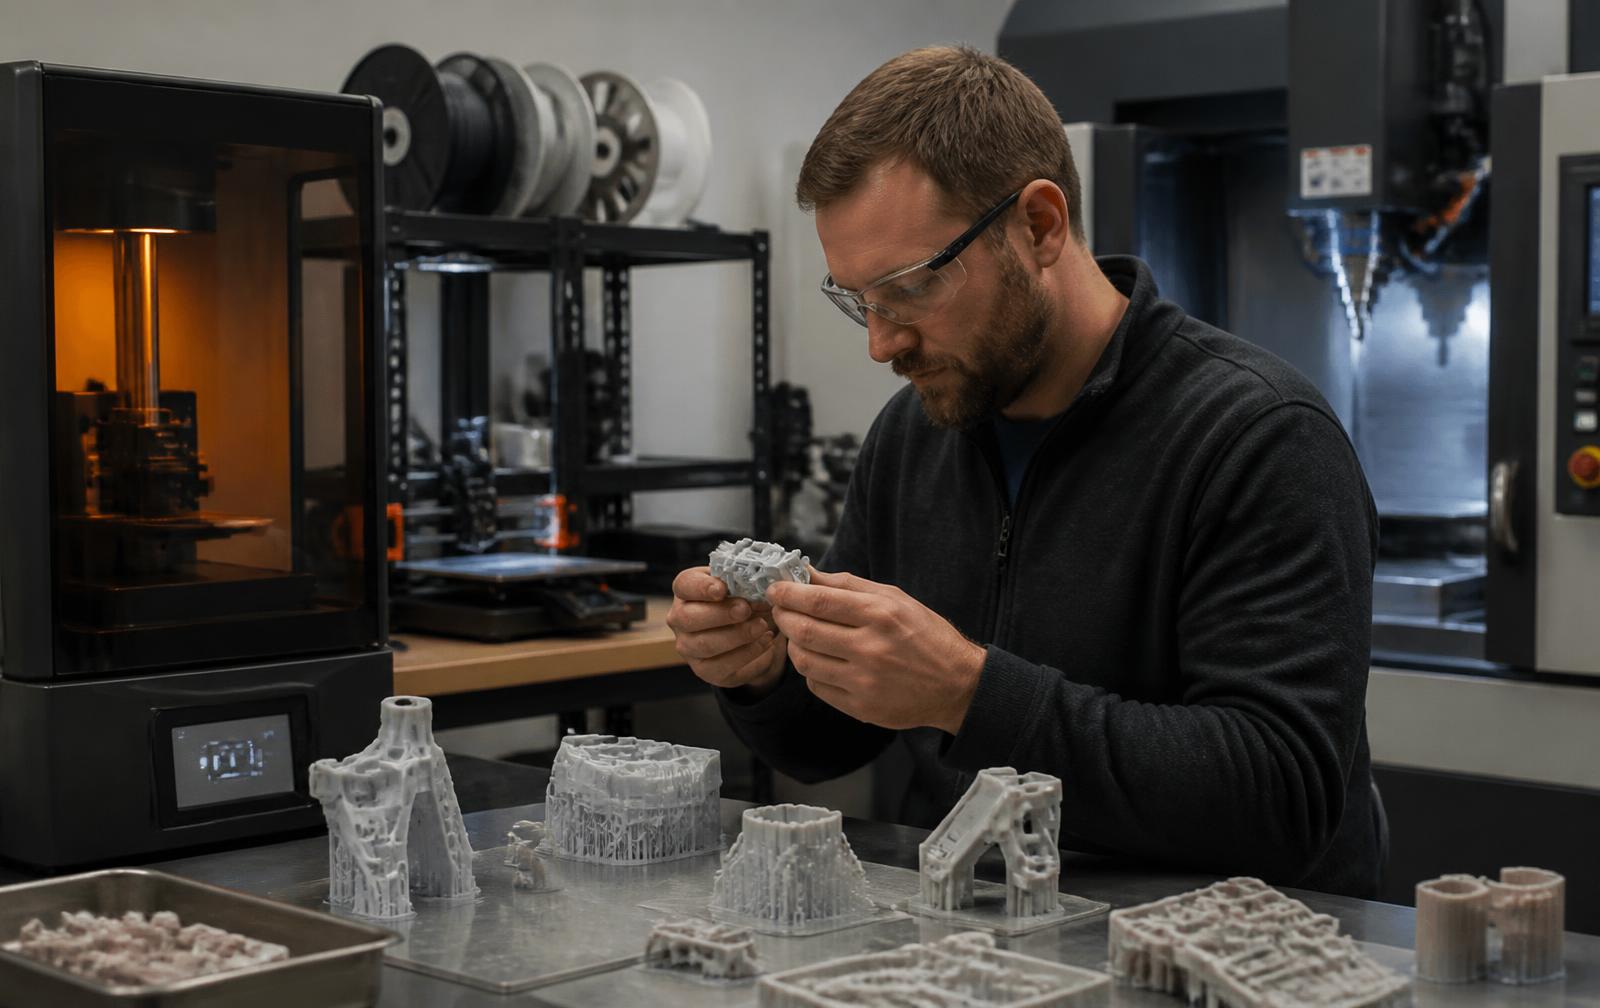
Rapid Prototyping Methods: How to Pick One, Costs and Lead Times
Compare rapid prototyping methods by the question each answers - fit, function, appearance or durability - with real costs and lead times.
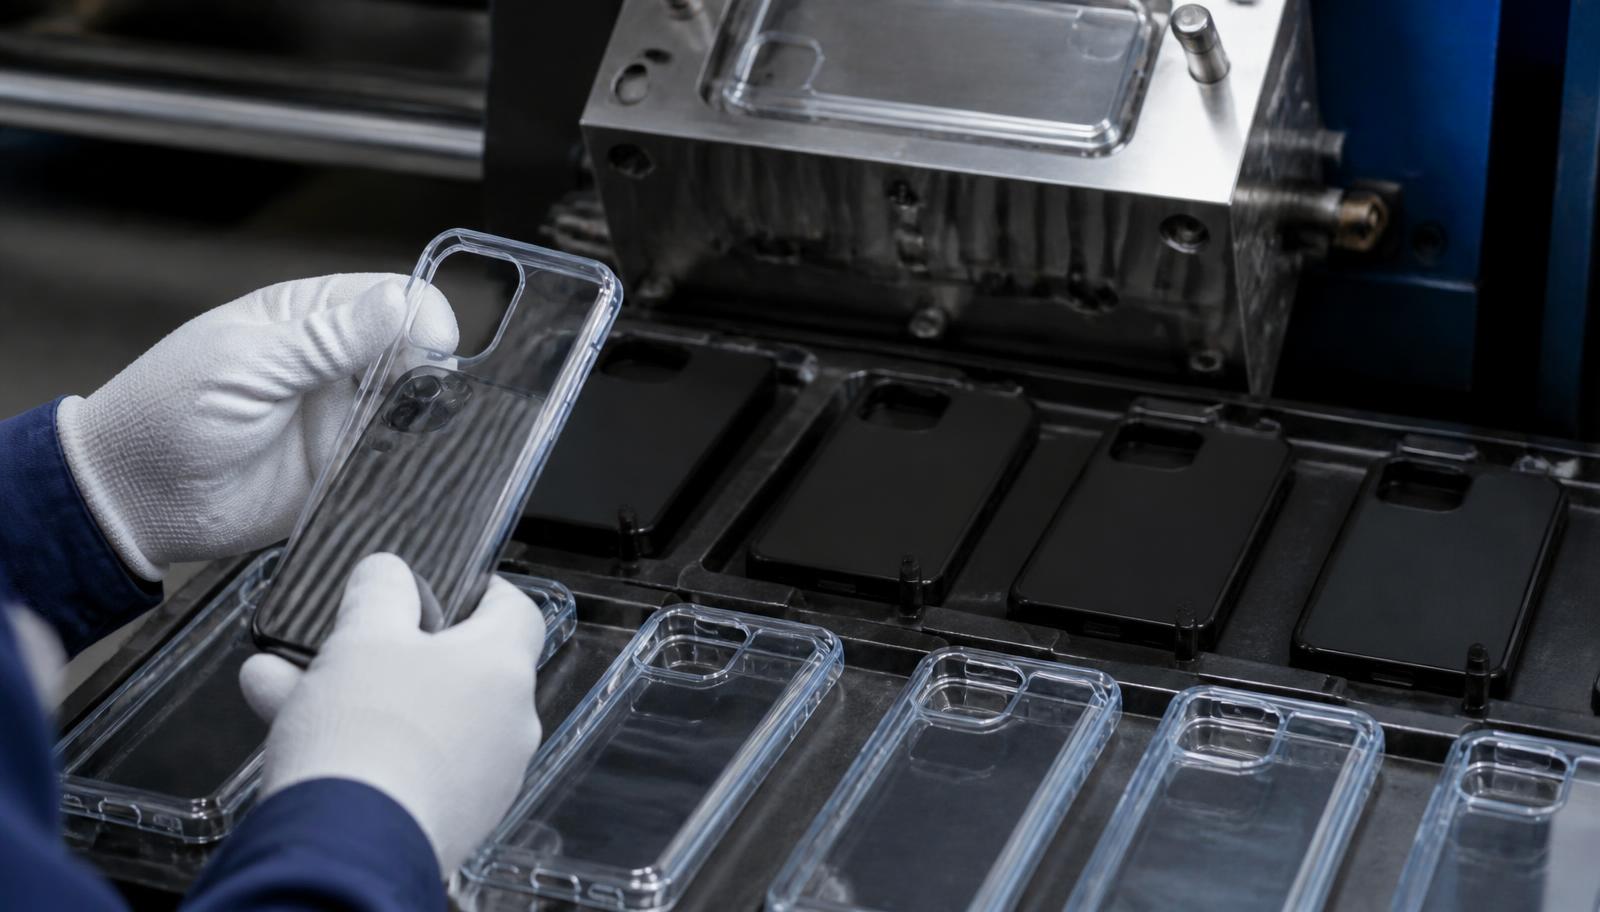
Phone Case Manufacturers: How to Choose, Tooling and Costs
Comparing phone case manufacturing routes, tooling costs, minimum order quantities and the drop-test data buyers should ask for.
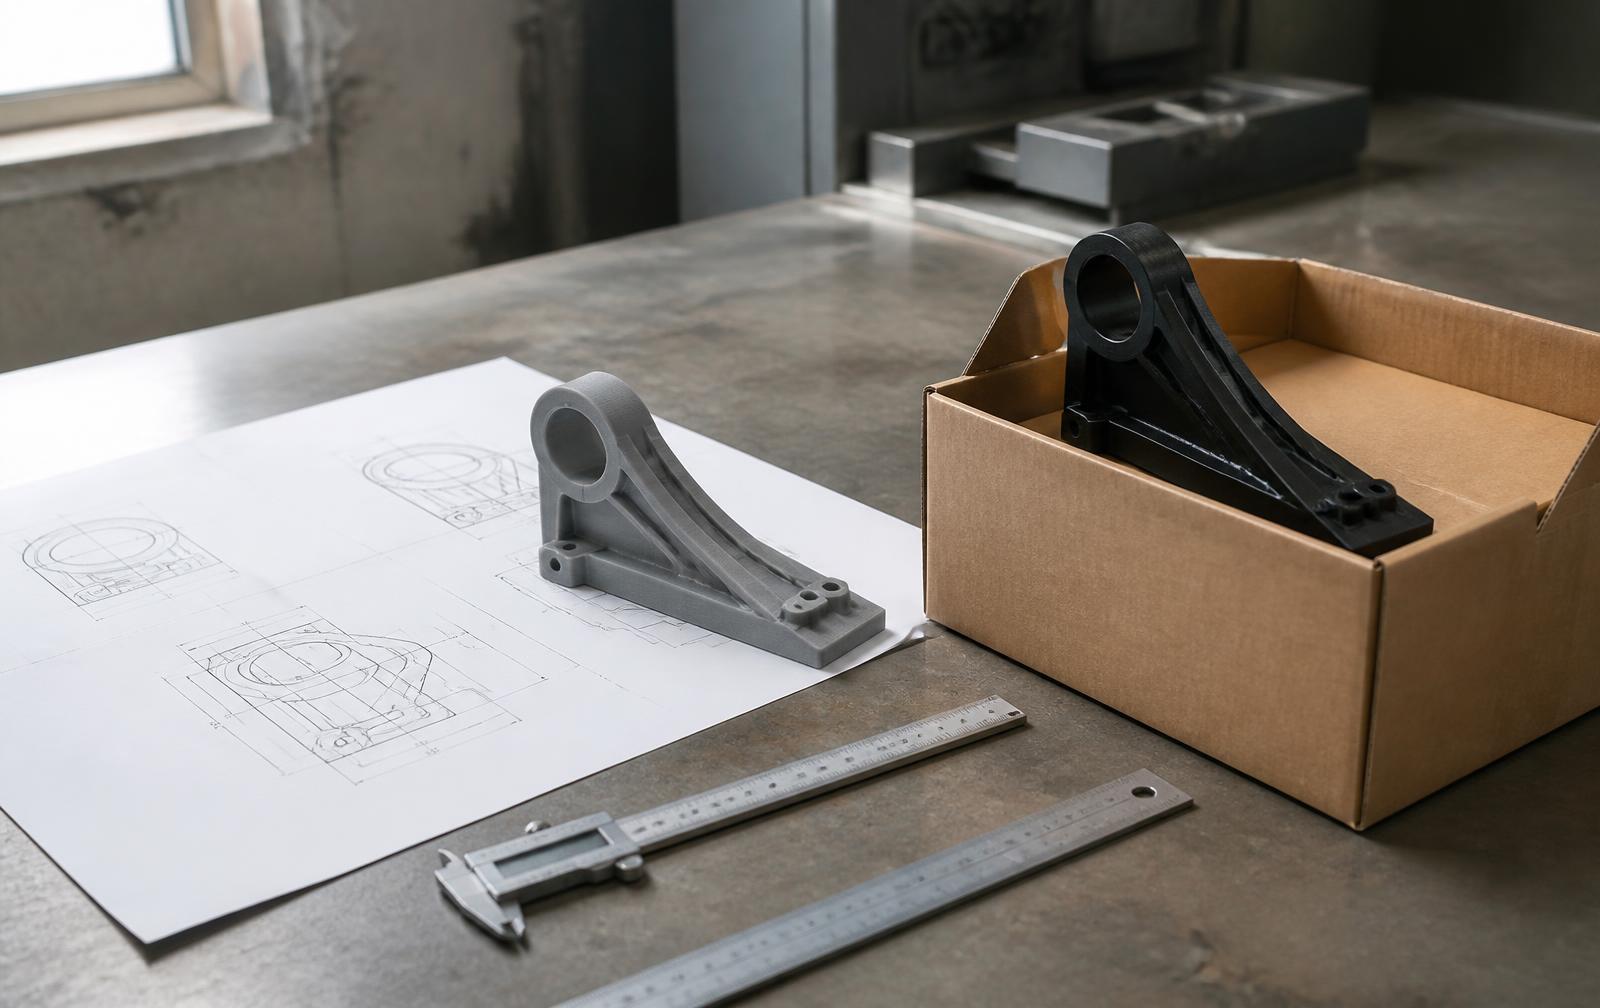
How to Turn a Design Into a Real Manufactured Product
The five stages between a finished design and a shipped product: DFM, prototyping, the manufacturing package, and how to find and vet a manufacturer.
Services related to this guide
- Rapid prototypingWorking prototypes in days, from 3D printing to vacuum casting.
- Prototype designLooks-like, works-like or pre-production: what each proves and what it costs.
- 3D modeling servicesParametric CAD, renders and print-ready files built for manufacturing.
- Order a prototypeSend a part or an idea and get a build quote back.