How to Turn a Design Into a Real Manufactured Product
The five stages between a finished design and a shipped product: DFM, prototyping, the manufacturing package, and how to find and vet a manufacturer.
August 21, 20268 min read

Written by Konstantin Dolgan, Ph.D., NPDP
Founder & CEO, Product Development Engineer
Published August 21, 2026
To turn a design into a real manufactured product you need four things in order: a design that has been reviewed for manufacturability, a physical prototype that proves it works, a complete manufacturing package, and a vetted manufacturer who quotes against that package. Skipping any one of them is what turns a six-month project into a two-year one.
This guide walks the sequence we run with inventors and product companies, with the DFM checklist we use internally and the steps for finding and vetting a manufacturer.
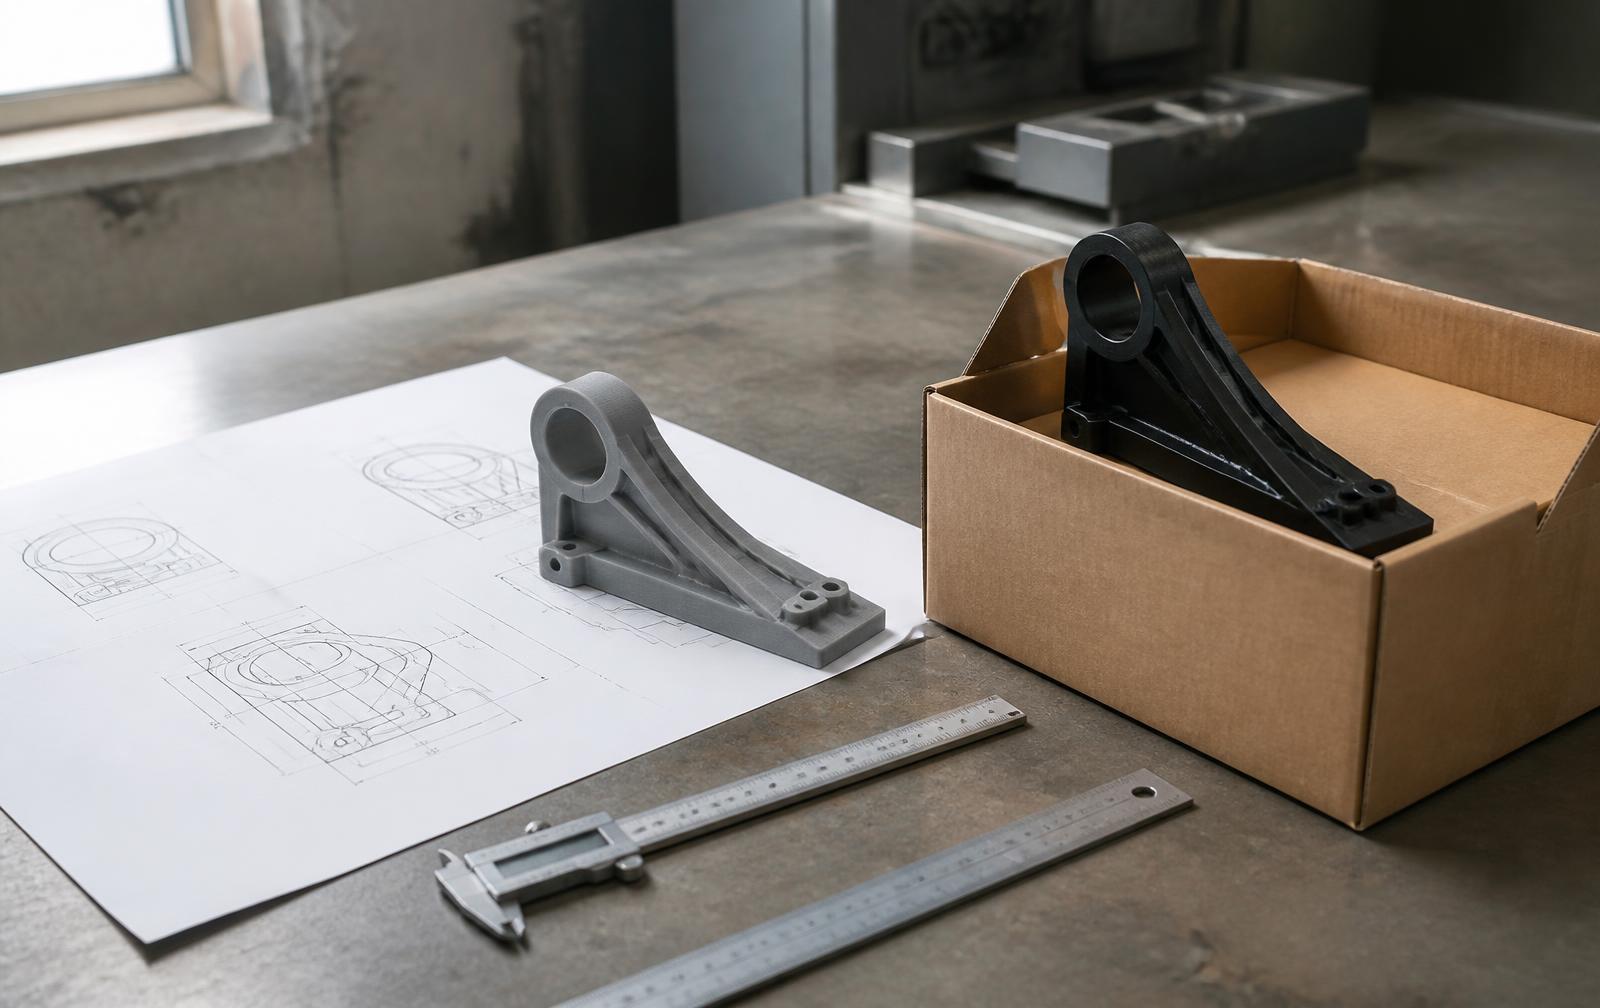
The five stages between a design and a shipped product
A "design" can mean anything from a napkin sketch to a full CAD assembly. What a manufacturer needs is narrower than any of them. These are the stages, and the honest answer to "how long does this take" for a typical consumer hardware product.
Stage | What it produces | Typical duration |
|---|---|---|
1. Design freeze | CAD that resolves function, ergonomics and assembly - not just the outside shape | 2-6 weeks |
2. Design for manufacturing (DFM) | Geometry corrected for the chosen process; part count reduced; tolerances assigned | 1-3 weeks |
3. Prototype and test | A functional unit built and tested against your requirements, then revised | 3-8 weeks, usually two rounds |
4. Manufacturing package | Drawings, 3D data, BOM, materials, finishes, packaging, QC criteria | 1-3 weeks |
5. Sourcing and first article | Quotes, factory vetting, tooling, samples, inspection, then production | 8-20 weeks including tooling |
The order matters more than the calendar. Quoting a design that has not been through DFM produces prices that change later, which is the single most common reason a first production run costs more than the founder planned. For where those numbers land in dollars, see how much it costs to manufacture a product and our prototype cost calculator.
Step 1: Decide your process before you finish the design
Annual volume and target cost decide the manufacturing process, and the process decides the geometry. A part designed for 3D printing rarely molds well; a part designed for injection molding is wasteful to machine. Choose early, because every downstream decision inherits it.
Annual volume | Usual process | Tooling cost | Per-unit reality |
|---|---|---|---|
1-100 | 3D printing, CNC, hand assembly | None to a few hundred dollars | Highest per unit, zero commitment |
100-5,000 | Urethane casting, CNC, aluminum bridge tooling | $1,500-$12,000 per part | Good compromise while demand is unproven |
5,000-50,000 | Aluminum or soft steel injection molds | $5,000-$30,000 per part | Per-unit cost drops sharply |
50,000+ | Hardened steel molds, multi-cavity, automated assembly | $25,000-$120,000+ per part | Lowest per unit, highest commitment |
If you are not sure your demand is real yet, build the first batch with short-run manufacturing rather than committing to steel tooling. A few hundred sellable units answer the demand question for less than a single production mold costs, and the design can still change. Low volume manufacturing covers how we structure that ramp.
Step 2: The DFM checklist
Design for manufacturing is not a review meeting at the end - it is a set of edits to the CAD. Run this checklist against your design before you send it to anyone for a quote. Each item below has caused a real re-tool for someone.
Geometry
- Draft angle on every molded face - 1 degree minimum, 3 degrees on textured surfaces, or parts drag and scuff on ejection.
- Uniform wall thickness, typically 1.5-3 mm for most plastics; thick sections sink and warp, and no amount of process tuning fixes it.
- Ribs no thicker than 60% of the wall they attach to, with a radius at the base.
- Radii on internal corners - sharp internal corners concentrate stress and are where parts crack in drop tests.
- No undercuts unless you have budgeted for a side action or lifter, each of which adds cost and cycle time to the mold.
- A defined parting line and gate location that you chose, rather than one the toolmaker picks on a surface you care about.
Assembly
- Reduce part count: every part removed is a tool, an inventory line, an assembly step and a failure mode removed.
- Design for one-direction assembly - parts that stack downward need no fixtures and no reorientation.
- Use self-locating features (bosses, pins, keyed ribs) so an operator cannot assemble it wrong.
- Choose fasteners deliberately: heat-set inserts for parts that will be opened, snap fits for parts that will not.
- Specify how it is serviced, or state explicitly that it is not serviceable.
Materials, tolerances and cost
- Name a specific grade, not a family: "PC/ABS Bayblend T65 XF" is buyable, "tough plastic" is not.
- Assign tolerances only where they matter. A general tolerance block plus three tight dimensions costs far less than a drawing that is tight everywhere.
- Run a tolerance stack on any fit that must seal, slide or click.
- Check regulatory constraints now: food contact, UL flammability rating, FDA classification, CPSIA for children's products, FCC for anything with a radio.
- Set a target landed cost per unit and check the BOM against it before tooling, not after.
Our full DFM guide goes deeper on each of these, and the Flip Flap project shows what the edits look like on a real part.
Step 3: Prove it with a prototype before anyone cuts steel
Tooling is the point of no return: it is the largest single check you will write and the hardest change to reverse. A prototype exists to make the expensive decisions cheap ones. Build one that tests the thing you are actually unsure about - fit, force, seal, battery life, comfort over an hour - rather than one that only looks like the product.
Expect two rounds. The first prototype tells you what is wrong; the second confirms the fix. On the Hand Tennis glove, the prototypes surfaced a stitching and material problem that no amount of CAD review would have caught, and finding it before production is the reason the product shipped at all. Read the prototype manufacturing process for the methods and lead times.
Step 4: Build the manufacturing package
A manufacturer cannot quote a rendering or a STEP file alone. The package below is what turns "about this much" into a firm price, and it is also what protects you: quotes against a complete package are comparable to each other and hard to walk back later.
Document | What it contains | Why the factory needs it |
|---|---|---|
3D data | STEP or Parasolid of every part, plus the assembly | Programming, mold design, fixturing |
2D drawings | Critical dimensions, tolerances, datums, finish callouts | Inspection - a dimension not on a drawing will not be checked |
Bill of materials | Every part, material grade, finish, supplier and quantity per unit | Costing and purchasing |
Color and finish spec | Pantone or RAL references, texture codes, gloss level | Cosmetic acceptance |
Packaging spec | Retail pack, inner carton, master carton, labels, barcodes | Freight cost and retail readiness |
Quality plan | Acceptance criteria, AQL level, test methods, first-article requirements | What counts as a good unit |
Step 5: How to find a manufacturer
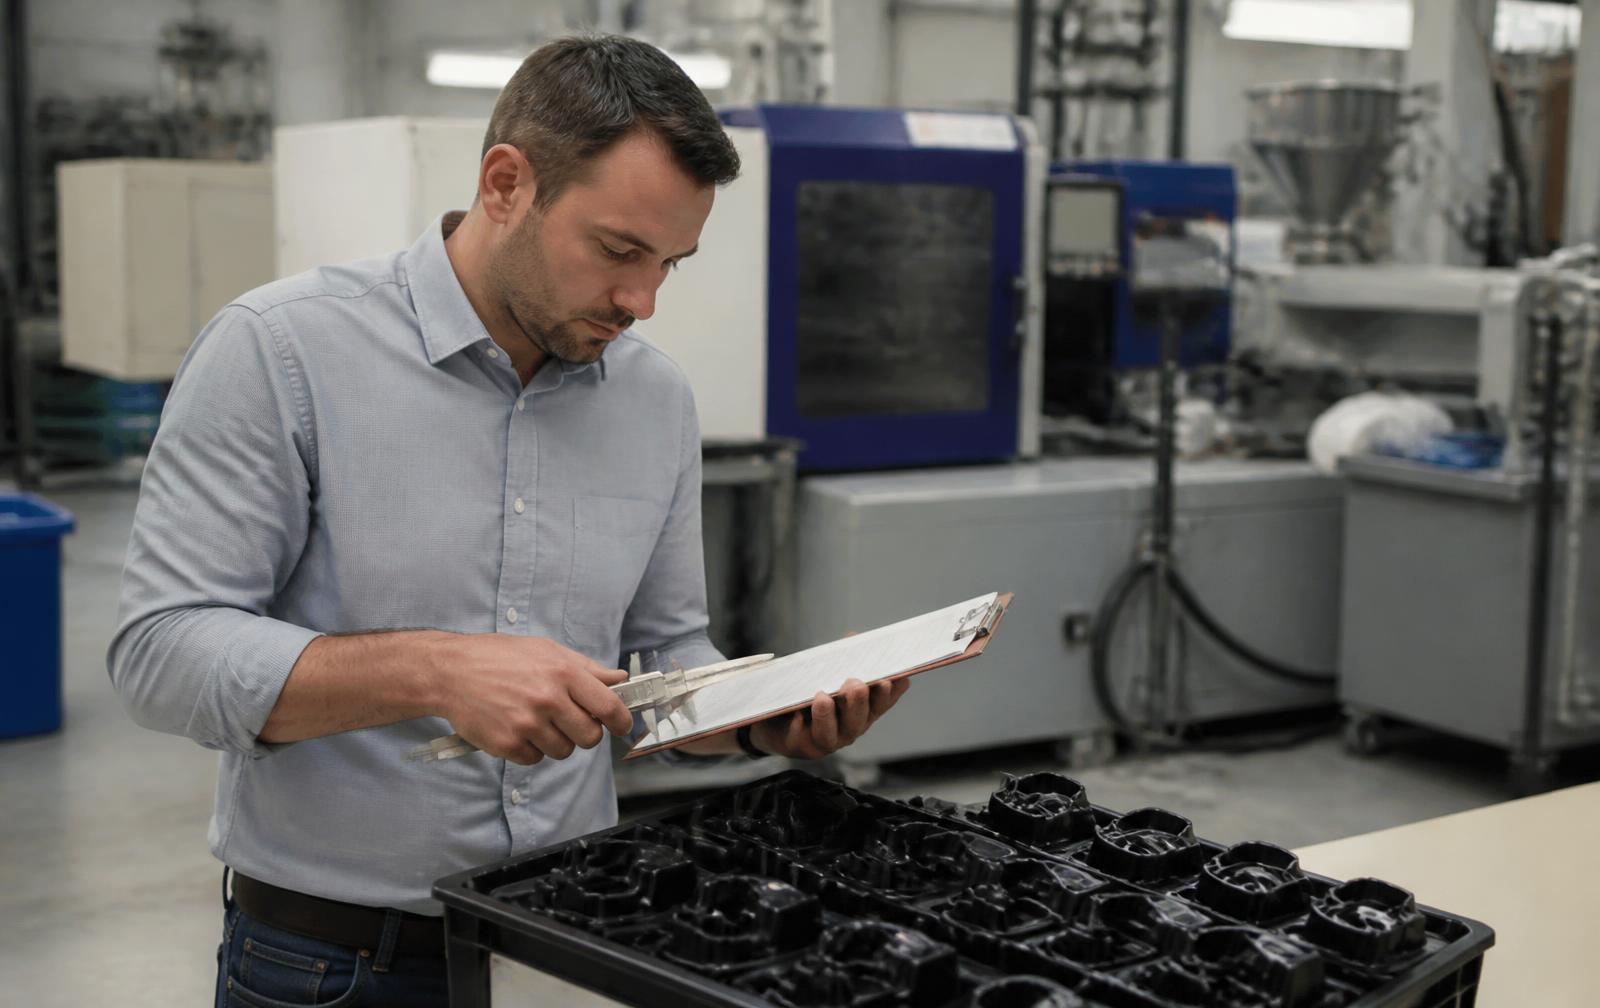
Finding names is easy; finding the right factory is a filtering exercise. Work down this sequence rather than emailing the first ten results.
- Define the factory you need first. Process (injection molding, sheet metal, textile, PCBA), volume, region, and certifications (ISO 9001, ISO 13485 for medical, IATF 16949 for automotive). A factory outside those four filters is a distraction.
- Build a list of 8-12 candidates. Domestic: the NIST MEP network, ThomasNet, and referrals from your material supplier - suppliers know which shops buy their resin. Overseas: Alibaba and Global Sources for discovery, then a sourcing agent or an inspection firm for verification.
- Reverse-engineer from products like yours. Trade shows in your category, and the supplier names printed on comparable products, both point at factories that already run your process.
- Send the same RFQ to everyone. Identical package, identical quantities (quote 1x, 5x and 10x your first order), identical questions. Different inputs make quotes incomparable.
- Score the replies, not just the prices. Did they ask good technical questions? Did they flag a DFM issue? A factory that pushes back on your drawing is worth more than one that says yes to everything.
- Verify before you pay tooling. Business license, references from customers in your category, a video or in-person audit, and an ISO certificate you check with the issuing body rather than accept as a PDF.
- Order a first article. Pay for samples from production tooling and inspect them against your drawing before authorizing the run. Structure payment so a meaningful balance is due after inspection passes.
Red flags worth walking away from
- A quote that arrives in an hour with no questions attached.
- Refusal to name the sub-suppliers for critical components.
- No written quality plan or acceptance criteria.
- Pressure to pay 100% up front, or to pay to a personal account.
- An unwillingness to sign an NDA and a manufacturing agreement that assigns tooling ownership to you.
Tooling ownership is the clause founders forget. Put in writing that the molds you paid for are yours and can be moved, or changing factories later means paying for tooling twice. Our guide to finding and vetting a build partner covers the contract side in more detail.
Domestic or overseas?
US / near-shore | Overseas (typically Asia) | |
|---|---|---|
Unit cost | Higher on labor-heavy products | Usually 20-50% lower at volume |
Tooling cost | Higher | Often half or less |
Lead time | 2-4 weeks shipping-free | 6-10 weeks plus 3-6 weeks freight |
Change speed | Same-week visits and revisions | Slower feedback loops, time-zone lag |
Best fit | First runs, complex assemblies, regulated products, heavy or bulky goods | Proven designs at stable, high volume |
The pattern that works for most first products: prototype and first production run domestically where you can stand on the floor and fix things, then move to volume tooling overseas once the design has stopped changing. Tariffs, freight and minimum order quantities frequently erase the unit-cost advantage below about 10,000 units a year - run the landed-cost math rather than assuming.
What this looks like on a real project
Two builds where this sequence is visible end to end: the Flip Flap, where DFM edits collapsed part count and made an existing product moldable at a viable cost, and the Hand Tennis glove, where material and construction problems found in prototyping were solved before a factory ever quoted the design.
If you have a design and want the manufacturing route decided rather than guessed, our short-run manufacturing service starts with a DFM review and a first batch you can actually sell. Tell us about the product and we will tell you which stage above you are really at.
Frequently asked questions
How do I turn my design into a real product?
Freeze the design, run design for manufacturing on it, build and test a functional prototype, assemble a manufacturing package (3D data, drawings, BOM, finish spec, quality plan), then quote that package to vetted manufacturers and inspect a first article before authorizing production. For most consumer hardware the whole sequence runs four to nine months.
Do I need a patent before I contact a manufacturer?
You need at least a filed provisional application or a signed NDA before you disclose the design, and ideally both. A provisional is inexpensive and gives you twelve months of priority while you talk to factories. A US public disclosure also starts a one-year clock on your ability to file, so file before you show the product publicly. This is general information, not legal advice - a patent attorney should review your specific situation.
How much does it cost to manufacture a product?
Two separate numbers: tooling, which runs from nothing for 3D printing to $25,000-$120,000 for hardened multi-cavity molds, and per-unit cost, which falls as volume rises. A simple molded consumer product often lands at $3-$12 per unit at a few thousand units, with tooling of $5,000-$30,000 per part. Our manufacturing cost guide breaks the drivers down.
What is the minimum order quantity for manufacturing?
Injection molders commonly want 1,000-5,000 units per order; overseas factories often want more. Short-run and low-volume routes - urethane casting, CNC, bridge tooling, 3D printing - let you order tens or hundreds instead, at a higher unit price, which is usually the right trade while demand is unproven.
Can a manufacturer help me finish the design?
Some will make it moldable, but a factory optimizes for what it is easy for that factory to build, not for your cost target, your user or your ability to move production later. Arriving with a finished, DFM-reviewed package keeps the design yours and makes quotes comparable across suppliers.
How do I protect my idea when I send it to factories?
File a provisional patent application first, send a mutual NDA before any technical data, share only the data needed for the quote at each stage, split critical sub-assemblies across suppliers where practical, and put tooling ownership and confidentiality in the manufacturing agreement itself rather than relying on the NDA alone.
Services related to this guide
- Product design servicesIndustrial design and CAD taken all the way to manufacturable files.
- Best industrial design firmsWhich studios take an idea from form to manufacturable hardware, and what they charge.
- Prototype designLooks-like, works-like or pre-production: what each proves and what it costs.
- Product development examplesReal projects we designed, prototyped and shipped.