Our work / Moment Lighting Adapter:
Illuminate Your Space with Ease
Bringing Light to Every Corner Effortlessly
- PROFESSIONAL DESIGN
- Prototyping
- MATERIAL SELECTION
- MANUFACTURING PREPARATION
- MARKETING SUPPORT


Written by Konstantin Dolgan, Ph.D., NPDP
Founder & CEO, Product Development Engineer
Updated August 30, 2026
A DIY lighting product succeeds when it removes an electrician from the equation: no wiring, no new outlet, no visible extension cord.
The Moment Lighting Adapter — invented by David and Kristie Brown — does that by letting a puck light clip into the adapter and drop into any existing lamp or fixture. We took it from a handmade prototype to an injection-molded, market-ready product.
Project at a glance
- Client
- David and Kristie Brown — Moment Lighting
- Category
- Home lighting accessory
- Product
- Adapter that adds a puck light to any lamp or fixture with no wiring
- Starting point
- A handmade prototype built to solve a shortage of outlets at home
- What we delivered
- Professional design refinement, 3D-printed and molded prototype iterations, material selection, a compact production injection mold, plus logo, renderings, video animation and website content
- Client feedback
- "Konstantin and his team were a huge help on getting our idea off the ground! Professional and prompt!"
The client


3D Model rendering

Features and Benefits
- DIY Simplicity: Easily attach a puck light to the adapter and insert it into any lamp without electrical connections.
- Design Flexibility: Perfect for various lighting scenarios—indoors for ambiance or outdoors for gatherings.
- Cost-Effectiveness: Offers an affordable alternative to traditional lighting setups, saving on electrician costs.
- Stylish and Silent: Features a modern design that blends with any décor, operating silently for uninterrupted enjoyment.
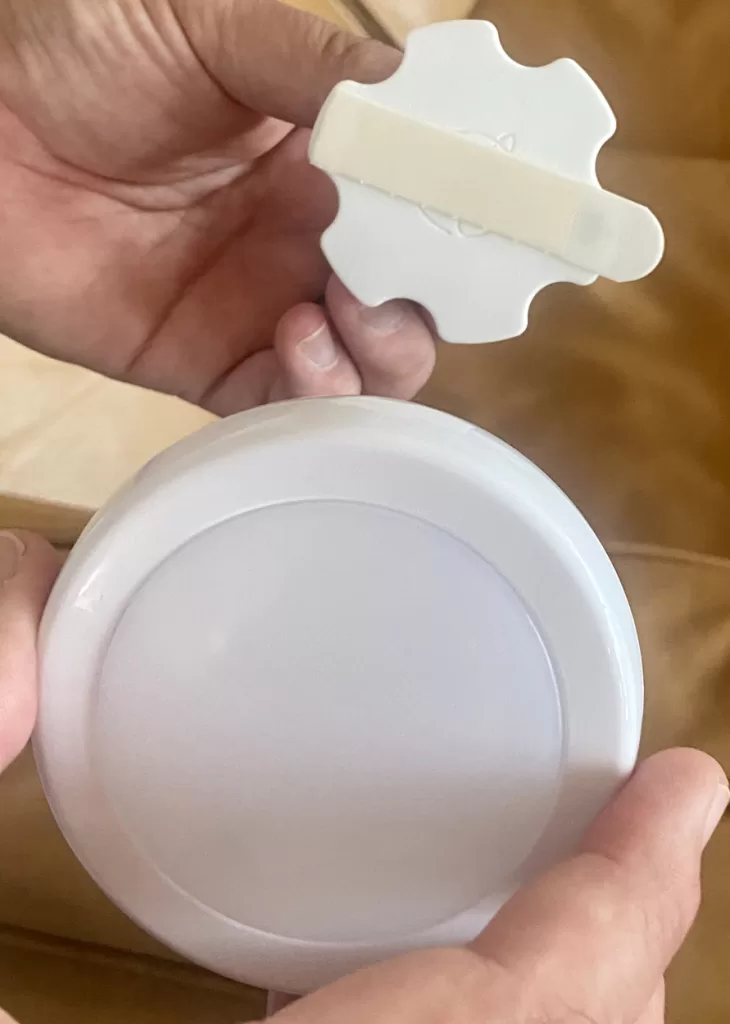
Prototype Testing
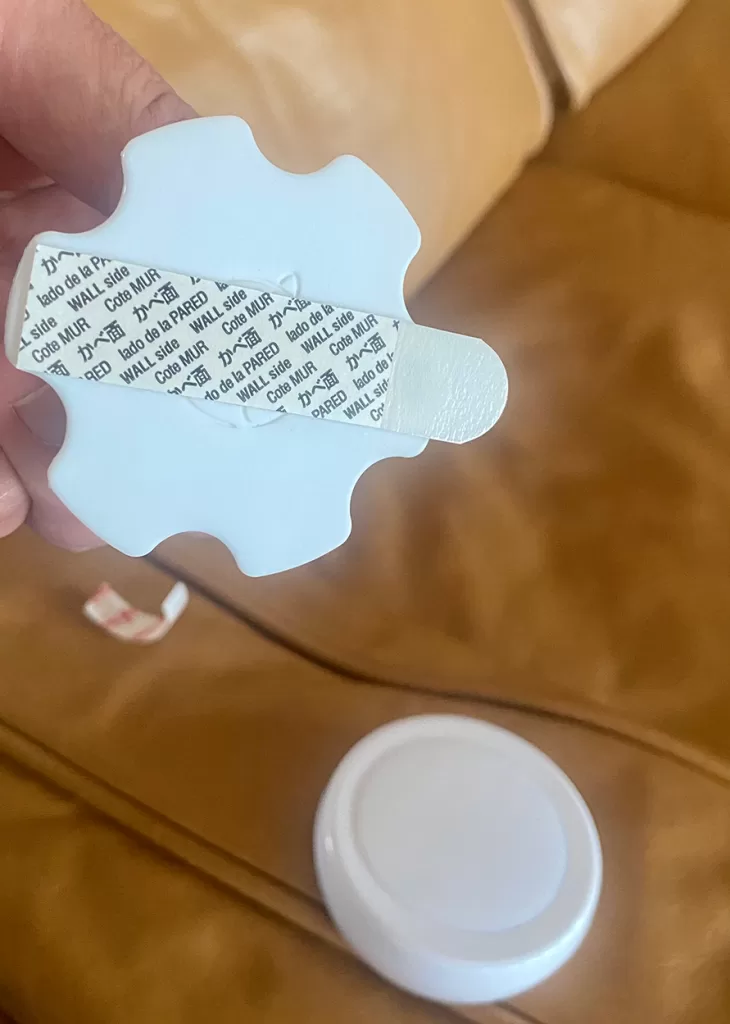
The result
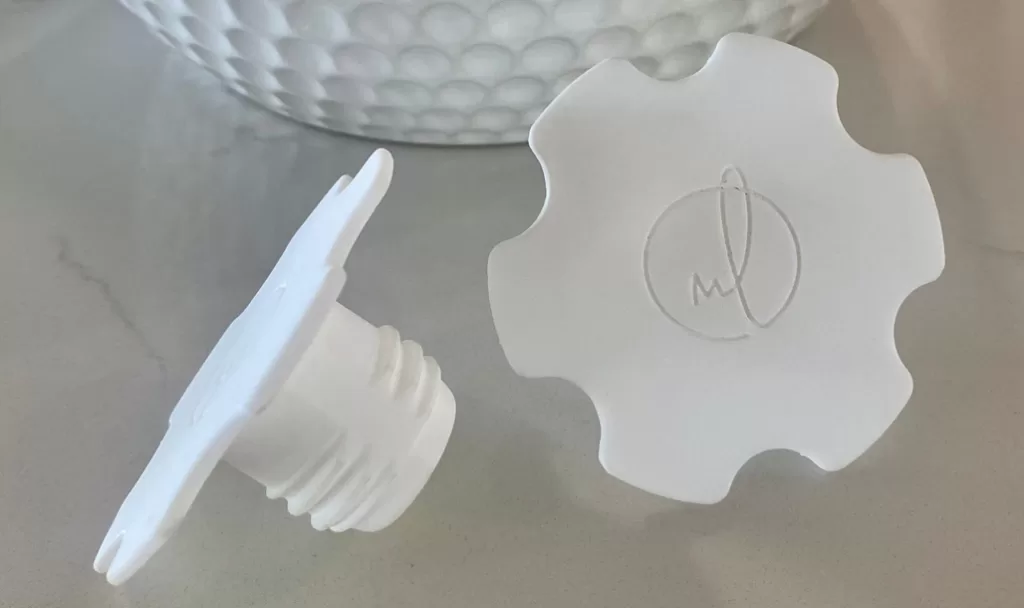
Moment lighting "how to"
- 01
Services Provided by LA New Product Development Team for Moment Lighting Adapter
We transformed the Browns’ initial concept into a sleek, user-friendly design, considering both aesthetic appeal and manufacturing feasibility. - 02
Professional Design
Utilizing our in-house rapid prototyping facilities, we created multiple iterations of the Moment Lighting Adapter, using 3D printing and injection molding techniques for testing and refinement.
Material Selection: Our team carefully selected materials that would ensure durability and cost-effectiveness, opting for plastics suitable for both 3D printing and injection molding processes.
Manufacturing Preparation: We prepared the product for mass production by designing a compact, economical injection mold, allowing for high-quality production at a reasonable cost.

Client testimonial
Customer testimonial
Konstantin and his team were a huge help on getting our idea off the ground! Professional and prompt!
Capabilities used on this project
Rapid prototyping services
3D printing, CNC machining, urethane casting and functional prototype builds with published materials, tolerances and lead times.
Low-volume manufacturing
Bridge tooling, short-run production and supplier management for first commercial batches.
How a home accessory goes from handmade prototype to injection molding
The Browns had a working idea and a hand-built part. Everything below is what stands between that and a product on a shelf.
1. Keep the install under a minute
The whole value proposition is avoiding electrical work. Every design decision was tested against one question: can a homeowner attach a puck light and insert it into a lamp without tools, wiring or an electrician's invoice?
2. Refine the handmade form into a designed one
A prototype proves the idea works; it rarely looks like a product. We reworked the geometry for a sleek profile that blends with décor while keeping the function the Browns had already validated at home.
3. Iterate physically before committing to tooling
Multiple iterations were produced in our in-house rapid prototyping facility, using 3D printing for fast fit checks and molding processes to confirm the production feel. Fit against real lamps is the failure mode you cannot catch on screen.
4. Choose plastics that work in both processes
Materials were selected to be suitable for 3D printing and injection molding alike, so what was tested in prototype form behaved the same way in production — and stayed durable at a cost the retail price could carry.
5. Design a compact, economical mold
For a low-cost accessory, the mold is the budget. We designed a compact, economical injection mold so quality production was achievable at a reasonable tooling cost rather than one that could never be amortized.
6. Prepare the launch package alongside the part
Logo design, product renderings, video animation and website content were produced from the same CAD, so the product had a market presence ready the day units existed.
| Decision | Lower cost | Higher cost | Why |
|---|---|---|---|
| Part count | Single molded body | Multi-part assembly | Each part needs its own tool and assembly step |
| Mold size | Compact tool, small footprint | Large or multi-cavity tool | Tooling is the dominant up-front cost at low volume |
| Material | Standard moldable plastic | Specialty or flame-rated compound | Resin grade moves unit cost and cycle time |
| Finish | As-molded texture | Polished or painted surfaces | Post-processing adds labor per unit |
Questions about this project
Straight answers from the engineers who ran the build. Have a different question? Ask us directly.
Talk to an engineerHow do I get from a handmade prototype to a manufactured product?
Three moves: redesign the part for a manufacturing process rather than for hand assembly, iterate physical prototypes in materials that behave like production, then design a mold sized to your realistic volume. Skipping the middle step is what produces tools that have to be cut twice.
How much does an injection mold cost for a small accessory?
Far less than most inventors expect when the part is designed for it. A compact single-cavity tool for a simple accessory is an order of magnitude cheaper than a large multi-cavity production tool, and it is usually the right first step while demand is still being proven.
Do I need renderings and video before I have inventory?
They come from CAD you have already paid for, so producing them alongside tooling costs little extra and gives you listings, a site and social assets the moment units land. Waiting until after production simply delays revenue.
Can one company handle design, tooling and marketing?
That is how this project ran — design refinement, prototyping, mold design and the full launch package under one roof, which is what let two homeowners take an idea to market without assembling a vendor list.
Industries this project belongs to
See how we approach development in each of these categories, and the other products we have taken from sketch to production there.