How Prototype Manufacturing Works: Process, CAD and Testing
The prototype manufacturing process step by step: 3D CAD, part fabrication, assembly, testing and the final prototype.
August 27, 20261 min read

Written by Konstantin Dolgan, Ph.D., NPDP
Founder & CEO, Product Development Engineer
Published August 27, 2026
Prototype manufacturing turns a CAD file into real parts that can be assembled and tested. This guide walks the process end to end — 3D CAD modeling, fabrication, assembly, testing and design revisions through to a final prototype. To have it run by one team, see our prototype manufacturing services.
EVOLUTION OF THE RAPID PROTOTYPING TECHNOLOGIES
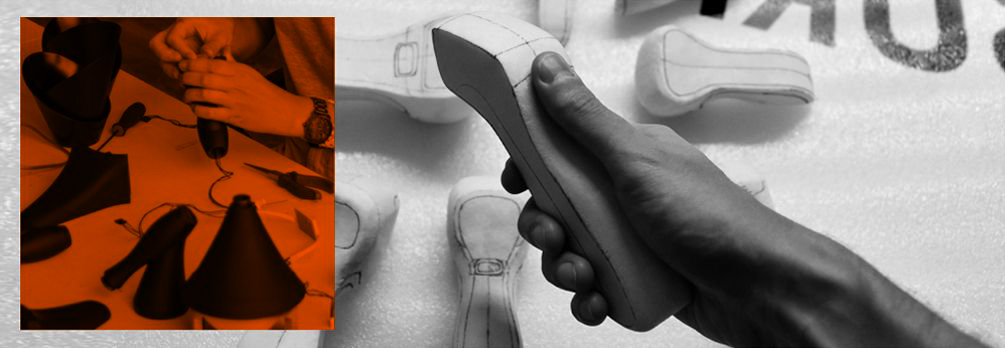
Back in the day, invention prototypes were made by handcrafting or machining. Such approach took longer to prepare the product for manufacturing, thus increasing time to market.
With the development of computer technologies, 3D printing, and other rapid prototyping techniques, the process of prototyping became faster and more efficient. At present, rapid prorotyping companies can create virtually everything that would be impossible even a couple of decades ago.
Rapid prototyping companies use a variety of techniques to create a scale model of a product or a component. Often a three-dimensional design is created using a CAD (computer-aided design) program. The detailed item can then be produced using different methods, including 3D printing, water jet or laser cutting, and CNC machining very quickly.
The main goal of prototyping is to detect flaws, correct them, and find ways to further improve your invention. The faster you do it, the more resources you can save in the long run. Rapid prototyping gives everything necessary for that to happen.
RAPID PROTOTYPING SERVICES AND METHODOLOGY

WHERE YOUR IDEA MEETS OUR
TECHNOLOGY
There are many different prototyping techniques and equipment used by rapid prototyping companies nowadays. At LA NPDT we use a variety of them, including:
- Metal casting
- Silicone rubber molding
- Low-volume injection molding
- Water jet, plasma, and laser cutting
- CNC machining (turning, milling, routing)
- 3D printing (FDM, SLS, SLA, PolyJet, DLP, FDM+Continuous Fiber)
- Sewing
- Thermoforming
- PCB prototyping
- Manual machining
- Software prototyping
- Breadboard prototyping
Watch this video, where our Project Manager and Engineer, Matthew Williams, talks about different 3D-printing technologies and some of the materials we use for prototype manufacturing.
START Rapid Prototyping Page REVOLUTION SLIDER 6.7.13 END REVOLUTION SLIDERPrototype 3D Printing
Process
Prototyping is a combination of science and art. It requires engineers and designers to have keen technical skills, along with the ability to think outside of the box and utilize a creative approach to problem-solving. Prototype 3D printing, for example, is not that easy as some people imagine.
It has specific steps to it, like converting CAD files to a format a particular 3D printer can work with, then adding support structures, and slicing the models layer by layer.
In order to successfully 3D print a part, you need to think through how each element would be printed so you could arrange the parts accordingly. It’s also important to consider how the parts will be assembled and used, and what tools and techniques you need for putting them together.
During this process you might identify features that would need to be changed. Because prototypes help to discover new ways for improvement you can optimize your prototype design. If you need a prototype for a presentation, and it must look impressive, a professional artist can apply their crafting abilities to make it appear as a finished product.
STEPS TO MAKE A PROTOTYPE
The steps needed to make a product prototype can be boiled down to the following:
- Preparation
- Making parts
- Pre- and post-assembly parts processing
(filing, polishing, flattening, fine-tuning, etc.)
- Assembly
Each of those steps is a craft in itself, a mix of tech and human resources to bring out the best product possible.
HOW PROTOTYPE MANUFACTURING PROCESS WORKS
Rapid prototyping companies or product development teams start tackling the prototyping process after they know the purpose of the prototype. It typically goes from a rough model to a more polished and refined one. However, the process might be different based on your product prototype’s goal.
It may require dozens of models or just a couple of them, depending on how complex your idea is. Generally, the more prototypes you build the better your product becomes. However, it’s important to remember that the expenses grow with each prototype version.
The following steps describe the overall process of invention prototyping regardless of the product prototype’s goal.
3D CAD MODEL
DESIGN
Designing and 3D modeling of your product idea based on what you want to accomplish with your prototype.
Rough or Mockup Prototype
Building an initial prototype to prove the concept, to make sure that the core idea of your product is functional. It enables you to:
- See the physical dimensions of the product
- Determine their correctness and make iterations, if needed
- See ergonomic aspects
- See how the product will look
PRODUCT Prototype testing and design modification
After evaluating and testing the first prototype some design modifications might be needed. When all necessary changes and iterations are implemented, the next prorotype is approved for building. This process applies to every consecutive model followed after the first rough product prototype
FINAL Prototype
Many design mods are usually done and several models built by this step. Any type of prototype can be considered final, depending on its purpose: functional prototypes, mockup, demo or pre-production prototypes
WHAT IS NEXT AFTER
PROTOTYPING?

Upon completion of the prototyping stage, it’s time to move to the next one. It could be running marketing surveys, conducting presentations, or getting ready for your product manufacturing.
If your next step is manufacturing, you will likely need to produce molds (tooling) and jigs that would allow cost-efficient production and assembly of your product. Once the tooling is produced, the first articles (samples) are made. Based on their quality and finish, some modifications might needed for the molds.
For example, sandblasting plastic injection molds will provide a rougher finish while polishing the cavities surfaces will result in a smoother finish. Molds can also be slightly modified to increase or reduce the size of the parts, or to add/remove some design features.
Production Sample VS PRODUCT Prototype
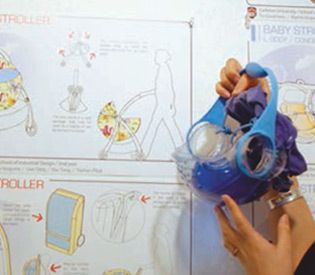
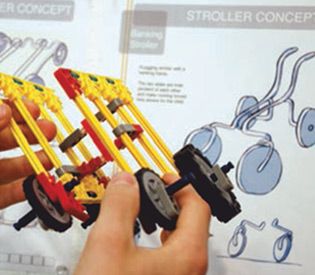

When all possible changes are implemented, then you have your final manufacturing sample. Now, you are ready for the first batch production. The main difference between a manufacturing sample and a product prototype is that prototypes are built with the use of rapid prototyping technologies and materials. That typically results in rougher finish and lower performance characteristics.
Manufacturing samples, on the other hand, are made with tools, materials, and machinery designed specifically for the production. Thus, your samples will be the exact representation of the product which will hit the market. At the same time, prototyping is a step necessary prior to mass manufacturing. So, some rough finish or a wrong color doesn’t matter much until it turns into a manufacturing sample.
When do I need to start working
on my PRODUCT prototype?
Many entrepreneurs have a question regarding where on the timeline of the product development process they should start making a prototype.
Our years of experience, as a product development team and a rapid prototyping company, made it clear that building a prototype should start after completing prior art search and concept design, and before filing a patent application.
It is crucial to test functionality and optimize your invention’s design before investing in patents.
How much does a PROTOTYPE cost?
There is no universal cost for building a prototype because every project is unique. Each new product is a new project because it has never been created before. That is why it requires a custom approach to everything, including its price estimate.
The cost of building a product prototype depends on the following factors:

Want this run in-house? See how our prototyping shop works, or send your files for a quote.
Services related to this guide
- Best prototyping companiesDevelopment firms, instant-quote bureaus and local shops — who fits which job.
- Free prototype cost calculatorFive to eight questions, an instant cost range for a first prototype.
- Prototype development companiesWhich firms take a sketch to a working prototype — and which only fabricate parts.
- Rapid prototypingWorking prototypes in days, from 3D printing to vacuum casting.