From prototype to production: the eight steps in between
A working prototype is not a manufacturable product. Here is the sequence that turns one into the other, with realistic timing and cost at each step.
August 29, 20261 min read

Written by Konstantin Dolgan, Ph.D., NPDP
Founder & CEO, Product Development Engineer
Published August 29, 2026
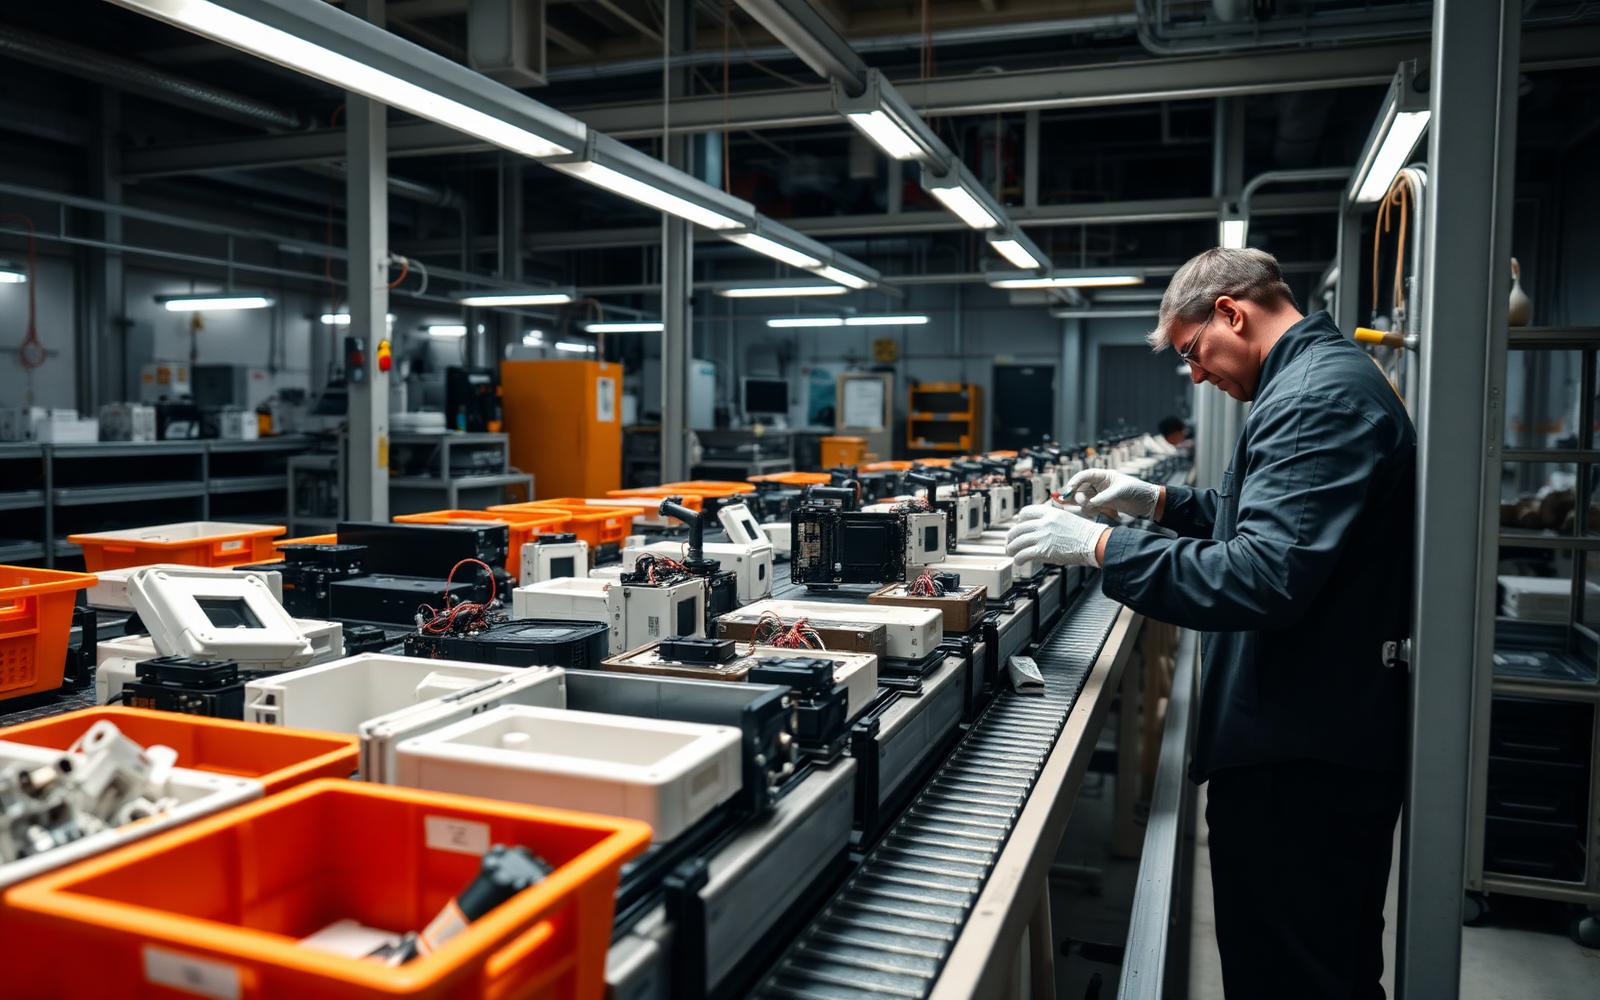
Getting from a working prototype to production usually takes four to nine months and eight distinct steps. The prototype proves the idea. Production requires a design that can be made repeatably, by people who did not invent it, at a price that leaves margin.
What are the steps from prototype to production?
Step | What happens | Typical time | Typical cost |
|---|---|---|---|
1. Design freeze | Lock features, decide what ships in v1 | 1 - 2 weeks | Internal |
2. Manufacturability review | Draft, wall thickness, tolerances, assembly order | 1 - 2 weeks | $1,500 - $5,000 |
3. Production-intent CAD | Rebuild the model for the real process | 3 - 6 weeks | $6,000 - $30,000 |
4. Engineering validation build | 20 - 50 units close to final | 4 - 6 weeks | $8,000 - $40,000 |
5. Tooling and supplier selection | Quote, award, cut tools | 6 - 12 weeks | $5,000 - $80,000 |
6. First article inspection | Measure real parts against the drawing | 1 - 2 weeks | $1,000 - $4,000 |
7. Pilot run | 100 - 500 units on production tooling | 3 - 5 weeks | Unit cost plus setup |
8. Ramp | Full quantity, quality plan in place | Ongoing | Unit cost |
Frequently asked questions
Why can you not just send the prototype files to a factory?
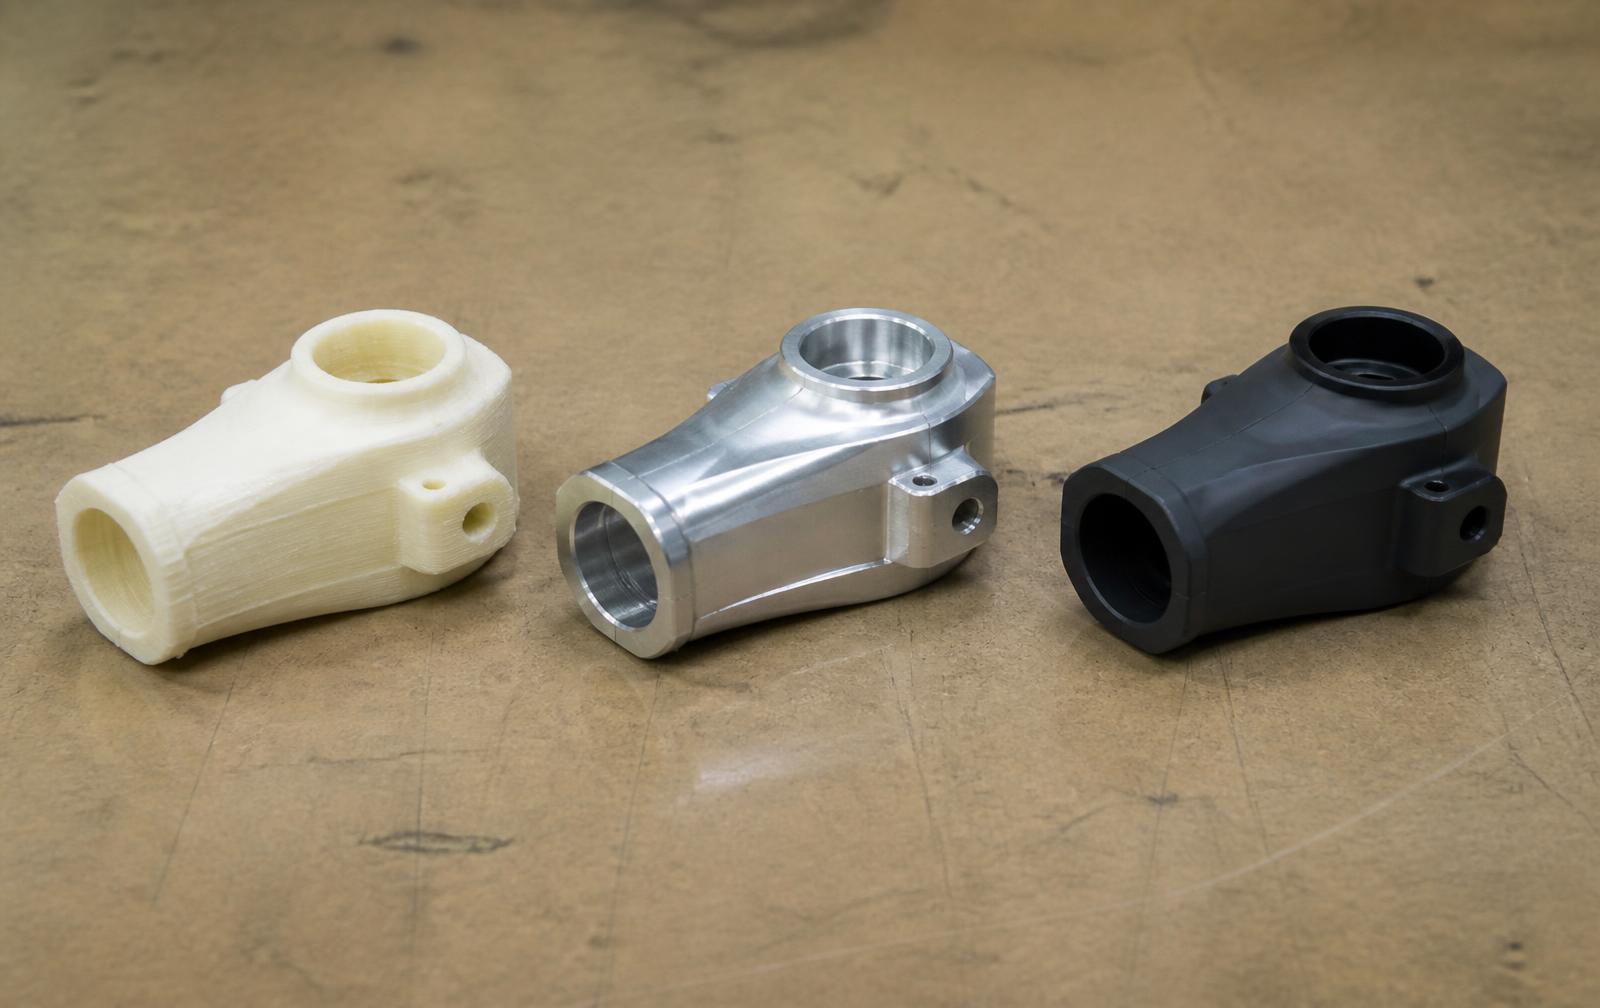
A 3D printed prototype is made from a material that behaves differently, at tolerances a mold cannot hold, with wall thicknesses a printer does not care about. Printed parts have no draft, no gate location, no shrink compensation and often no thought about how a person on a line will assemble them in 40 seconds. Sending those files to a molder produces a quote full of assumptions and a first article that does not fit.
What usually goes wrong?
Design freeze never happens, so tooling gets cut on a moving target. Cosmetic requirements are decided after the tool is made. Electronics and enclosure are designed by two parties who never share a model. Certification testing is scheduled after tooling, so a failure means a tool change. No one owns the bill of materials, so three versions circulate at once.
How long does it really take?
A simple molded accessory with no electronics can run the full path in four months. A connected device with a PCB, a battery, an app and FCC testing is typically nine to fourteen months. Anything that touches a person medically adds regulatory work on top. The teams that move fastest are the ones that run tooling quotes and certification planning in parallel with the validation build instead of in sequence.
Where LA NPDT fits?
We run steps two through eight as one program, so the same team that draws the part answers for it at first article. If you have a prototype and want to know what stands between it and production, start with our development process or read how we took the QMS2GO recorder from concept through manufacturing.
Services related to this guide
- Best prototyping companiesDevelopment firms, instant-quote bureaus and local shops — who fits which job.
- Free prototype cost calculatorFive to eight questions, an instant cost range for a first prototype.
- Prototype development companiesWhich firms take a sketch to a working prototype — and which only fabricate parts.
- Rapid prototypingWorking prototypes in days, from 3D printing to vacuum casting.