Silicone Overmolding onto Plastic and Metal: Bonding, Primers and Failure Modes
How to bond silicone to plastic or metal substrates. Self-bonding LSR, primers, surface prep, mechanical locks and common failure modes.
September 7, 20263 min read

Written by Konstantin Dolgan, Ph.D., NPDP
Founder & CEO, Product Development Engineer
Published September 7, 2026
Silicone overmolding bonds a soft silicone layer to a rigid plastic or metal substrate. Done well, it creates sealed, ergonomic or shock-protected parts. Done poorly, it peels, delaminates or traps flash in ways that are hard to fix after the mold is cut.
Why overmold silicone?
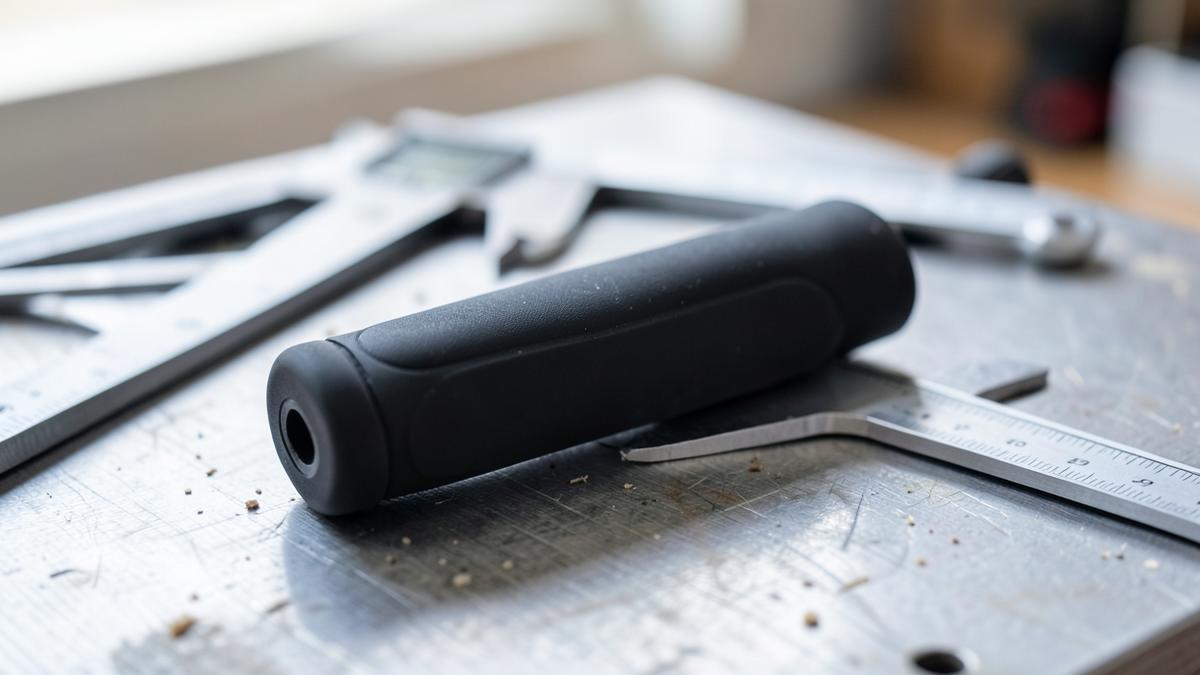
- Soft grip and ergonomic interfaces on hard tools or devices.
- Environmental seals around electronics housings.
- Vibration damping and drop protection.
- Strain relief for cables and connectors.
Substrate selection
Not all plastics bond to silicone. Nylon and polycarbonate can sometimes bond without primer if the silicone is selected and processed correctly. Polypropylene and polyethylene generally need surface treatment or a mechanical lock because their surface energy is low. Metals can bond mechanically through knurls, holes or pockets.
Bonding without primers
Self-bonding LSR grades are formulated to adhere to specific plastics during molding. They are convenient but limited to approved substrate grades and controlled process windows. Changing the substrate supplier can break the bond, so we lock the material pair early.
Primers and surface prep
For difficult substrates, a primer is applied to the rigid part before molding. Plasma or corona treatment can also raise surface energy. Each option adds cost and process control, so it is only used when the design demands it.
Common failure modes
- Peeling at edges due to low surface energy or wrong primer.
- Delamination after thermal cycling or sterilization.
- Flash creeping into critical fits because of poor shut-off design.
- Warping of the substrate during high-temperature molding.
- Color bleeding between layers when pigments migrate.
Design tips
Design element | Recommendation |
|---|---|
Wall thickness | Keep silicone thickness uniform where possible to avoid sink or cure gradients. |
Shut-offs | Design sharp steel-on-steel shut-offs to control flash. |
Mechanical lock | Add pockets, holes or texture to the substrate for physical retention. |
Material pair | Validate and freeze the substrate and silicone grades together. |
Draft | Use adequate draft on both substrate and silicone for release. |
Mechanical interlock as a backup to the chemical bond
Chemistry alone is a single point of failure. Where the part will be pulled, twisted or flexed in service, add features that hold the silicone in place even if adhesion degrades.
Through-holes that let the silicone form rivet heads on the far side, dovetail grooves, undercut lips around the perimeter and knurled or textured metal faces all give the rubber something to grab.
On enclosures, wrapping the silicone around an edge rather than stopping it flush on a flat face removes the exposed edge where peel usually starts.
Prototyping an overmold before cutting tooling
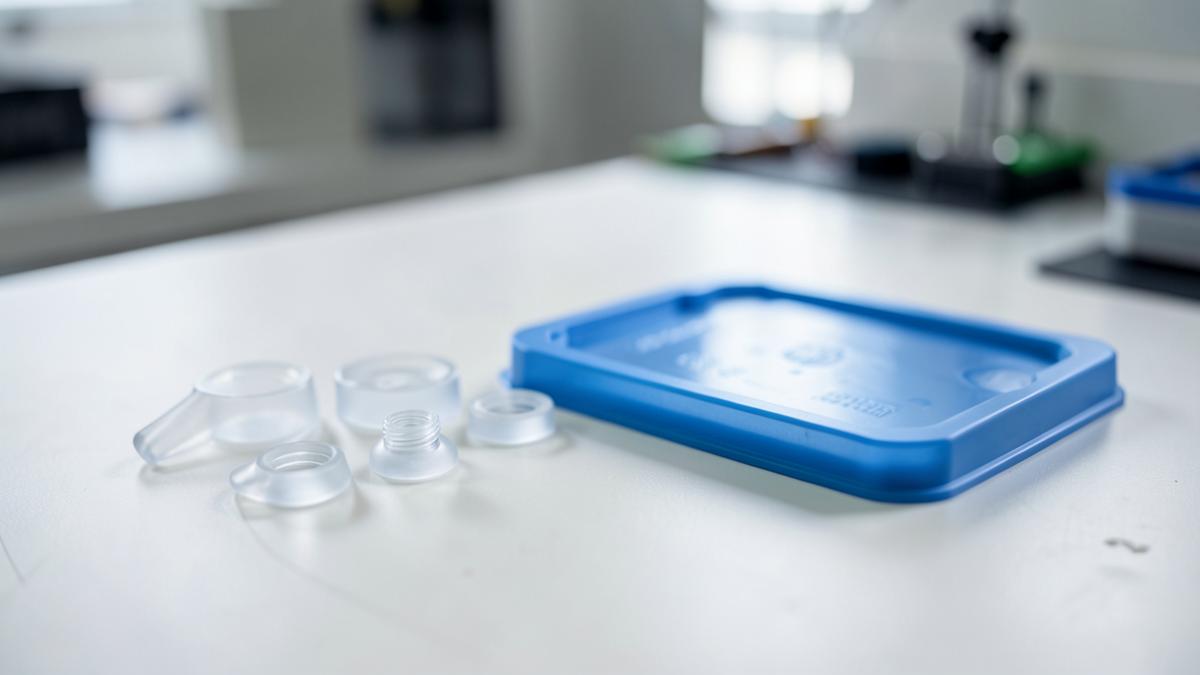
Overmold bonds are best proven before steel is cut. Cast or machine the rigid substrate, then produce the soft layer with RTV tooling or a soft aluminum insert tool so you can pull real parts and test peel, fit and feel.
Run the same primer or surface treatment you intend to use in production, and cycle samples through the environment the product will see, including cleaning chemicals or sterilization.
When a bond fails at this stage the fix is a substrate change or a geometry change, both cheap now and expensive after production tooling exists. See our silicone prototyping and manufacturing process for how those steps fit together.

Frequently asked questions
Will silicone stick to any plastic?
No. Bonding depends on chemistry and surface energy. Some plastics bond with self-bonding LSR, others need primers or mechanical features, and a few are very difficult to bond reliably.
Can silicone be overmolded onto metal?
Yes. Most metal bonds are mechanical: knurling, holes, pockets or texture give the silicone something to grip. Some applications also use primers, but mechanical lock is usually the first strategy.
How do you test bond strength?
Common tests include peel tests, pull tests and thermal-cycle exposure. The right test depends on whether the bond is expected to see shear, peel or repeated flexing in use. Related reading See silicone rubber prototyping and manufacturing for the process map, and the GPS tracking bracelet for electronics packaged inside a silicone body. Material selection is covered in durometer and grade selection .
Services related to this guide
- Best prototyping companiesDevelopment firms, instant-quote bureaus and local shops — who fits which job.
- Free prototype cost calculatorFive to eight questions, an instant cost range for a first prototype.
- Prototype development companiesWhich firms take a sketch to a working prototype — and which only fabricate parts.
- Rapid prototypingWorking prototypes in days, from 3D printing to vacuum casting.